Troubleshooting
Dell Enhanced Pre-Boot System Assessment — ePSA
diagnostic 3.0
You can invoke the ePSA diagnostics by performing either of the following steps:
•
Press the F12 key when the system boots and choosing
Diagnostics
option.
•
Press Fn+PWR when the system boots.
For more details, see
Running the ePSA diagnostics
1
Power-on the computer.
2
As the computer boots, press the F12 key as the Dell logo appears.
3
On the boot menu screen, select the
Diagnostics
option.
4
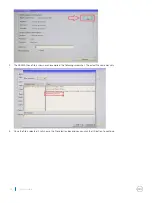
Click the arrow key at the bottom left corner.
Diagnostics front page is displayed.
5
Press the arrow in the lower-right corner to go to the page listing.
The items detected are listed.
6
To run a diagnostic test on a specific device, press Esc and click
Yes
to stop the diagnostic test.
7
Select the device from the left pane and click
Run Tests
.
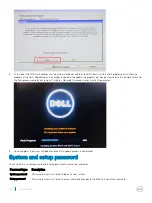
8
If there are any issues, error codes are displayed.
Note the error code and validation number and contact Dell.
Diagnostic LED
This section details the diagnostic features of the battery LED in a notebook.
Instead of beep codes errors are indicated via the bicolor Battery Charge LED. A specific blink pattern is followed by flashing a pattern of
flashes in amber, followed by white. The pattern then repeats.
NOTE:
The diagnostic pattern will consist of a two digit number being represented by a first group of LED blinks (1 through 9) in
amber, followed by a 1.5 second pause with the LED off, and then a second group of LED blinks (1 through 9) in white. This is
then followed by a three second pause, with the LED off, before repeating over again. Each LED blink takes 0.5 seconds.
The system will not shutdown when displaying the Diagnostic Error Codes. Diagnostic Error Codes will always supersede any other use of
the LED. For instance, on Notebooks, battery codes for Low Battery or Battery Failure situations will not be displayed when Diagnostic
Error Codes are being displayed:
Table 17. LED pattern
Blinking pattern
Problem Description
Suggested Resolution
Amber White
7
Troubleshooting
73


