CAUTION: Before touching anything inside your computer, ground yourself by touching an unpainted metal
surface, such as the metal at the back of the computer. While you work, periodically touch an unpainted metal
surface to dissipate static electricity, which could harm internal components.
Turning Off Your Computer
CAUTION: To avoid losing data, save and close all open files and exit all open programs before you turn off your
computer.
1.
Shut down the operating system:
– Windows 8:
* Point to upper-right corner of the screen and click Settings. Click on the
and then select Shut
down.
– In Windows 7:
1. Click Start
.
2. Click Shut Down.
3.
or
1. Click Start
.
2. Click the arrow in the lower-right corner of the Start menu as shown below, and then click Shut
Down..
2.
Ensure that the computer and all attached devices are turned off. If your computer and attached devices did not
automatically turn off when you shut down your operating system, press and hold the power button for about 4
seconds to turn them off.
After Working Inside Your Computer
After you complete any replacement procedure, ensure you connect any external devices, cards, and cables before
turning on your computer.
1.
Replace the cover.
CAUTION: To connect a network cable, first plug the cable into the network device and then plug it into the
computer.
2.
Connect any telephone or network cables to your computer.
3.
Connect your computer and all attached devices to their electrical outlets.
4.
Turn on your computer.
5.
If required, verify that the computer works correctly by running the Dell Diagnostics.
6
Summary of Contents for Vostro 5470
Page 1: ...Dell Vostro 5470 Owner s Manual Regulatory Model P41G Regulatory Type P41G002 ...
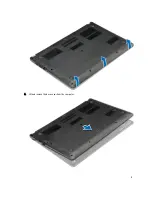
Page 9: ...4 Lift and remove the base cover from the computer 9 ...
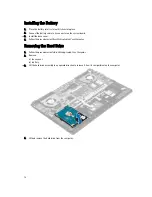
Page 11: ...5 Lift and remove the battery from the computer 11 ...
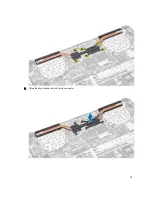
Page 19: ...4 Lift up the heatsink and remove from the computer 19 ...
Page 22: ...5 Remove the system board from the computer 22 ...
Page 29: ...6 Pry along the inner edges of the display bezel and remove the display bezel 29 ...
Page 44: ...44 ...


