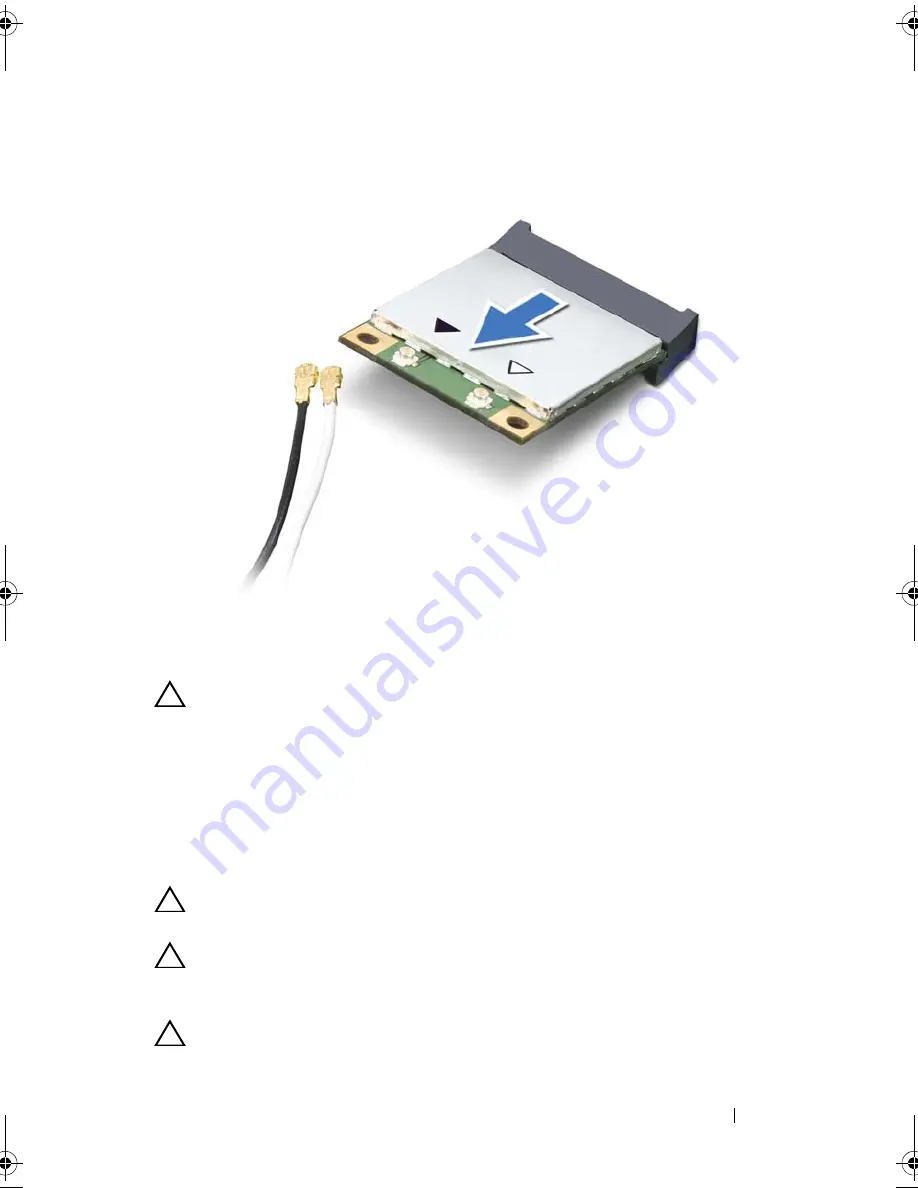
Wireless Mini-Card
25
CAUTION:
When the Mini-Card is not in the computer, store it in protective
antistatic packaging. For more information, see "Protecting Against Electrostatic
Discharge" in the safety information that shipped with your computer.
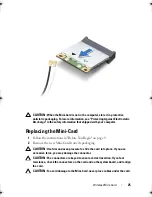
Replacing the Mini-Card
1
Follow the instructions in "Before You Begin" on page 9.
2
Remove the new Mini-Card from its packaging.
CAUTION:
Use firm and even pressure to slide the card into place. If you use
excessive force, you may damage the connector.
CAUTION:
The connectors are keyed to ensure correct insertion. If you feel
resistance, check the connectors on the card and on the system board, and realign
the card.
CAUTION:
To avoid damage to the Mini-Card, never place cables under the card.
book.book Page 25 Friday, February 21, 2014 12:07 PM
Summary of Contents for XPS L511z
Page 1: ...Dell XPS L511z Service Manual Regulatory model P12F series Regulatory type P12F001 ...
Page 8: ...8 Contents ...
Page 12: ...12 Before You Begin ...
Page 16: ...16 Base Cover ...
Page 22: ...22 Memory Module s Click Start Control Panel System and Security System ...
Page 34: ...34 Coin Cell Battery ...
Page 42: ...42 AC Adapter Connector ...
Page 46: ...46 Power Button Board ...
Page 50: ...50 Audio Board ...
Page 54: ...54 Battery Status Light Board ...
Page 60: ...60 Heat Sink ...
Page 66: ...66 System Board ...
Page 72: ...72 Keyboard ...
Page 76: ...76 Speakers ...
Page 80: ...80 Palm Rest Assembly ...
Page 90: ...90 Display ...
Page 94: ...94 Camera Module ...


