Hard Drive(s)
27
6
Hard Drive(s)
WARNING:
Before working inside your computer, read the safety information
that shipped with your computer. For additional safety best practices information,
see the Regulatory Compliance Homepage at
www.dell.com/regulatory_compliance.
WARNING:
If you remove the hard drive from the computer when the drive is hot,
do not touch
the metal housing of the hard drive.
CAUTION:
Only a certified service technician should perform repairs on your
computer. Damage due to servicing that is not authorized by Dell™ is not covered
by your warranty.
CAUTION:
To avoid electrostatic discharge, ground yourself by using a wrist
grounding strap or by periodically touching an unpainted metal surface (such as a
connector on your computer).
CAUTION:
To help prevent damage to the system board, remove the main battery
(see "Removing the Battery" on page 13) before working inside the computer.
CAUTION:
To prevent data loss, turn off your computer (see "Turning Off Your
Computer" on page 9) before removing the hard drive. Do not remove the hard drive
while the computer is On or in Sleep state.
CAUTION:
Hard drives are extremely fragile. Exercise care when handling the
hard drive.
NOTE:
Dell does not guarantee compatibility or provide support for hard drives
from sources other than Dell.
NOTE:
If you are installing a hard drive from a source other than Dell, you need to
install an operating system, drivers, and utilities on the new hard drive.
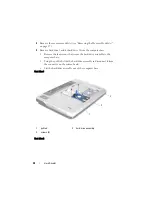
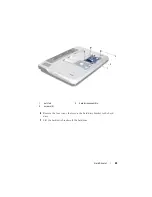
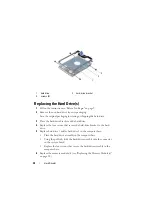
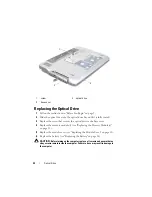
Removing the Hard Drive(s)
1
Follow the instructions in "Before You Begin" on page 9.
2
Remove the battery (see "Removing the Battery" on page 13).
3
Remove the module cover (see "Removing the Module Cover" on
Summary of Contents for XPS L701X
Page 1: ...Dell XPS L701X Service Manual Regulatory model P09E series Regulatory type P09E001 ...
Page 12: ...12 Before You Begin ...
Page 26: ...26 Wireless Mini Card s ...
Page 32: ...32 Hard Drive s ...
Page 35: ...Optical Drive 35 ...
Page 36: ...36 Optical Drive ...
Page 42: ...42 Palm Rest Assembly ...
Page 50: ...50 Power Button Board ...
Page 54: ...54 Coin Cell Battery ...
Page 58: ...58 Internal Card With Bluetooth Wireless Technology ...
Page 72: ...72 Display ...
Page 78: ...78 Camera Module ...
Page 81: ...Top Cover 81 16 Disconnect the subwoofer cable from the system board connector ...
Page 86: ...86 Top Cover ...
Page 90: ...90 Subwoofer ...
Page 94: ...94 AC Adapter Connector ...
Page 98: ...98 Fan ...
Page 99: ...Fan 99 ...
Page 100: ...100 Fan ...
Page 104: ...104 Heat Sink ...
Page 105: ...Heat Sink 105 ...
Page 106: ...106 Heat Sink ...
Page 122: ...122 USB Board ...
Page 128: ...128 System Board ...


