7
User Instruction
PLACING THE UNIT
Place the unit on solid, level, and heat resistant surface. DO NOT put the unit on top of other appliance.
OPERATION INSTRUCTION
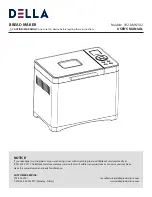
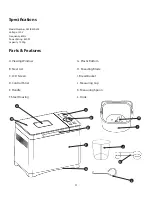
1. Take the bread bucket from the housing and insert the kneading blade into the bucket.
2. Add the ingredient into the bucket according to the recommended recipe.
NOTE: For best result, make sure to add water and other liquid first, follow by flour and other ingredient and bread yeast at last.
3. Put the bread bucket back to the housing.
4. Rotate the bucket clockwise to lock the bucket in place and close the lid.
5. Plug the unit to a grounded outlet and the unit will make a buzzer sound indicating it is in stand by mode.
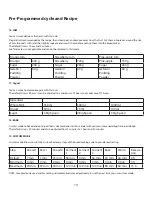
6. Press the MENU button to select the desired pre-programmed cycle.
7. Press the LOAF button to select bread weight.
8. Press the COLOR button to select desired bread crust finish.
9. Set reserve timer (OPTIONAL)
Press “+” or “-” to set the delay timer.
NOTE: Reserve timer allows you to set a countdown timer to delay the start time.
10. Press START to start the bread making cycle or the reserve timer.
11. Once the unit finished the pre-programmed cycle it will make a buzzer sound and automatically switched into “Keep Warm”
mode.
12. Press the STOP button and unplug the unit from power outlet. Then take the bread bucket out and enjoy your bread.
⚠
CAUTION! WARNING:
Be careful of hot bread bucket and bread. Wear Glove or use heat insulation to protect yourself.
NOTE: The kneading blade might stuck in the bread. Use the provided hook to remove the kneading blade from the bread.
MEMORY FUNCTION
This unit holds a 15 minutes memory keeping automatically.
In case of an electrical disconnection, the unit would resume its working progress if the electrical connection is restore within 15
minutes.


