
10
11
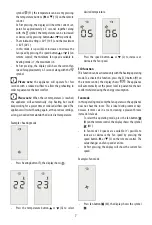
Examples: brightness of the display:
Remote control:
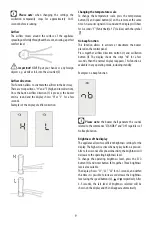
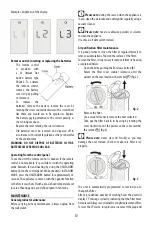
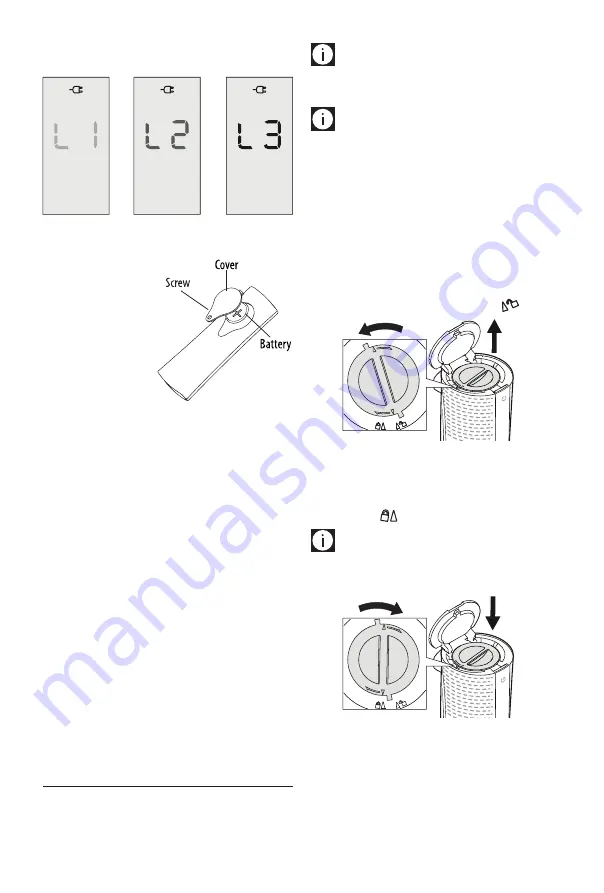
inserting or replacing the batteries
- The remote control
is provided with
a 3v lithium flat
button battery type
CR2032. To activate
the remote control,
remove the battery
cover strip by pulling
to remove it.
- To replace the
batteries, remove the battery, remove the cover by
rotating the screw counterclockwise with a screwdriver
like those you would use to fix eyeglasses. Replace
the battery paying attention to the correct polarity as
shown in figure above.
- Replace the cover rotating the screw clockwise.
- Old batteries must be removed and disposed off in
accordance with current legislation as they are harmful
to the environment.
WARNING: DO NOT DISPOSE OF BATTERIES IN FIRE.
BATTERIES MAY EXPLODE OR LEAK.
Operating from the control panel
To use the unit the remote control is needed. If the remote
control is not available, it's possibile to switch the operating
mode between fan and heating by using the ON/STANDBY
button (A) on the control panel. While the unit is in STANDBY
MODE, press the ON/STANDBY button for approximately 10
seconds. The appliance comes on with the opposite function
set before it was shut off with a pre-defined temperature set
in case of heating and a pre-defined speed in fan mode.
MAINTENANCE
General product maintenance
Before carrying out any maintenance, always unplug from
the wall socket.
Please note:
during the season when the appliance is
in use, clean the air intake and outlet grilles regularly using a
vacuum cleaner.
Please note:
never use abrasive powders or solvents
to clean the appliance.
Use only a soft damp cloth instead.
Air purification filter maintenance
It is good practice to clean the filter at regular intervals to
remove accumulation of dust on the surface of the filter.
To clean the filter, it is necessary to remove it from its housing
as explained below:
- Open the lid by pushing the lid release button (B).
- Rotate the filter cover counter clockwise until the
pointer on the cover matches the symbol
(fig.2).
fig. 2
- Remove the filter .
- Use a vacuum cleaner to remove the dust collected.
- Then put the filter back in its housing by rotating the
cover clockwise until the pointer on the cover matches
the symbol
(fig.3).
Please note:
never close lid forcibly as you may
damage the unit. Instead, check to make sure filter is set
properly.
fig. 3
The unit is automatically programmed to remind you to
change the filter.
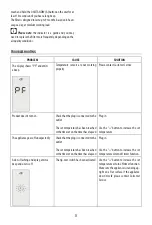
After a pre-defined number of working hours the unit will
display
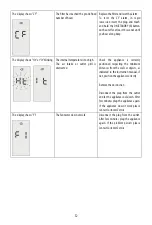
CF
message cyclically, indicating that the filter must
be replaced. Always use original De’Longhi replacement filter.
To reset the
CF
alarm, in rapid succession insert the plug and


