

6
7
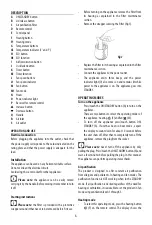
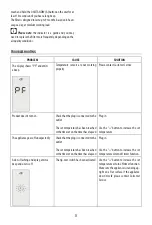
DESCRIPTION
A
ON/STANDBY button
B
Lid release button
C
Air purification filter
D
Remote control
E
Control panel
F
Heating button
F1
Heating mode
G
Temperature buttons
G1
Temperature indicator (C° and F°)
H
ECO button
H1
ECO function
I
Airflow direction button
J
Oscillation button
K
Timer button
K1
Timer function
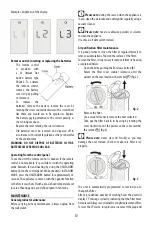
L
Fan
speed buttons
L1
Fan
speed indicator
M
Fan button
M1
Fan mode
N
Hours
O
Power indicator light
P
Receiver for remote control
Increase button
Decrease button
Q
Handle
R
Air inlet
S
Air outlet
OPERATION AND USE
Electrical connection
Before plugging the appliance into the outlet, check that
the power supply corresponds to the value indicated on the
rating plate and that the power supply is adequate for the
load.
Installation
The appliance can be used on any horizontal stable surface.
Do not overload the electrical circuit.
Avoid using the same socket for other appliances.
Please note:
the appliance can be easily moved
carrying it by the handle. Before moving it remember to turn
it off.
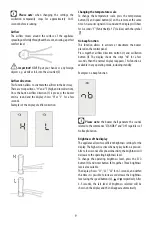
Starting instructions
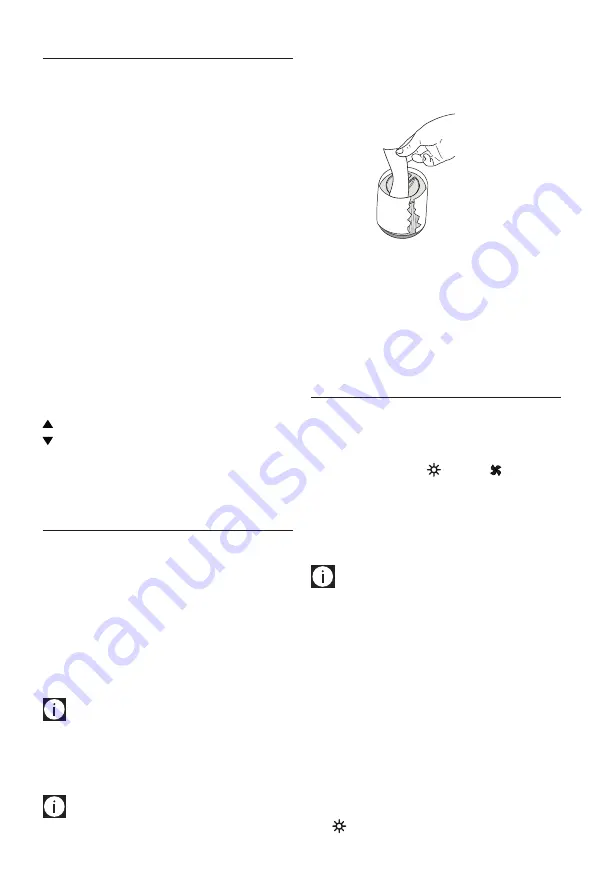
Please note:
the filter is provided with a protective
wrapper around it that needs to be removed before first use.
- Before turning on the appliance remove the filter from
its housing as explained in the filter maintenance
section.
- Remove the wrapper covering the filter (fig.1).
fig.1
- Replace the filter in its housing as explained in the filter
maintenance section.
- Connect the appliance to the power outlet.
- The appliance emits three beeps and the power
indicator light (O) also comes on and remains lit while
power to the appliance is on. The appliance goes into
STANDBY.
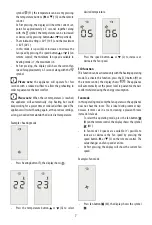
OPERATING MODES
Turn on the appliance
- Press/touch the ON/STANDBY button (A) to turn on the
appliance.
There are two buttons to select the operating modes of
the appliance: heating (F) and fan (M).
- To turn off the appliance press/touch button ON/
STANDBY (A). If unit has been in heat mode , expect
the display to count down for about 10 seconds before
the unit shuts off. After that, to completely turn off the
appliance, remove the plug from the socket.
Please note:
never turn off the appliance by only
pulling the plug. Press/touch the ON/STANDBY button (A) and
wait a few minutes before pulling the plug. In this manner,
the appliance can perform operating status checks.
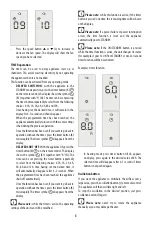
Air purification
The product is designed to offer constant air purification
from allergens and pollutants. In heating and fan modes. The
purification function is NOT working when in the STANDBY
mode. If air purification is desired regardless of the need for
heating or ventilation, it is advisable to set the product in fan
mode using ventilation levels 1 through 5.
Heating mode
- To select this operating mode, press the heating button
(F)
on the remote control. The display shows the


