Profiling Linear Objects
301
•
As you move your cursor along the profile graph, a small crosshair
follows along the corresponding object on the map.
3.
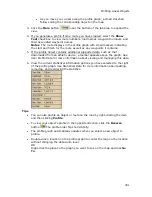
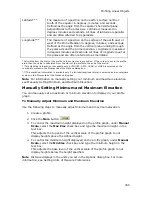
Click the More button
near the bottom of the tab area to expand the
view.
4.
If you generate a profile from a route you have created, select the Show
Text check box to view route numbers, road names, waypoint numbers, and
their associated waypoint names.
Notes The route displays in the profile graph with small markers indicating
the start and finish for the route as well as any waypoints it contains.
5.
If the profile object contains additional supported data, such as that
downloaded from an athletic device, a toolbar appears above the graph. See
User Profile Data for more information about viewing and managing this data.
6.
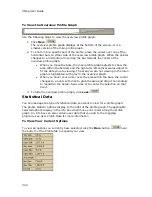
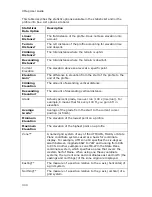
View the current statistical information options you have selected to the right
of the profile graph. See Statistical Data for more information about adding,
removing, and reordering the statistics.
Tips
•
You can also profile an object or route on the map by right-clicking the item
and then clicking Profile.
•
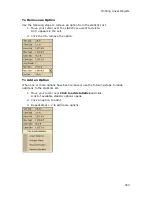
To view your object's profile in the opposite direction, click the Reverse
button
The profile order flips horizontally.
•
The profile graph automatically updates when you select a new object to
profile.
•
Double-click a location on the profile graph to center the map on the location
without changing the data zoom level.
OR
Right-click the place on the graph you want to see on the map and click Go
To.
Summary of Contents for XMap 6
Page 8: ......
Page 361: ...Using Voice Navigation and Speech Recognition 353 Approaching finish Off route ...
Page 428: ......


