April 26, 2015-78466-25772-R0
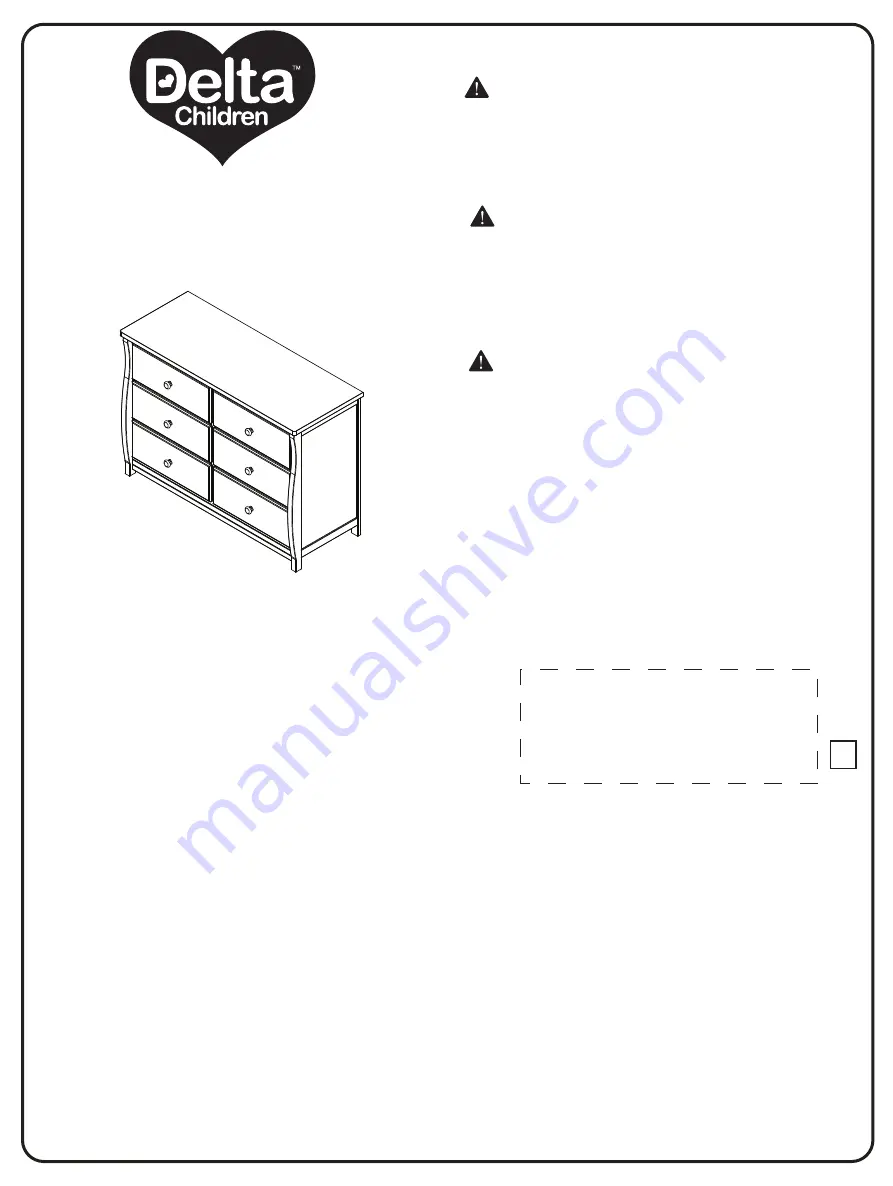
Dresser
Commode
Cómoda
©2015 DELTA ENTERPRISE CORP.
Consumer Care:
www.DeltaChildren.com
Delta Children’s Products
114 West 26th Street
New York, NY 10001
Tele.212-645-9033
Need Help?
Please visit www.DeltaChildren.com/assembly-videos to
watch our easy and effective assembly videos
Besoin d’aide?
Veuillez visiter www.DeltaChildren.com/assembly-videos
pour regarder nos vidéos faciles et efficaces concernant
l’assemblage
Necesita ayuda?
Por favor, visite www.DeltaChildren.com/assembly-videos
para que vea nuestros videos que muestran como ensamblar
de una manera efectiva y fácil.
Style #:
Lot:
Date:
___________
___________
___________
A
REV
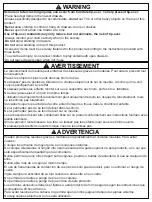
Read all instructions before assembly and use.
KEEP INSTRUCTIONS FOR FUTURE USE
.
ADULT ASSEMBLY REQUIRED
Due to the presence of small parts during assembly, keep out of
reach of children until assembly is complete.
Lisez toutes les instructions avant l’assemblage et
l’utilisation.
CONSERVEZ LES INSTRUCTIONS
POUR UN USAGE ULTERIEUR.
L’ASSEMBLAGE DOIT ETRE FAIT
PAR UN ADULTE
A cause de la presence de petites pieces, pendant l’assemblage gardez
hors de portee des enfants jusqu'a ce que celui-ci soit termine.
Lea todas las instrucciones antes de ensamblar
y usar.
MANTENGA LAS INSTRUCCIONES
PARA SU USO FUTURO.
DEBE SER ENSAMBLADO POR
UN ADULTO
Debido a la presencia de piezas pequeñas durante el ensamblaje,
mantenga fuera del alcance de los niños hasta que complete el
ensamblaje.
When contacting Delta Consumer Care please reference the above information. Before contacting Delta Consumer Care
please ensure that the information above matches the information found on the label on the
Back Panel
, please reference the
information found on the product when contacting Delta Consumer Care.
Lorsque vous contactez le Service client de Delta, veuillez faire référence aux informations ci-dessus. Avant de contacter le
Service client de Delta, veuillez vous assurer que les informations ci-dessus correspondent aux informations indiquées sur
l’étiquette qui se trouve sur le panneau arrière; veuillez faire référence aux informations indiquées sur le produit lorsque vous
contactez le Service client de Delta.
Al contactar al servicio al cliente de Delta, entregue la información anteriormente mencionada. Antes de contactar al servicio
de atención al cliente de Delta, asegúrese de que la información anteriormente mencionada calza con la que aparece en la
etiqueta en el panel trasero; al contactar al centro de atención al cliente de Delta, mencione la información que aparece en el
producto.
To register your product for important safety alerts and updates to your product please visit www.DeltaChildren.com and click
on Product Registration.
Pour enregistrer votre produit afin de recevoir des alertes de sécurité et des mises à jour importantes relatives à votre
produit, veuillez visiter le site www.DeltaChildren.com, puis cliquer sur Enregistrement de produits.
Para registrar su producto a fin de recibir importantes alertas y actualizaciones de seguridad, visite www.DeltaChildren.com y
haga clic en Registro de Productos (Product Registration).
This product is not intended for institutional or commercial use.
Ce produit ne pas destine a un usage institutionnel ou commercial.
Este producto no esta hecho para uso institucional o comercial.
Summary of Contents for Dresser Commode
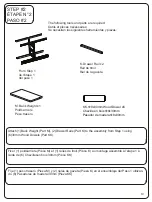
Page 11: ...11 KK KK KK...
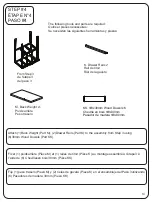
Page 13: ...13 KK KK EE BB KK KK...
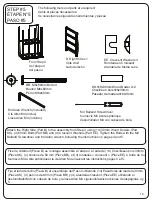
Page 15: ...KK KK KK 15...
Page 17: ...17 KK EE BB B KK KK...


