background image

- 8 -

- 9 -

Installing and mounting the products

1

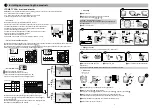
1.5 Configuring a TL 2000 TYXAL+ 

remote control

Butt ons 1 and 2 can be programmed separately. 

You can therefore mix the functi ons.

Examples:

(

1

Mode A

,

2

Mode C

); 

(

1

Mode D

,

2

Mode E

); 

(

1

Mode A

,

2

Mode D

)...

Ask your installer for the appropriate equipment if you want 

openings to be controlled.

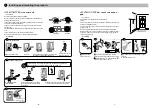
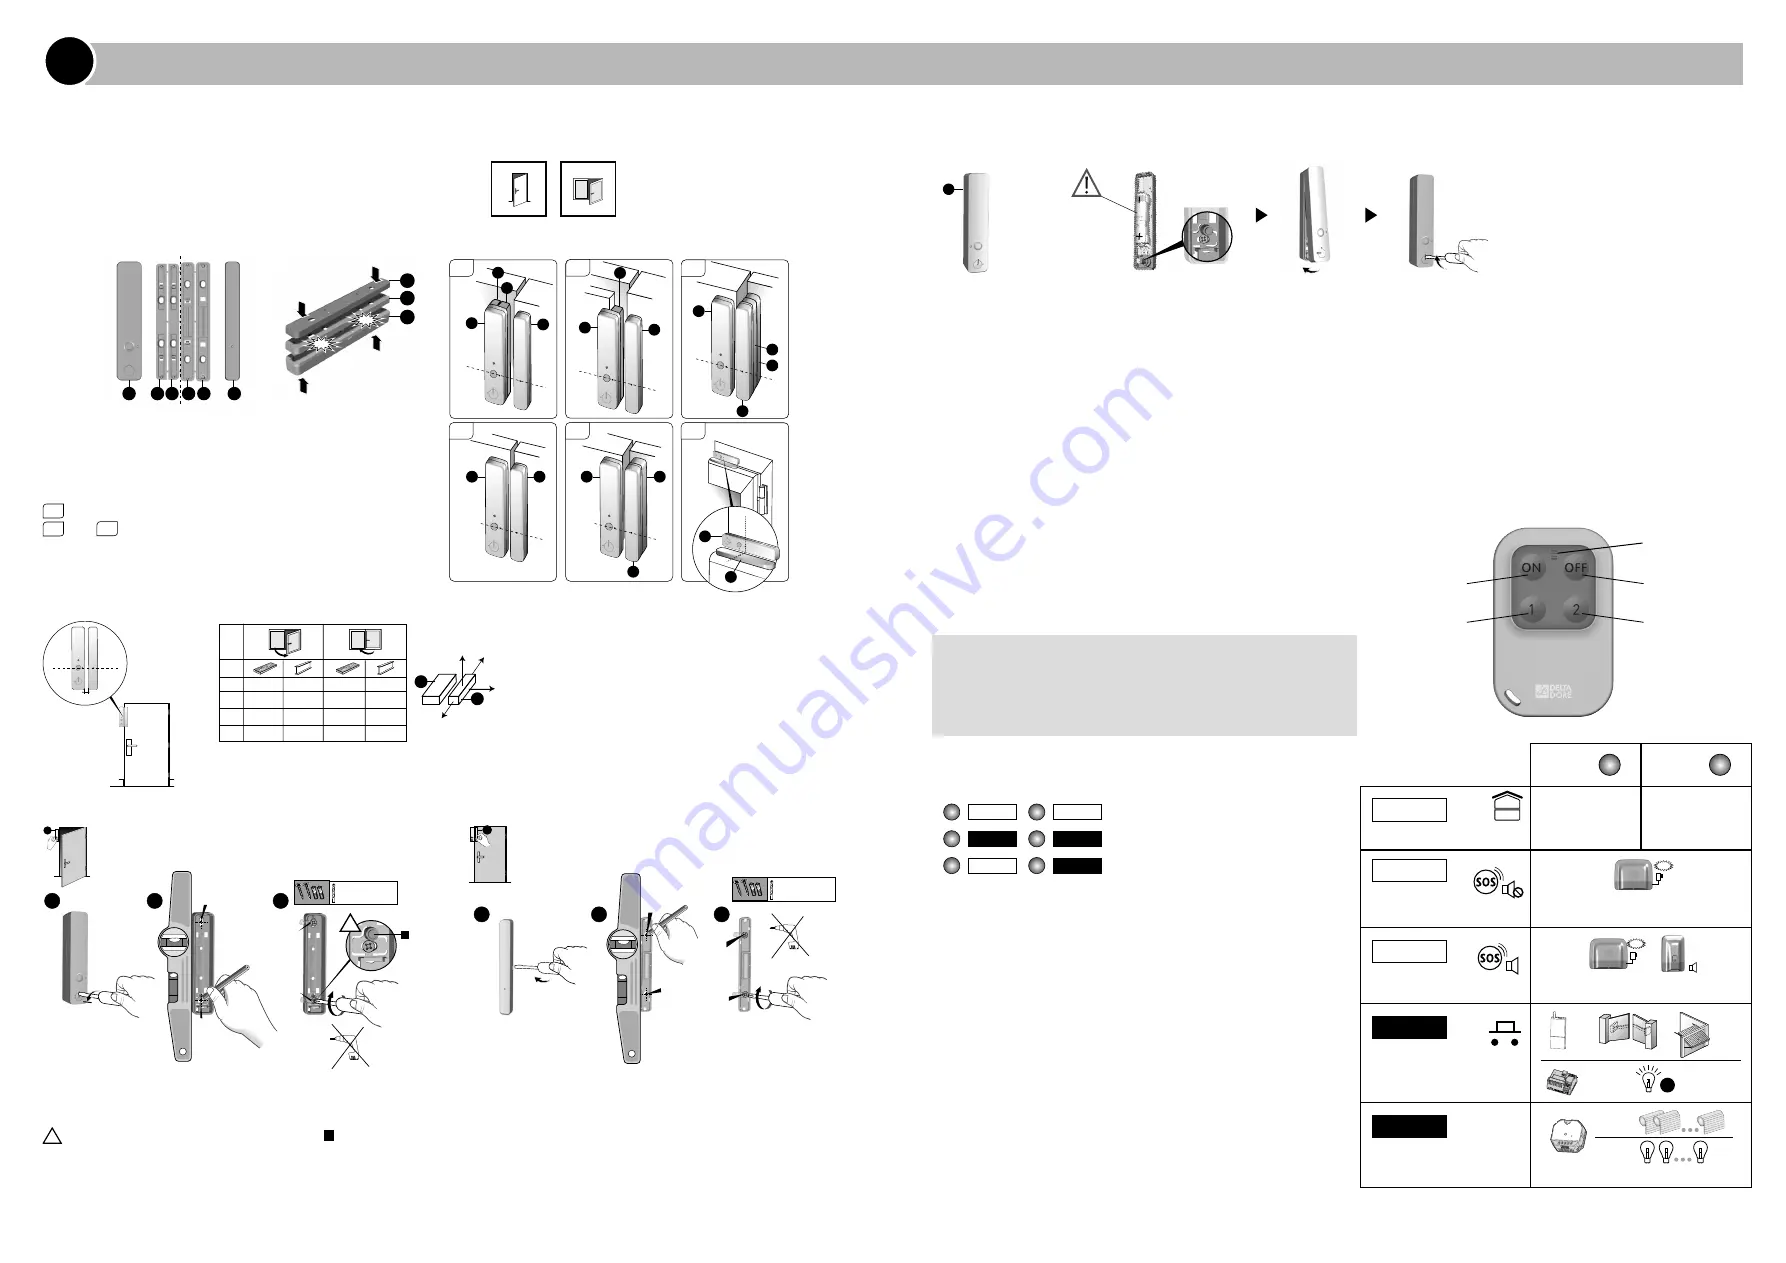
1.4 Door/window magnetic contact DO TYXAL+

The DO TYXAL+ Detects when a door or window is opened 

and reports this to the alarm control unit.

• Location

N°1


do not separate wedges A1 and A2 before assembly.

N°1

 and 

N°2


do not trigger a tamper alarm on opening.

• Magnet triggering distances

• Mounting


Separate the 2 parts of the unit.


Mark and drill holes D1, D2, D3 and D4.


Mount on the wall using screws V1, V2, V3 and V4.

!


Do not damage or lose the rubber part


C


(required for the tamper alarm).

N°4

A

B

A

N°5

A

B

A

B1

N°6

A

B

N°3

B

B1

B2

A

N°1

A1

A2

B

N°2

A2

A

B

A

A1 A2 B2 B1

A

B

B2

B1

B

Clic

Clic

Y

Z

X1

X2

A

B

Y
Z

X1
X2

21

17

mm

17

33

15

9

17

24

17

15
15

29

10

5

14

20

< 5mm

A

B

• Activation

Insert the batt ery, observing the right polarity.

Check that the rubber part is present before closing up the detector.

Lithium battery - AA

LS 14500 3,6 V

A

D3

D4

V4

1

2

3

V3

Ø max 

 3 mm

!

V1

V2

D1

D2

1

2

3

C

Ø max 

 3 mm

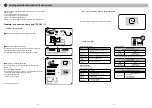
You can acti vate or deacti vate the alarm system with the 

remote control. 

Depending on the confi gurati on defi ned with your installer, 

butt ons 1 and 2 can be programmed and have 

diff erent functi ons (see table opposite).

Acti va-

ti on 

Butt on 1 

programmable

Butt on 2

programmable

LED

Deacti vati on 

the alarm

Button


1

Button 

2

Mode A

Alarm control by zone

ON/OFF zone 1

(e.g. Floor)

ON/OFF zone 2

(e.g. Ground floor)

Mode B

Triggering of an emergency 
alarm with siren

SOS

Transmitter 

without audible signalling

Mode C

Triggering of an emergency 
alarm with siren

+

SOS

Transmitter call + audible alert

Mode D

Pulse control of a control 
system or lighting

x1

Mode E

ON/OFF

ON/OFF control for lighting or 
roller shutters


1

2

Summary of Contents for Pack TYXAL+ Access

Page 1: ...Quick installation guide Pre configured wireless 2 zone alarm pack www deltadore com Pack TYXAL Access 01 19 ...

Page 2: ...asic installation instructions for your products Refer to the system guide for an advanced installation of your Pack The Pack TYXAL Access comprises 1 CS 2000 TYXAL siren control unit 2 TL 2000 TYXAL remote controls 1 DMB TYXAL motion detectors 1 door window magnetic contact DO TYXAL 1 CLT 8000 TYXAL touch screen keypad Siren control unit The control unit is the heart of the system and manages all...

Page 3: ...e base back on to the mounting bracket and secure it with the screws C and D Tamper alarm on opening Important do not damage this part of the support required for the tamper alarm Screw back with care Fit the mounting bracket Lithium battery Bloc pile 2x3 6V LSH 20 ref 6416222 3 Connect the battery unit 1 2 CLT 8000 TYXAL touch screen key pad Location It is advisable to install the touch screen ke...

Page 4: ...coated Medium coated Short coated Fur authorised zone A 1 m mini V3 V7 V8 Tamper alarm on opening Important do not damage or lose the rubber part required for the tamper alarm 30 kg 20 kg 10 kg 0 kg 0 cm 10 cm 20 cm 30 cm 40 cm 50 cm 60 cm 40 kg 50 kg A1 A2 A3 30 kg 20 kg 10 kg 0 kg 0 cm 10 cm 20 cm 30 cm 40 cm 50 cm 60 cm 40 kg 50 kg A1 A2 A3 30 kg 20 kg 10 kg 0 kg 0 cm 10 cm 20 cm 30 cm 40 cm 50...

Page 5: ...A2 B N 2 A2 A B A A1 A2 B2 B1 A B B2 B1 B Clic Clic Y Z X1 X2 A B Y Z X1 X2 21 17mm 17 33 15 9 17 24 17 15 15 29 10 5 14 20 5mm A B Activation Insert the battery observing the right polarity Check that the rubber part is present before closing up the detector Lithium battery AA LS 14500 3 6 V A D3 D4 V4 1 2 3 V3 Ø max 3 mm V1 V2 D1 D2 1 2 3 C Ø max 3 mm You can activate or deactivate the alarm sys...

Page 6: ...and 1 2 buttons simultaneously for 5 seconds until the LED changes to orange Press the 1 2 or 1 2 button The LED flashes Then press the 1 2 or 1 2 button briefly as many times as necessary select the required operating mode to apply Mode A 1 flash Mode B 2 flashes Mode E 5 flashes Press the ON OFF button to confirm The LED changes to green 1 2 or 1 2 Mode A Mode B Mode C Mode E Mode D 5s 1 2 3 1 2 or 1...

Page 7: ...ng a product X X Changing sound levels X Setting the brightness of the CLT8000 screen X X Setting the brightness of the CLT8000 buttons X X Activating deactivating the beeps of the CLT8000 buttons X X Naming the zones X X Programming the call numbers X Incoming calls dual call number of rings X X SMS alert to relatives X X SIM card PIN PUK codes X Activating deactivating the auto attendant transmi...

Page 8: ...status Release the button Use of DHCP Password deletion Association removal 1 1 2 OFF ON Etage Marche Garage Arrêt Alarme Accueil Ma maison Plan Photos 1 Alarme Adding additional products if necessary 4 Products that are not part of the TYXAL Access Pack must be associated with the system intruder detectors and technical detectors keypad badge reader remote controls etc indoor siren telephone tran...

Page 9: ... triggering Enter the installer code 123456 by default and confirm with OK Press Settings select the menu Installation Products Configure then confirm with OK Press the button of the product to change or select it from the list of products by clicking on Browse then confirm with OK Once the product is identified select the Entry timer menu then confirm with OK Select the type of triggering immedia...

Page 10: ...ectromagnetic environment Wireless alarm equipment Environmental class 2 Tamper alarm on opening and dislodging Degree of protection IP30 IK04 Operating temperature 10 C to 55 C Storage temperature 10 C to 70 C Humidity range 75 Dimensions For fixed part 20 5 x 98 3 x 24 5 mm For moving part 12 x 98 3 x 24 5 mm Weight with battery 66 grams Maximum radio power 10 mW Receiver category II Wireless du...

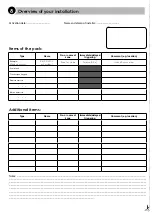
Page 11: ...one Immediate delayed triggering Comment e g location Example Motion detector DMB 0 01 02 or Corridor 1 Zone 1 or Home Delayed 30 s Ground floor corridor Control unit Touch screen keypad Remote controls Motion detectors Additional items Type Name No or name of zone Immediate delayed triggering Comment e g location Notes ...

Reviews: