- 16 -
Once you have accessed the
LOGGING
submenu (previous par.) use the arrows
▲
▼
to select
Self
shut-off mode
:
•
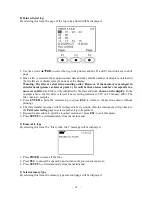
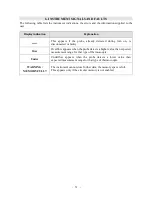
If the set
Log Interval
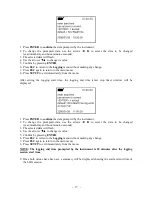
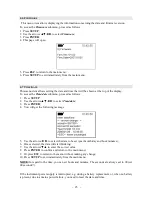
(see previous par.) is lower than 60 seconds, the following will be
displayed
•
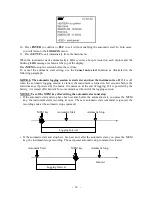
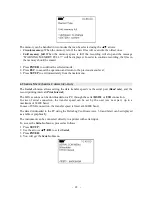
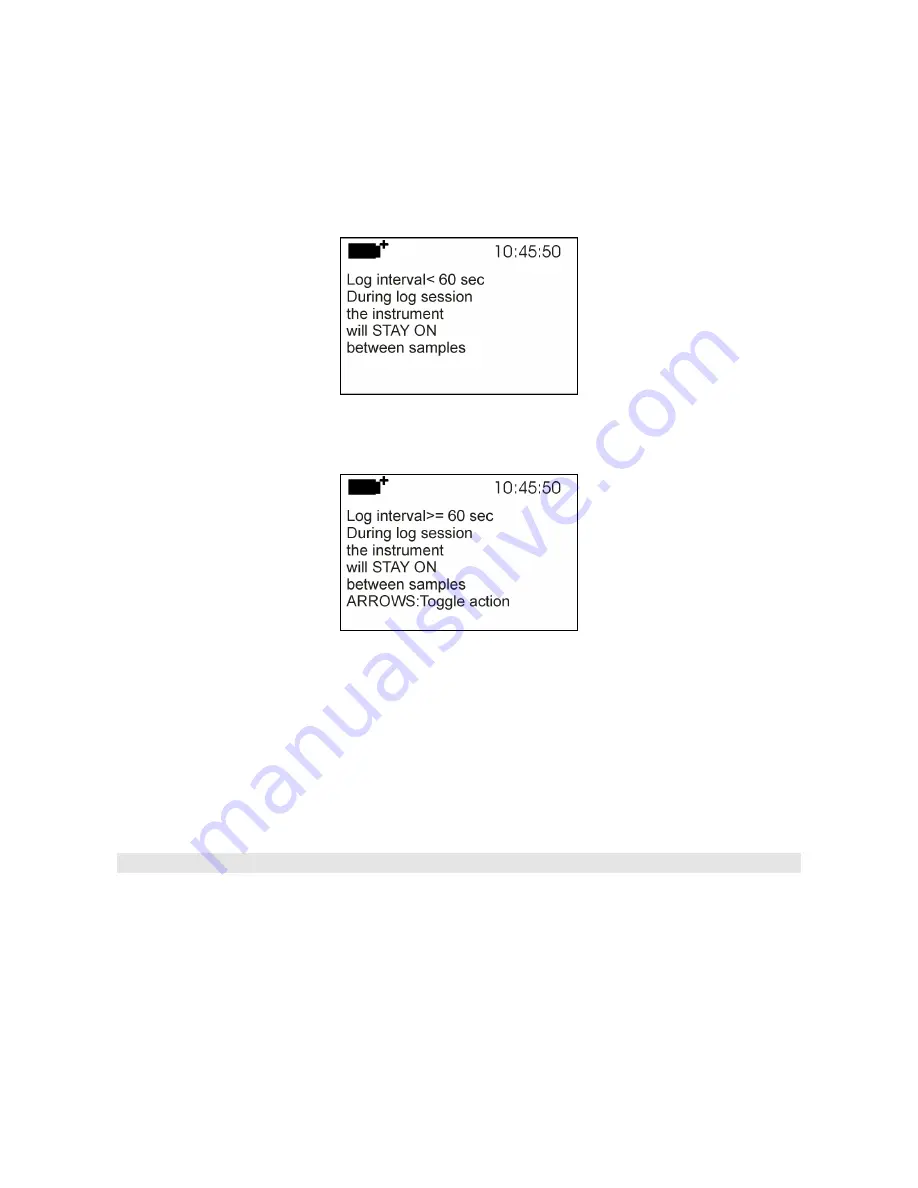
If the set
Log Interval
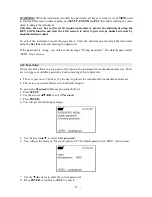
(see previous par.) is greater or equal to 60 seconds, the following
screen will be displayed
1.
By using the arrows
▲
▼
you can select:
STAY ON
(the instrument stays on)
SHUT OFF
(the instrument shuts off between one logging and the next)
2.
Press
ESC
to return to the
Logging
menu;
3.
Press
ESC
again to return to the main menu;
4.
Press
SETUP
to exit immediately from the menu.
4.2.3 Start/stop time
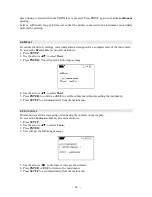
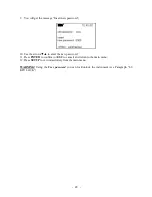
The logging start and end date and time can be programmed. When called,
the function suggests
the current time plus 5 minutes as the start time
: Press <
ENTER
> to confirm or set the date and
time using the
▲▼
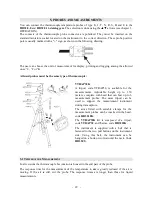
arrows. Then you are asked to set the data to end the recording: By default
(factory setting)
the instrument suggests the start time plus 10 minutes
. The default suggested
values are such to allow the user to setup an instrument ready for acquisition.
To enter this setting, proceed as follows.
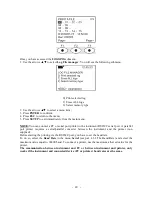
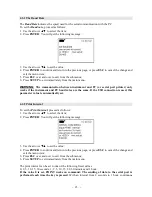
Once you have accessed the
LOGGING
submenu use the arrows
▲
▼
to select
Start/Stop time
:
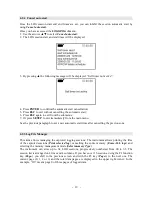
The following message “Enter start time” will be displayed:


