Ethernet Communication Module DVPEN01-SL
DVP-PLC Operation Manual
49
END
M1013
K100
K1
K1
K100
K100
K1
M2
M1
M1
SET
M1
TOP
K28
TOP
TOP
K29
K14
K13
K0
D100
K7
K100
K1
TOP
K1
SET
M2
M1
RST
K100
K1
M2
K14
D14
RST
M2
RST
M2
= D14 K2
= D14 K3
FROM
D100
T D
R
M1000
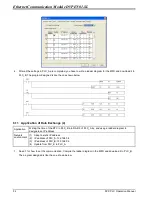
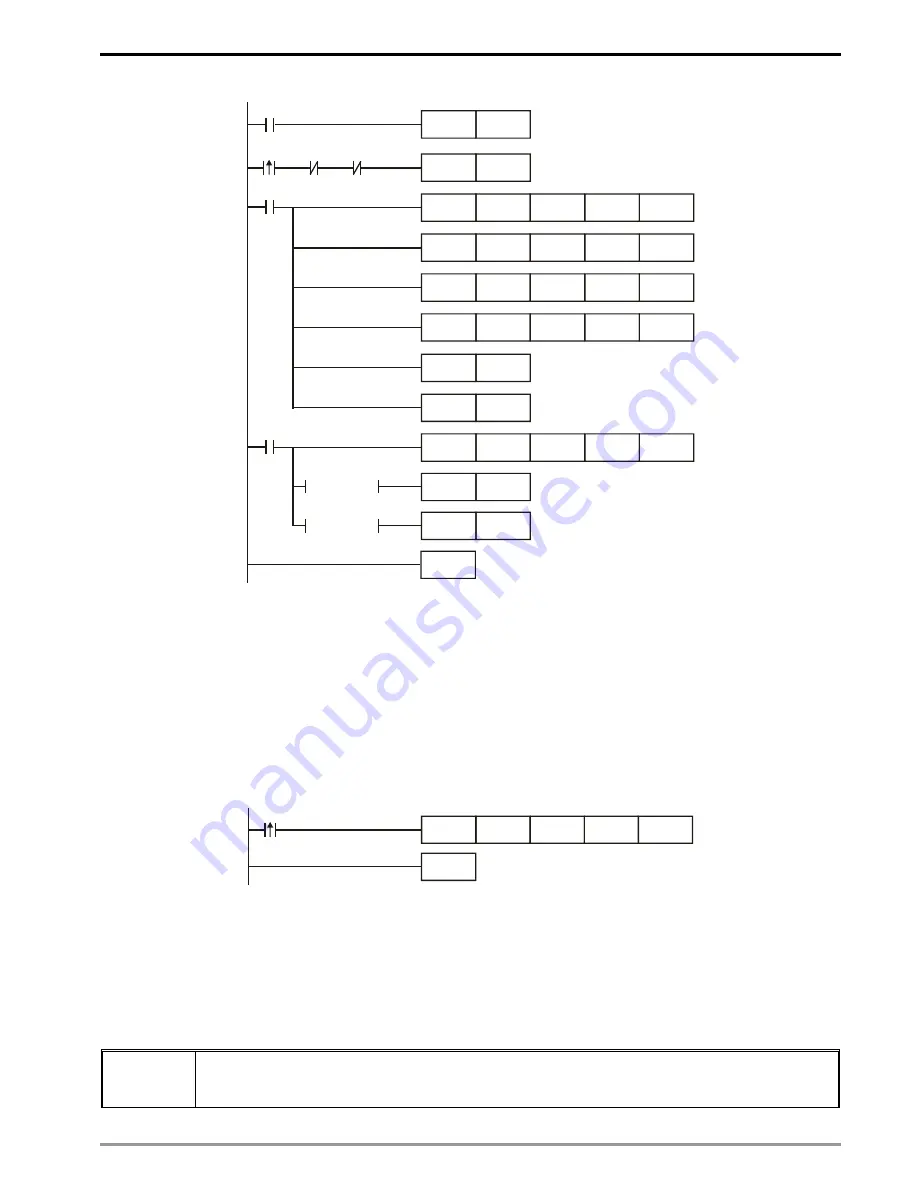
Explanations:
•
The data exchange will be executed every one second.
•
Write the communication address of the destination PLC in CR#28, and DVPEN01-SL will automatically
detect by the previous setting that No. 1 IP address is “192.168.0.4".
•
Write the data in RTC into CR#29~CR#35.
•
Write “1” into CR#13 to start the data exchange.
•
CR#14=2 refers to successful exchange. CR#14=3 refers to failed exchange.
5. Compile the ladder diagram for PLC_A and download it to PLC_A.
END
M1013
K7
D0
K49
K100
FROM
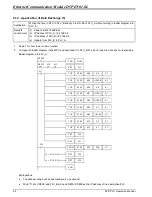
Explanations:
•
The received data are stored in CR#49~CR#55.
•
The data received every one second are written into D0~D6.
6.9 Application of Data Exchange (2)
Firmware version 2.0 and above support this function.
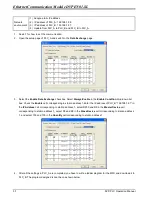
Application
Select
Always Enable
in the
Enable Condition
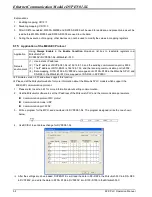
drop-down list box. Enable a timer and write the timer
values into D0~D99. Continuosly write the present values in D0~D99 of PLC_A into D0~D99 of
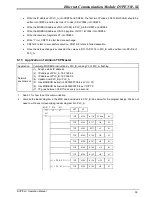
PLC_B, and write the values in D0~D99 of PLC-B into D200~D299 of PLC_A.


