- 165 -
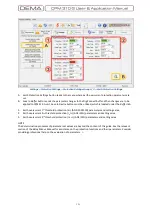
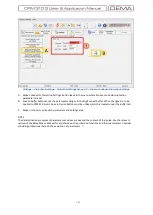
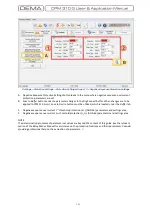
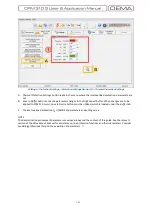
Settings
» Automatic Control Settings » Delaying (Logic) Selectivity Settings
A.
Delaying Selectivity Settings
window is accessed by clicking the
Delay Select. Settings
button in the
Automatic Control Settings
window.
B.
Save to Buffer
button sends the parameter changes to the DigiConnect buffer. When changes are to be
applied to CPM 310 G unit,
Save to Device
button must be utilized, which is located under the
Buffer
tab.
1.
Delay Selectivity Settings
menu includes settings of functions to involve in delaying logic selectivity actions.
Please see the section named
Delaying Logic Selectivity Settings Menu
in the
Relay Menus Manual
earlier
in this book for application and details of the function. Settings on this menu are done the same way on
CPM 310 G menus.
NOTE
Delaying Logic Selectivity and Blocking Logic Selectivity functions cannot be used together within the same
settings group. If for any settings group (e.g. G1) these two functions are both intended to be activated,
the earlier function to be set into service will be pushed out of service automatically.
□
Summary of Contents for CPM 310 G
Page 1: ...CPM 310 G Digital Overcurrent Protection Relay User Application Manual vEN 2016 03...
Page 2: ...2...
Page 6: ...6 ABOUT DEMA...
Page 11: ...11 INTRODUCTION...
Page 32: ...32 PACKING LABELING INFORMATION...
Page 34: ...34 OPERATING MANUAL...
Page 53: ...53 RELAY MENUS MANUAL...
Page 55: ...55 The Menu Tree...
Page 56: ...56...
Page 57: ...57...
Page 58: ...58...
Page 59: ...59...
Page 60: ...60...
Page 61: ...61...
Page 128: ...128 DIGICONNECT PC PROGRAM MANUAL...
Page 189: ...189 APPLICATION DIAGRAMS...
Page 191: ...191 Sample Power Transformer Protection Application Diagram...
Page 193: ...193 FUNDAMENTAL CABLING DIAGRAM...
Page 203: ...203 APPLICATION DIAGRAM NO 10 RS485 Cabling...
Page 204: ...204 TECHNICAL DATA...
Page 220: ...220 GLOSSARY...


