3. Maintenance and troubleshooting
MERMAID E1100-I
STD00
Page 27 of 54
Remove the seeger ring and the seal retainer ring (fig. 28), and with an opposite plastic
pin extract the L.P. (low pressure) gasket
(fig. 29).
At each disassembly, the low pressure seals and all OR rings must be replaced.
With the liner separated from the support, and with an opposite plastic pin ( fig. 30,position 3), push
out the H.P. (high pressure) packing
(
fig. 31, position 4) . At each disassembly, the HP packing
(fig. 31,position 4) must be replaced.
Assembly of the piston unit
– supports – seals
Insert the upper bush (fig.32, position 1) into the liner.
Summary of Contents for MERMAID E1100-I
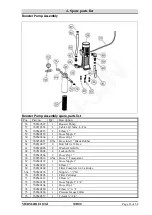
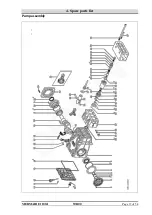
Page 38: ...4 Spare parts list MERMAID E1100 I STD00 Page 37 of 54 Pump assembly ...
Page 46: ...4 Spare parts list MERMAID E1100 I STD00 Page 45 of 54 ...
Page 47: ...4 Spare parts list MERMAID E1100 I STD00 Page 46 of 54 ...
Page 53: ...5 Wiring Diagram MERMAID E1100 I STD00 Page 52 of 54 5 Wiring Diagram ...


