Get
ting Star
ted
Set
tin
g
s
Pla
ybac
k
Remot
e Contr
ol
ZONE2
Inf
or
mation
Tr
oubleshooting
Specifications
ENGLISH
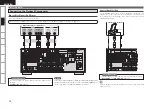
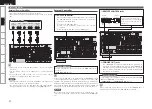
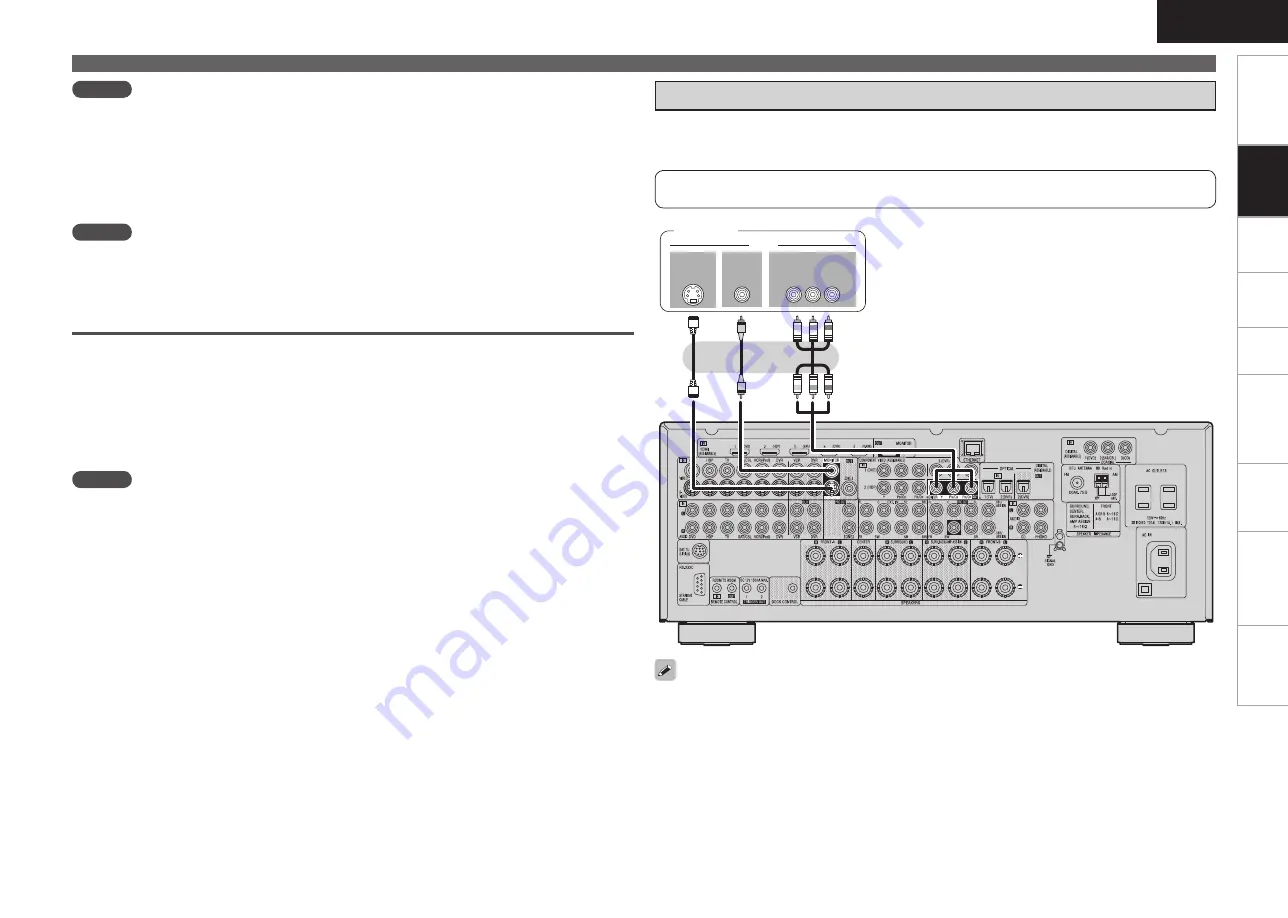
Select the terminal to use and connect the device.
For video connections, see “Converting Input Video Signals for Output (Video Conversion Function)”
(
v
page 9).
•
•
*/
7*%&0
$0.10/&/57*%&0
:
1
#
1
3
7*%&0
*/
47*%&0
*/
Monitor
To listen to TV audio through this device, use the optical digital or analog connection.
Connecting the Monitor
Connecting Devices
For instructions on HDMI connections, see “Connecting Devices Equipped with HDMI Terminals” on
page 13.
NOTE
If the GUI menu “Audio Out” setting (
v
page 35) is set to “AMP”, the sound may be interrupted when
the monitor’s power is turned off.
The audio signal from the HDMI output terminal (sampling frequency, number of channels, etc.) may be
limited by the HDMI audio specifications of the connected device regarding permissible inputs.
•
•
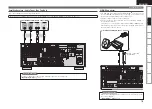
Connecting to a Device Equipped with a DVI-D Terminal
When an HDMI/DVI conversion cable (sold separately) is used, the HDMI video signals are converted
to DVI signals, allowing connection to a device equipped with a DVI-D terminal.
NOTE
No sound is output when connected to a device equipped with a DVI-D terminal. Also make the audio
connections.
Signals cannot be output to DVI-D devices that do not support HDCP.
Depending on the combination of devices, the video signals may not be output.
n
•
•
•
Settings Related to HDMI Connections
Set as necessary. For details, see the respective reference pages.
Input Assign
(
v
page 44)
Set this to change the HDMI input terminal to which the input source is assigned.
HDMI Setup
(
v
page 35)
Make settings for HDMI video/audio output.
RGB Range
Auto Lip Sync
NOTE
The audio signals output from the HDMI connectors are only the HDMI input signals.
n
n
•
•
Audio Out
HDMI Control
•
•
Connections


