18
n
Proxy settings
Configure these settings to connect to the internet via a proxy
server.
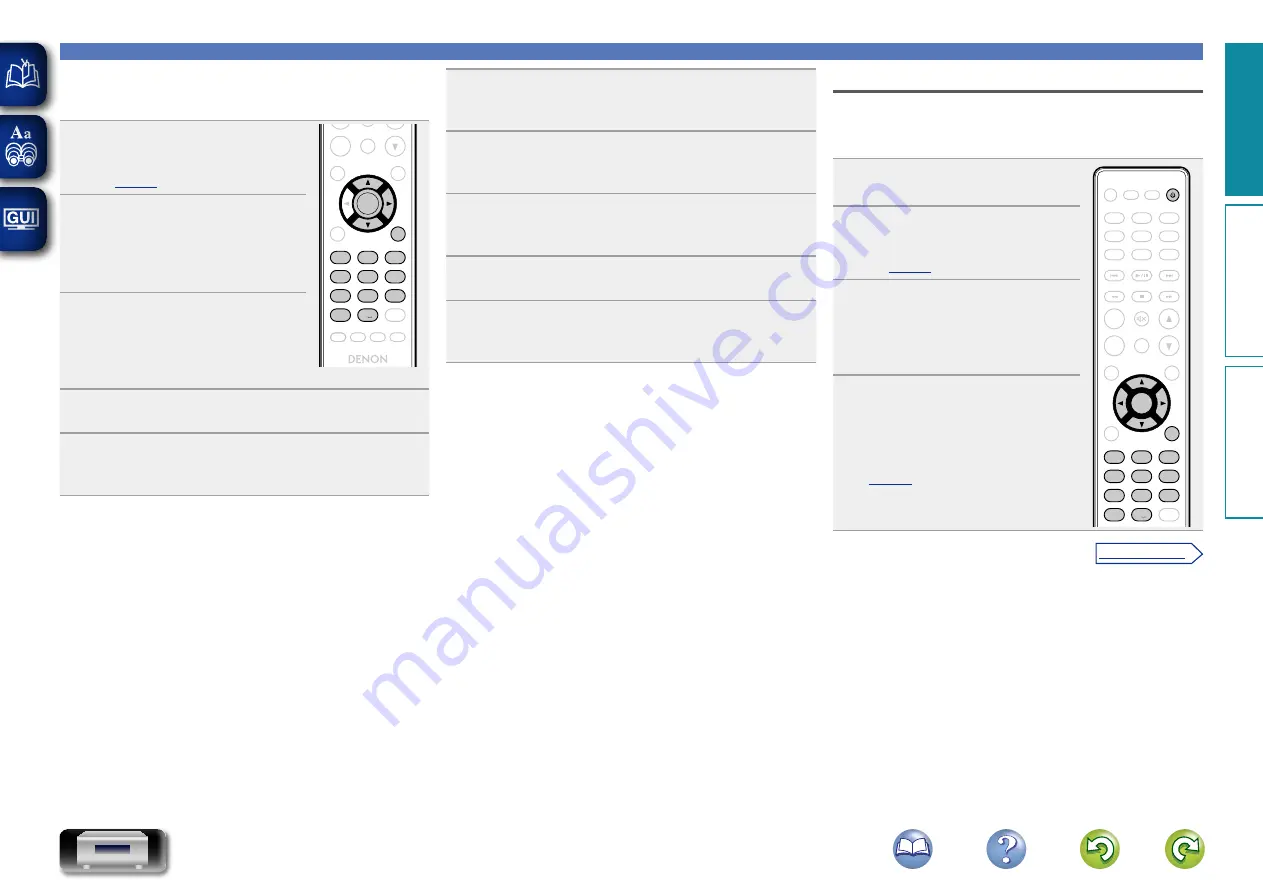
1
Press
SETUP
.
Turns on the Menu settings mode
and the Menu appears on the display
(
ADD
CALL
FAVORITE
SEARCH
RC-1174
CH -
+
CH
TUNE +
TUNE -
ANALOG IN
TUNER
DIGITAL IN
POWER
CLOCK
DIMMER
SLEEP
MUSIC
SERVER
INTERNET
RADIO
ONLINE
MUSIC
VOLUME
SDB
TONE
MUTE
TOP MENU
INFO
MODE
CLEAR
USB
iPod
CD
RANDOM REPEAT PROGRAM
ENTER
SETUP
. /
ABC
a/A
DEF
GHI
JKL
MNO
PQRS
TUV
WXYZ
*
1
2
3
4
5
6
7
8
9
+10
0
2
Use
ui
and
ENTER
to select
“Network” – “Settings” –
“Proxy”, then press
ENTER
or
p
.
“Setup Proxy” menu appears.
3
If “Proxy(On)” appears, go to
step 5.
If “Proxy(Off)” appears, press
ENTER
or
p
.
“Select Proxy” menu appears.
4
Use
ui
to select “On”, then press
ENTER
or
p
.
“Setup Proxy” menu appears.
5
Use
ui
to select “Proxy (Address)” or “Proxy
(Name)”, then press
ENTER
or
p
.
“Select Type” menu appears.
Setting the network [Network]
6
Use
ui
to select “Address” or “Name”, then press
ENTER
or
p
.
“Setup Proxy” menu appears.
7
Use
ui
to select “Address” or “Name”, then press
ENTER
or
p
.
“Enter Proxy Address” or “Enter Proxy Name” menu appears.
8
Use
uip
or
0 – 9, +10
to input the address or name,
then press
ENTER
.
“Setup Proxy” menu appears.
9
Use
ui
to select “Port”, then press
ENTER
or
p
.
“Enter Proxy Port” menu appears.
10
Use
uip
or
0 – 9
to input the port, then press
ENTER
.
The Proxy settings are completed.
Connecting wireless LAN
Use this procedure to configure the wireless LAN settings.
n
Auto-Scan (Wireless LAN)
If a LAN cable is connected, remove it.
1
Press
POWER
X
to turn on
power to the main unit.
ADD
CALL
FAVORITE
SEARCH
. /
ABC
a/A
DEF
GHI
JKL
MNO
PQRS
TUV
WXYZ
*
1
2
3
4
5
6
7
8
9
+10
0
RC-1174
CH -
+
CH
TUNE +
TUNE -
ANALOG IN
TUNER
DIGITAL IN
CLOCK
DIMMER
SLEEP
MUSIC
SERVER
INTERNET
RADIO
ONLINE
MUSIC
VOLUME
SDB
TONE
MUTE
TOP MENU
INFO
MODE
CLEAR
USB
iPod
CD
RANDOM REPEAT PROGRAM
ENTER
SETUP
POWER
2
Press
SETUP
.
Turns on the menu settings mode
and the menu appears on the display
(
3
Use
ui
and
ENTER
to select
“Network” – “Settings” – “Auto-
Scan”, then press
ENTER
or
p
.
The access point you have set is
displayed.
4
Use
ui
to select the access
point, and then press
ENTER
or
p
.
•
If the access point is not detected
automatically, configure it manually
(
Pr
epar
ations
Oper
ations
Inf
or
mation
Pr
epar
ations
v
See overleaf


