background image

Getting Started

Getting Started

2

ENGLISH

ENGLISH

About discs

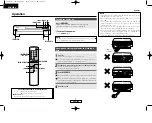
Discs usable on this set

q

Music CDs

Discs with the mark at the right can be used on
this set.
Note however that discs with special shapes
(heart-shaped discs, octagonal discs, etc.) cannot
be played. Do not attempt to play them, as doing
so could damage the set.

w

CD-R/CD-RW

• Some discs and some recording formats may not be playable.
• Non-finalized discs cannot be played.

Finalization:

Finalization is the process that makes recorded CD-R/CD-RW discs
playable on compatible players.

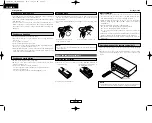
Holding discs

Do not touch the signal surface.

NOTE:

This CD player uses a semiconductor laser. To ensure stable
operation, it is recommended to use the set indoors at a
temperature of 5°C (41°F) ~ 35°C (95°F).

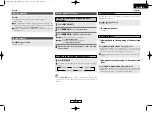
Before playing MP3 or WMA (Windows Media®
Audio) files

There are many music distribution sites on the Internet allowing you
to download music files in MP3 or WMA format. The music (files)
downloaded from such sites can be stored on CD-R or CD-RW discs
and played on the this CD player.

According to copyright laws, recordings you have made
should only be used for your personal enjoyment and must
not be used in other ways without the consent of the
copyright holder.

“Windows Media” and “Windows” are registered trademarks or
trademarks in the United States and other countries of the Microsoft
Corporation of the United States.

NOTE:

• This CD player is compatible with “MPEG-1 Audio Layer-3”

standards (sampling frequency of 44.1 and 48 kHz). It is not
compatible with “MPEG-2 Audio Layer-3”, “MPEG-2.5 Audio
Layer-3”, MP1 or MP2 standards.

• The signals are output with a sampling frequency of 44.1 kHz.
• When writing MP3 files on a CD-R or CD-RW disc, set the writing

software’s format to “ISO9660 Level 1”. The files may not play
properly if they are recorded in other formats. Also note that with
some writing software it is not possible to record in ISO9660
format. If so, use a different program allowing you to record in
ISO9660 format.

• With MP3 files, the higher the bit rate, the better the sound

quality. The compatible bit rate range is 32 to 320 kbps for MP3
files, 64 to 160 kbps for WMA files. We recommend using MP3
files with bit rates of 128 kbps or greater on the this CD player.

• Be sure to add the extensions “.MP3” or “.WMA” to MP3 or

WMA files, respectively. Files with extensions other than
“.MP3” or “.WMA” or files without extensions cannot be
played. (On Macintosh computers, MP3 files can be played by
giving the extension “.MP3” after the file name consisting up a
maximum of 8 alphanumeric characters and storing the files on a
CD-R or CD-RW disc.)

• This CD player is not compatible with packet write software or

playlists.

• The time may not be displayed properly when searching or

pausing during variable bit rate playback.

• The time display cannot be switched “TOTAL REMAIN” using

the 

TIME

button on the remote control unit.

NOTE:

• Multisession and CD-R/CD-RW discs that have not been

completely written can be played, but we recommend using
discs closed after a maximum of 10 sessions or discs that have
been completed.

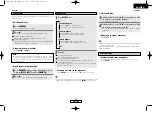
• The maximum number of files and folders playable is 512 (total

of the number of folders and files). The maximum number of
folders is 256.

• Copyright-protected WMA files cannot be played. (“– – : – –” is

displayed. Use the 

8

/

6

or 

7

/

9

button on the main

unit (the 

8

or 

9

button on the remote control unit) to select

a different file.)

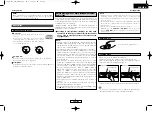
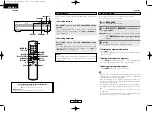
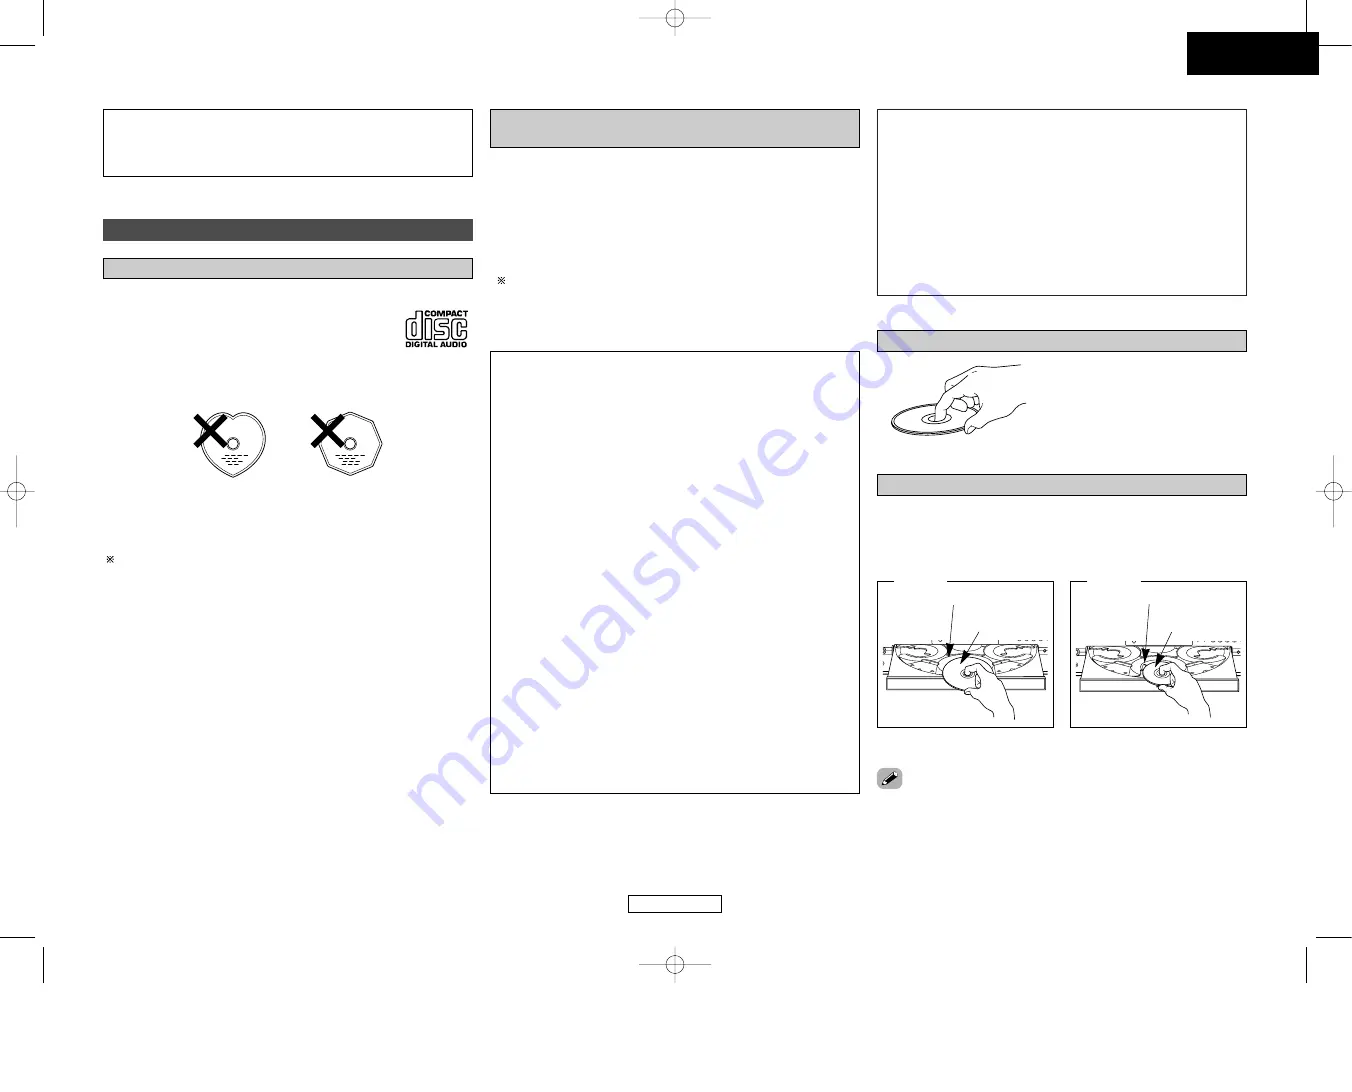
Loading discs

• Set the disc with the labeled side facing up.
• Make sure the disc tray is fully open when inserting the disc.
• Place the discs flatly, 12 cm discs in the outer tray guide (Figure 1),

8 cm discs in the inner tray guide (Figure 2).

Figure 1

Outer tray guide

12 cm discs

Figure 2

Inner tray guide

8 cm discs

• Place 8 cm discs in the inner tray guide without using an adapter.

• “0 000 00:00” is displayed if no disc is loaded, if a disc that cannot

be played is loaded or if the disc is loaded upside-down.

1.DCM-390_290_ENG_Last  06.4.13 4:33 PM  Page 2

Summary of Contents for DCM-290

Page 1: ...CD AUTO CHANGER DCM 290 OPERATING INSTRUCTIONS 1 DCM 390_290_ENG_Last 06 4 13 4 33 PM Page 1 ...

Page 2: ...olarized plug 13 Power Cord Protection Power supply cords should be routed so that they are not likely to be walked on or pinched by items placed upon or against them paying particular attention to cords at plugs convenience receptacles and the point where they exit from the product 15 Outdoor Antenna Grounding If an outside antenna or cable system is connected to the product be sure the antenna o...

Page 3: ...one or more of the following measures Reorient or relocate the receiving antenna Increase the separation between the equipment and receiver Connect the product into an outlet on a circuit different from that to which the receiver is connected Consult the local retailer authorized to distribute this type of product or an experienced radio TV technician for help This Class B apparatus complies with ...

Page 4: ... the player there are two red shipping screws for use when the player is transported Before using the player turn these screws counterclockwise and remove them If the shipping screws are still in place and the power is turned on the disc tray will not open If this happens turn off the power unplug the power supply cord from the power outlet and remove the shipping screws Retain these screws as the...

Page 5: ...ot possible to record in ISO9660 format If so use a different program allowing you to record in ISO9660 format With MP3 files the higher the bit rate the better the sound quality The compatible bit rate range is 32 to 320 kbps for MP3 files 64 to 160 kbps for WMA files We recommend using MP3 files with bit rates of 128 kbps or greater on the this CD player Be sure to add the extensions MP3 or WMA ...

Page 6: ...ay at a time Loading two or more discs per tray can damage the set or scratch the discs Do not use cracked or warped discs or discs that have been repaired with adhesive etc Do not use discs on which the sticky part of cellophane tape or labels is exposed or on which there are traces of where labels have been removed Such discs could get caught inside the player and damage it Cautions on handling ...

Page 7: ... disc 1 DISC SKIP button Each time this button is pressed the carousel will rotate in a clockwise direction to the next tray position This allows for loading or unloading of discs This button is also used to select the next disc in the normal play continuously 2 OPEN CLOSE button 5 Press this button when opening The drawer is opened toward the front Press the button again to close the drawer 3 Loa...

Page 8: ...nnect these to the amplifier s input terminal e REMOTE CONTROL jack ROOM TO ROOM IN This is the input connector for wired remote control Consult your DENON dealer if you wish to use this connector r REMOTE CONTROL jack ROOM TO ROOM OUT This is the output connector for wired remote control Consult your DENON dealer if you wish to use this connector t COAXIAL terminal This terminal outputs digital d...

Page 9: ...ge Digital connections Coaxial B Coaxial cable 75 Ω ohms pin plug cable Digital signals are output from optical terminal and coaxial terminal with parallel A R L AUDIO IN R L R L Analog connections Stereo amplifier Use the included pin plug cable to connect the left L and right R output terminal LINE OUT of the CD Player to the CD AUX or TAPE PLAY left L and right R input terminal of the amplifier...

Page 10: ...isc is currently playing 3 Press 5 again 4 NOTE The player will not operate properly and the disc may even be damaged if it is not set correctly If your finger should get caught in the drawer when it closes press 5 Do not place any foreign objects on the disc tray and do not place more than one disc on the tray at a time Otherwise malfunction may occur Do not push in the disc tray manually when th...

Page 11: ... to 5 to select the disc 1 2 Use NUMBER 0 9 10 to select the track Example To play the 4th track on the 3rd disc Press DISC SELECT 3 4 Example To play the 12th track on the 5th disc Press DISC SELECT 5 10 2 3 Playback begins from the number of the disc and track selected 4 To move to the next disc during playback Press DISC SKIP The carousel in the drawer turns and the disc on the next tray is pla...

Page 12: ...n the programmed tracks are all on the same disc is displayed when tracks on more than one disc are programmed In the case that the total playing time of programmed tracks becomes more than 99 59 is displayed Press 7 or press and hold 7 9 during playback is displayed if the end of the last track is reached during manual searching If this happens use 6 or 8 6 to turn the display off Press 6 or pres...

Page 13: ...ssible during programmed playback or random playback Press RANDOM The RANDOM indicator lights Press 1 A track is selected automatically and playback starts During programmed playback The programmed tracks are played in random order During repeat playback The tracks are played once in random order then played again in a different order and this is repeated 1 2 Stopping random playback Press RANDOM ...

Page 14: ...he amplifier s function and controls and adjust as necessary 6 No digital signals are output The connection cables are not properly connected Check the connections 6 Specific section of the disc cannot be played properly The disc is dirty or scratched Wipe the dirt off the disc or replace the disc 3 Programmed playback is not possible The tracks have not been programmed properly Program properly 9...

Page 15: ...12 cm 5 inch and 8 cm 3 inch Digital output Coaxial 0 5 Vp p 75 Ω ohms OPTICAL 15 21 dBm Light emission wavelength 660 nm Phones output 0 04mW General Power supply AC 120 V 60 Hz Power consumption 15 W Maximum external dimensions 434 W x 120 H x 400 D mm 17 3 32 x 4 3 4 x 15 3 4 including protruding parts Mass 6 3 kg 13 1 lbs Remote control unit RC 1033 Remote control type Infrared pulse Batteries...

Page 16: ...Denon Brand Company D M Holdings Inc Printed in China 00D 511 4437 001 TOKYO JAPAN www denon com 4 DCM 390_290_Backpage 06 4 13 4 40 PM Page 1 ...

Reviews: