ENGLISH
37
USING THE TIMER
19
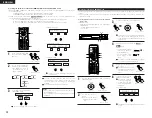
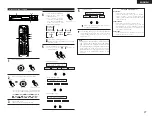
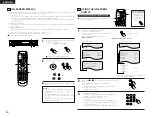
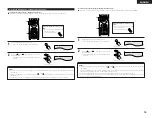
(1) Setting the current time (24-hour display)
Example: To set the current time to “19:30”
2,3,5,7
1
4,6
1
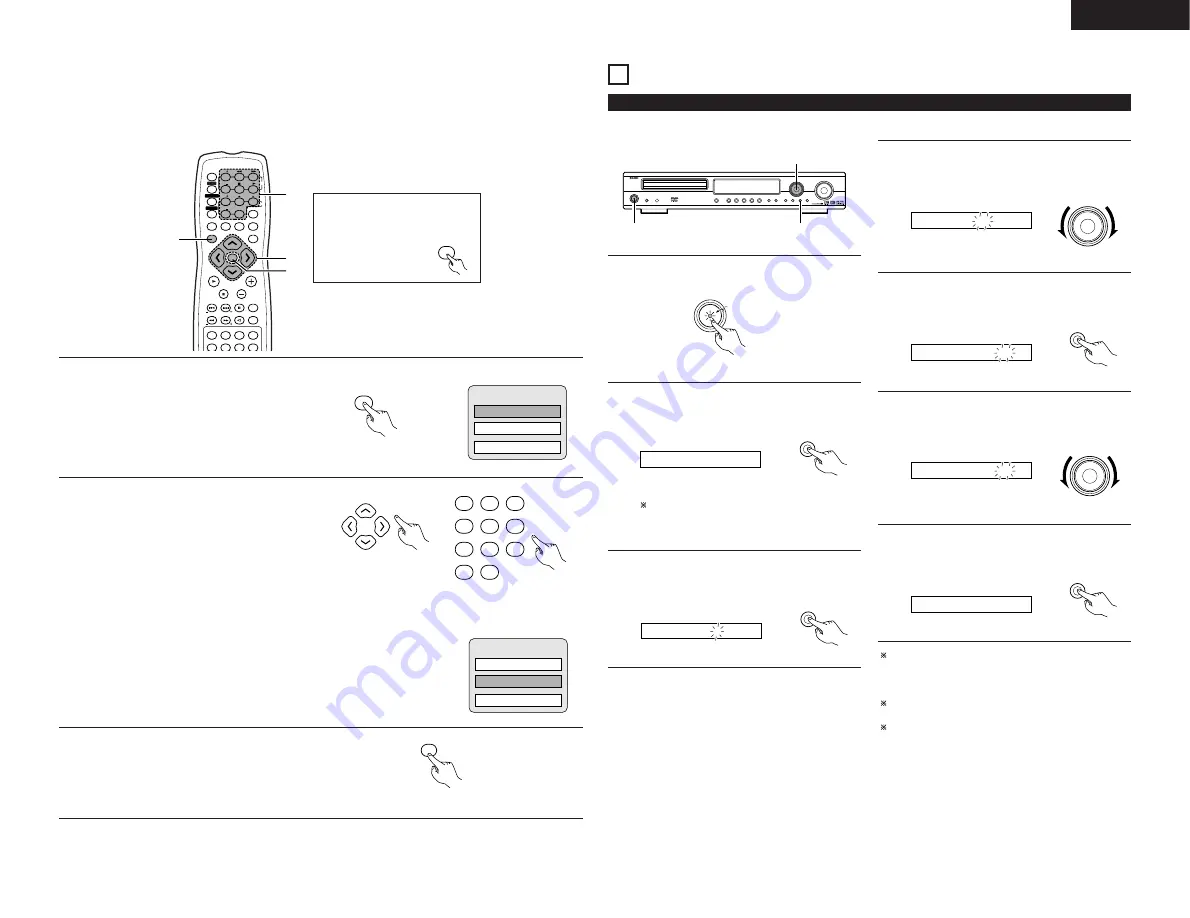
Turn on the power.
ON / STANDBY
Main unit
Green
2
Press the TIMER/SET button and hold it in for at least 2
seconds.
•
“SET TIME” is displayed.
TIMER/SET
Main unit
SET TIME
If the time is already set, “EVERYDAY” is displayed.
Turn the FUNCTION/SELECT dial to display “SET
TIME”, then continue on to step 3.
3
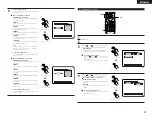
Press the TIMER/SET button.
•
“Adj” is displayed and the hours’ place in the time
display flashes.
TIMER/SET
Main unit
Adj. 0:00
4
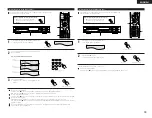
Turn FUNCTION/SELECT dial to set the hours’ place to
“19”.
•
The “19” flashes in the hours’ place.
FUNCTION
/ SELECT
Main unit
Adj. 19:00
5
Press the TIMER/SET button.
•
The “19” in the hours’ place stops flashing,
remaining lit, and the minutes’ place starts flashing.
TIMER/SET
Main unit
Adj. 19:00
6
Turn the FUNCTION/SELECT dial and set the minutes’
place to “30”.
•
The “30” flashes in the minutes’ place.
FUNCTION
/ SELECT
Main unit
Adj. 19:30
7
Press the TIMER/SET button to start the clock running.
•
The time is set and the clock starts counting the
time.
TIMER/SET
Main unit
Time 19:30
To check the current time when something else is
displayed, press the TIMER/SET button once. The current
time appears and remains displayed until another operation
is performed.
When the TIMER/SET button is pressed again while the
time is displayed, after which the normal display reappears.
The time can be displayed by pressing the TIMER/SET
button while the power is in the standby mode. (The power
is now no longer in the energy-saving standby mode.)
When the TIMER/SET button is pressed again while the
time is displayed, after which the display turns off and the
power is set back to the energy-saving standby mode.
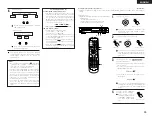
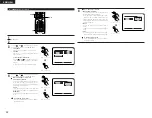
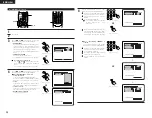
[2] Using the DVD Menu
2
Some DVDs include special menus called DVD menus.
For example, DVDs with complex contents may contain guide menus, and DVDs with multiple languages may contain audio
and subtitle language menus.
These menus are called “DVD menus”.
Here we describe the general procedure for using DVD menus.
VOLUME
ENTER
BAND
MODE
MENU
FUNCTION
DISPLAY
RETURN
INPUT MODE SURROUND
TOP MENU
MUTE
SUB TITLE
ANGLE
AUDIO
SHIFT
CH
TU
PROG/DIRECT REPEAT A-B
REPEAT
RANDOM
TV/VCR
CH
VOL
SLEEP
ON
OFF
2
3
4
5
6
8
9
CLEAR
CALL
0
+10
7
1
STATUS
VCR POWER
VCR POWER
TV POWER
TV POWER
TV
VCR
NTSC/PAL
MEMO
POWER
POWER
CH
CH
CH
2
2
3
1
Before operating the remote control
unit!
•
Be sure to set the DVD mode using
the remote control
mode selector buttons.
DVD
1
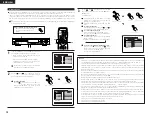
During playback, press the MENU button.
•
The DVD menu appears.
MENU
Remote control unit
2
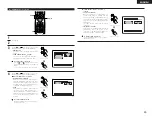
Use the cursor or number buttons to select the desired
item.
•
If you select the item using the number buttons, skip
step 3 below.
Remote control unit
2
3
4
5
6
8
9
0
+10
7
1
Example:
Remote control unit
Example:
“AUDIO” is selected
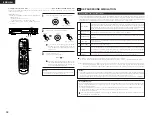
3
Press the ENTER button.
•
The selected item is set.
•
If more menus appear, repeat steps 2 and 3.
ENTER
Remote control unit
1. SUB TITLE
2. AUDIO
3. ANGLE
DVD MENU
1. SUB TITLE
2. AUDIO
3. ANGLE
DVD MENU


