12
ENGLISH
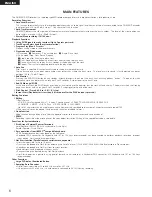
ABOUT MINIDISCS
2
MiniDiscs allow a maximum of 74 minutes (stereo) of recording and
playback in a compact size.
There are two types of MiniDiscs: those for playback only, and those
for recording and playback.
Recordable MiniDiscs
• These are magneto-optical discs on which both
recording and playback are possible. Recording
is performed through magnetic modulation.
• Re-recording is also possible.
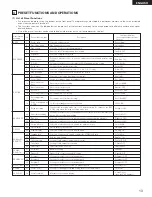
Accidental erasure prevention tabs
These tabs protect recordable MiniDiscs from accidental erasure.
To avoid accidentally erasing the recording, open the tab so that the
hole is exposed. (See the diagram below.) When this is done,
“Protected” is displayed if you attempt to record, erase or otherwise
edit the disc, and the recording is protected. To record or erase the
disc, set the tab back to its original position (with the hole covered).
Recording on discs
MiniDiscs include a section in
which the audio signals are
recorded and a section in which
such data as track numbers and
track titles are recorded.
2
The TOC
With MiniDiscs, after the audio signals are recorded, data used for
checking the tracks (TOC–Table of Contents) is also recorded on the
disc. This TOC data is used when playing the disc. In addition,
editing is performed by rewriting the TOC data.
When TOC writing starts, the “
” indicator flashes. Do not
shake the main unit, press the main unit’s power button or unplug
the power cord while the TOC is being written. If the data is not
recorded properly, it will not be possible to play the disc.
2
Handling MiniDiscs
MiniDiscs are housed in cartridges, so there is no need to worry
about dirt and scratches. However, dirty or warped cartridges may
cause malfunction. Be careful of the following to ensure long-lasting,
high quality sound:
• Do not touch the disc surface directly.
• Do not open the shutter by hand.
• Do not place MiniDiscs in dusty, dirty or humid places.
• Do not place MiniDiscs in places exposed to direct sunlight or high
temperatures.
Cleaning
Use a dry cloth to gently wipe dirt or dust off the cartridge. Do not
apply excessive force.
TOC
Section in which audio
signals are recorded
Hole exposed
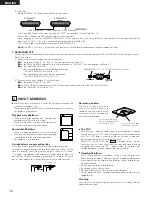
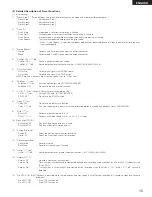
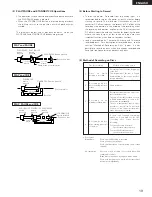
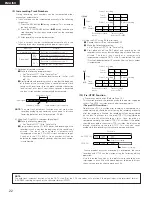
(3) Relay Rec
Multiple DN-M991R’s can be connected for relay playback.
REMOTE
DN-M991R-1
REMOTE
DN-M991R-2
REC E.O.M. tally
REC E.O.M. tally
PLAY command
11
2
11
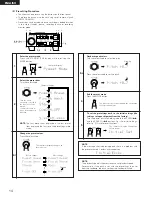
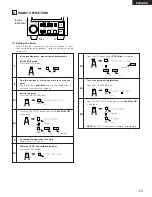
2. SERIAL REMOTE
When using this unit connected to a controller or personal computer, connect the remote connector (RS-232C/RS-422A) to the controller using a
9-pin D-sub cable.
(1) When using the serial remote with a bus connection.
q
Set the preset “Player ID” to “0 to 15”. (For the operation, see Page 13.)
w
Set the RS232C/RS422A selector switch of the rear panel to “RS-422A”. (For the operation, see Page 9.)
e
Set the TERMINATOR switch.
Units connected midway through the bus connection:
Set the TERMINATOR switch to “OFF”.
Units connected at the end of the bus connection:
Set the TERMINATOR switch to “ON”.
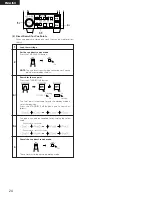
(2) When using the serial remote 1:1 with controller.
q
Set the preset “Player ID” to “OFF”.
w
The RS232C/RS422A selector switch (a) of the rear panel can be used with either RS-422A or RS-232C.
e
Set the TERMINATOR switch to “ON”.
The “Relay Red Mode” is set when anything but “OFF” is selected for “Preset RelayRec” 19).
When a disc is loaded, the REC monitor mode is set automatically.
Once recording on the first DN-M991R (DN-M991R-1) starts and the disc’s remaining recording time reaches the time specified with the
presettings, an REC E.O.M. tally is output and recording starts on DN-M991R-2.
Thus, it is possible to record continuously on multiple DN-M991R’s.
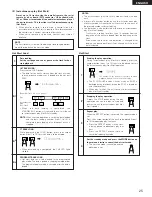
NOTE:
The REC E.O.M. tally is output even if an error occurs on the recording component and the component stops.
RS232C / RS422A
OFF
ON
RS232C
RS422A
TERMINATOR Switch
RS232C/RS422A selector Switch
3
Playback only MiniDiscs
• These discs are for playback only. Commercially
available music MDs are of this type.
• These are laser discs, like regular compact discs.
• Tracks on such discs cannot be edited.
Section in which track
numbers and track titles
are recorded (TOC)


