14
ENGLISH
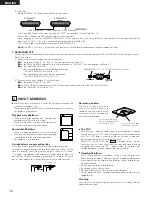
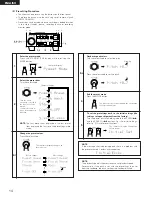
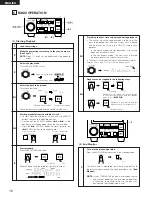
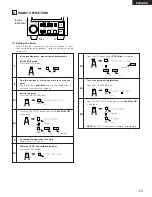
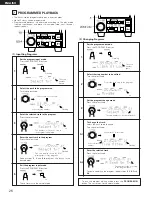
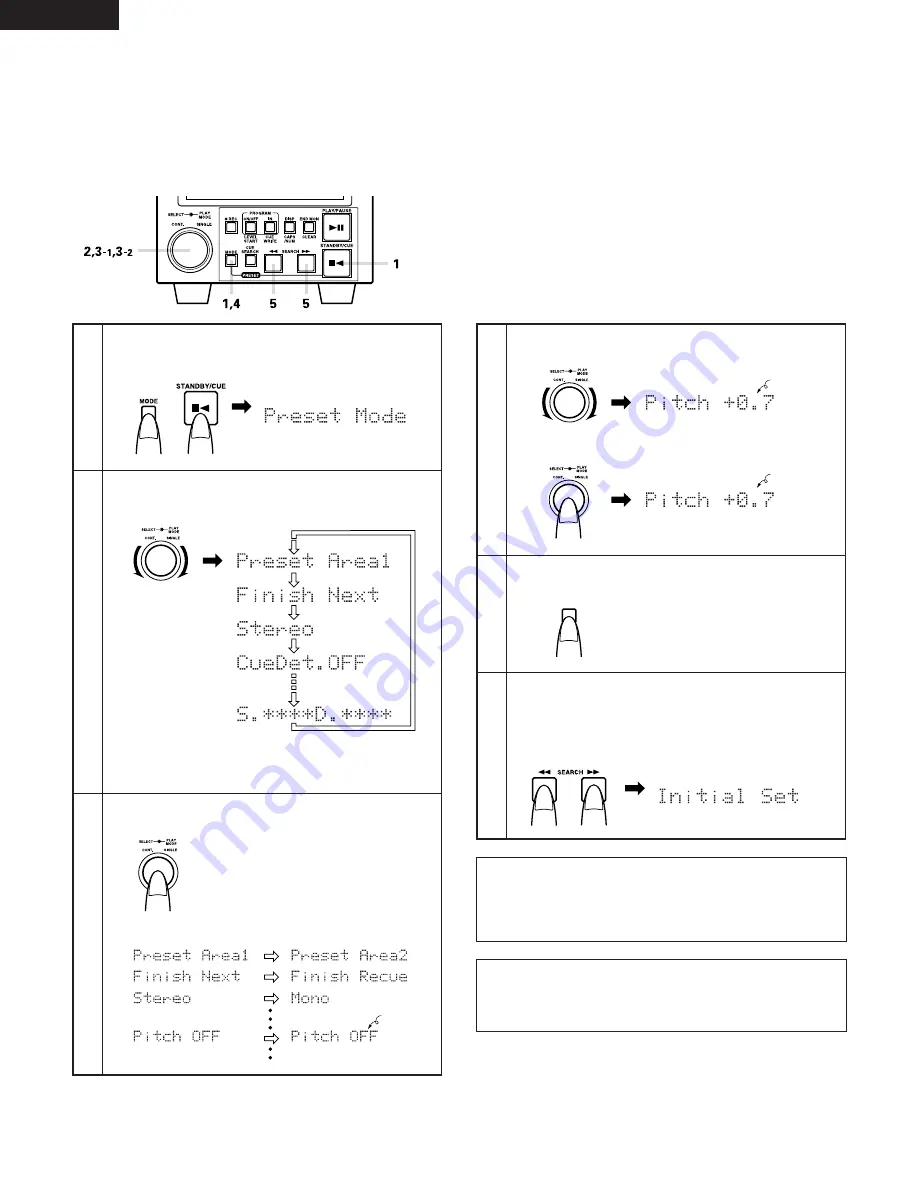
(2) Presetting Procedure
• Functions can be preset using the buttons on the front panel.
• The presettings can also be set using serial remote signals
(RS232C/RS422A).
• Presettings can be made when no cartridge is loaded or when
in the stop, standby, pause, recording pause or recording
monitor mode.
1
4
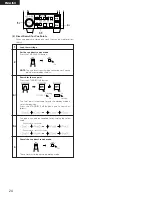
Exit the preset mode.
Press the MODE button.
MODE
5
To set the presettings back to the initial settings (the
settings set upon shipment from the factory).
Turn the power on while holding in both the SEARCH
7
and the SEARCH
6
buttons. For the initial settings,
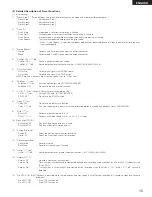
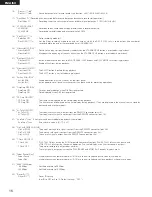
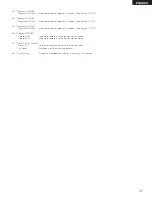
refer to “(1) List of preset functions”.
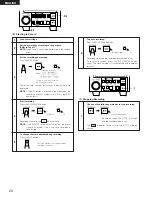
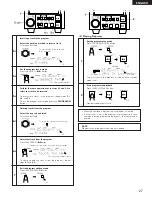
3-
1
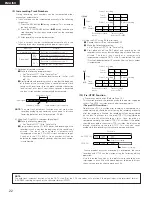
Change the preset values.
Press the select knob.
2
Select the preset item.
Turn the select knob.
NOTE:
The first preset item displayed is the last preset
item displayed the last time the presettings were
made.
Character display
Character display
The character display changes as
shown below.
Before change
After change
The preset mode is canceled and the set returns
to the previous mode.
The character display changes as
shown below.
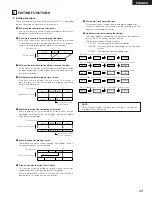
NOTE:
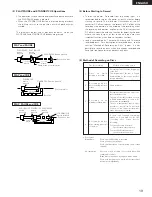
If the message shown below appears, there is a problem with
the preset memory. Contact a serviceperson.
Flashing
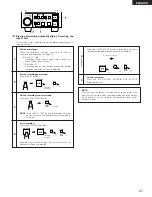
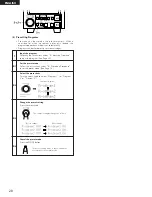
3-
2
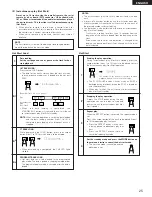
Playback speed select.
Turn the select knob to select the pitch.
Flashing
Lit
InitialError
NOTE:
The playback speed is the most recently set playback speed.
For example, if the pitch is set with the presettings then set
from the keyboard, the pitch set from the keyboard is used.
Enter the preset mode.
Press the STANDBY/CUE button while pressing the
MODE button.
Turn the knob
clockwise to move in
the direction of the
arrows,
counterclockwise to
move in the opposite
direction.
Press the select knob to set the pitch.


