11
ENGLISH
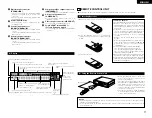
@1
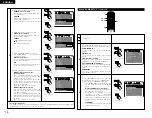
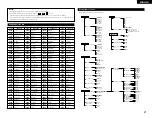
Digital output connector
(DENON LINK)
• This is for connection of a separately sold AV
amplifier equipped with a Denon Link
connector.
• Use it to achieve high quality digital sound
with low data loss.
@2
Power input (AC IN)
• Connect to AC power supply using the
included AC cord.
@3
Control input connector
(ROOM TO ROOM/IN)
•
This is the input connector for wired remote
control.
Consult your DENON dealer if you wish to use
this connector.
@4
Control output connector
(ROOM TO ROOM/OUT)
• This is the output connector for wired remote
control.
Consult your DENON dealer if you wish to use
this connector.
@5
Component video output connectors
(COMPONENT)
•
Connect using video cords (available in stores).
@6
S-Video output connector
(S-VIDEO OUT)
• Connect using an S-Video connection cord
(available in stores).
@7
Video output connector (VIDEO OUT)
•
Connect using the included video cord.
@8
21-pin SCART terminal (AV 1)
(For only European model)
•
Connect using a 21-pin SCART cable (available
in stores).
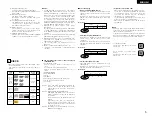
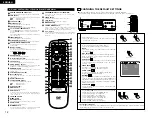
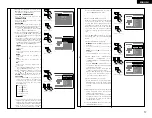
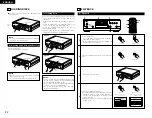
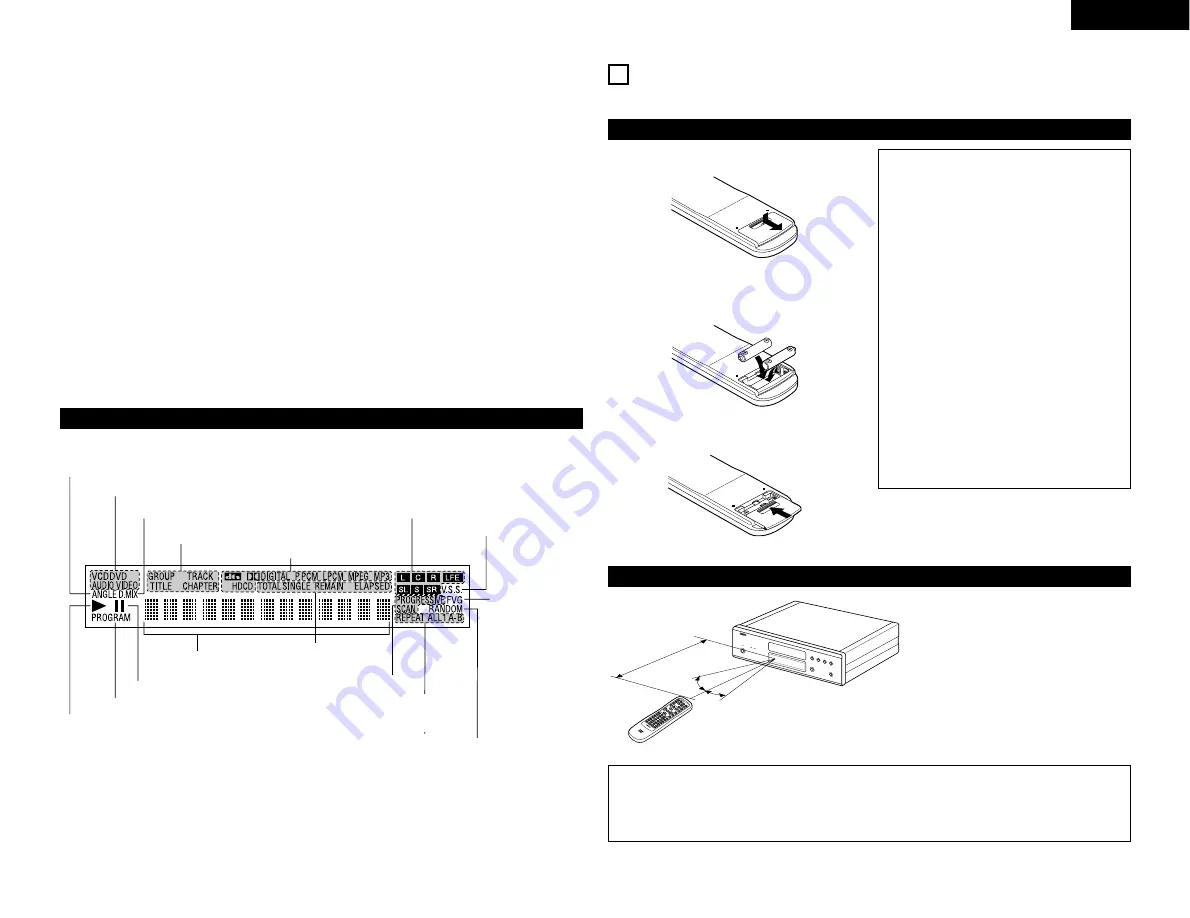
(3) Display
Lights during playback of multiple angles disc.
Lights to indicate the currently playing disc.
Lights when the audio signals can be down-mixed.
These light to indicate the names of the sections of the disc
being played.
Lights to indicate the currently playing audio format.
Lights to indicate the currently playing
audio channel.
Lights when in the virtual surround
mode.
Lights to indicate the
currently playing video
type.
F: Film source
V: Video source
G: Graphic source
Lights during playback, flashes when the resume play memory function is activated.
Lights in the programmed play mode.
Lights in the still/pause mode.
Displays the title, track number and
elapsed time during playback.
These light to indicate
the time display mode.
Lights when progressive video
signals are being output.
Lights in the
repeat play
mode.
Lights in the random play mode.
6
REMOTE CONTROL UNIT
2
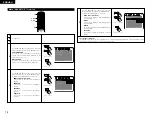
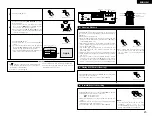
The DVD-A1 can be controlled from a distance using the included remote control unit (RC-552).
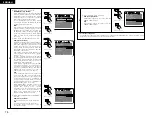
(1) Inserting Batteries
q
Remove the remote control unit’s rear cover.
OP
EN
w
Place two R6P/AA batteries in the battery
compartment in the direction indicated by the
marks.
e
Close the rear cover.
OP
EN
Cautions On Batteries
• Use R6P/AA batteries in this remote control unit.
• Replace the batteries with new ones
approximately once a year, though this depends
on the frequency with which the remote control
unit is used.
• If the remote control unit does not operate from
close to the main unit, replace the batteries with
new ones, even if less than a year has passed.
• The included battery is only for verifying
operation.
Replace it with a new battery as soon as
possible.
• When inserting the batteries, be careful to do so
in the proper direction, following the
<
and
>
marks in the remote control unit’s battery
compartment.
• To prevent damage or battery fluid leakage:
• Do not use a new battery with an old one.
• Do not use two different types of batteries.
• Do not short-circuit, disassemble, heat or
dispose of batteries in flames.
• Remove the batteries when not planning to use
the remote control unit for a long period of time.
• If the batteries should leak, carefully wipe off the
fluid from the inside of the battery compartment,
then insert new batteries.
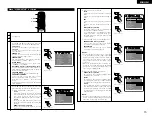
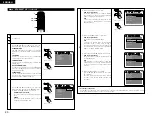
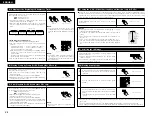
(2) Using the Remote Control Unit
RE
MO
TE
C
ON
TR
OL
U
NIT
RC
-55
2
PO
W
ER
ON
PO
W
ER
OF
F
OP
EN
/
CL
OS
E
NT
SC
/
PA
L
DIS
PL
AY
SU
BT
ITL
E
AN
GL
E
SK
IP
SL
OW
/ S
EA
RC
H
ME
NU
RE
TU
RN
PU
RE
DIR
EC
T
ME
MO
RY
PIC
TU
RE
AD
JU
ST
DIM
ME
R
ZO
OM
PR
OG
/D
IR
CL
EA
R
CA
LL
MA
RK
ER
RE
PE
AT
A-B
RA
ND
OM
V.S
.S.
SE
TU
P
PA
GE
-
PA
GE
+
1
2
3
4
5
6
7
8
9
0
SEA
RCH
MO
DE
AU
DIO
ST
OP
PL
AY
ST
ILL
/ P
AU
SE
TO
P M
EN
U
+1
0
EN
TE
R
30
°
30
°
Approx. 7 meters
• When operating the remote control unit,
point it at the remote control sensor as
shown on the diagram.
• The remote control unit can be used from a
direct distance of approximately 7 meters.
This distance will be shorter, however, if
there are obstacles in the way or if the
remote control unit is not pointed directly at
the remote control sensor.
• The remote control unit can be operated at
a horizontal angle of up to 30° with respect
to the remote control sensor.
NOTES:
• It may be difficult to operate the remote control unit if the remote control sensor is exposed to direct
sunlight or strong artificial light.
• Do not press buttons on the main unit and on the remote control unit at the same time. Doing so will
result in malfunction.
Summary of Contents for DVD-A1
Page 121: ...121...

