13
ENGLISH
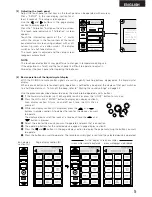
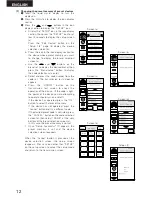
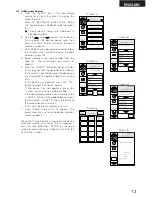
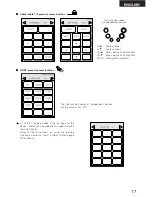
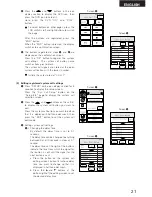
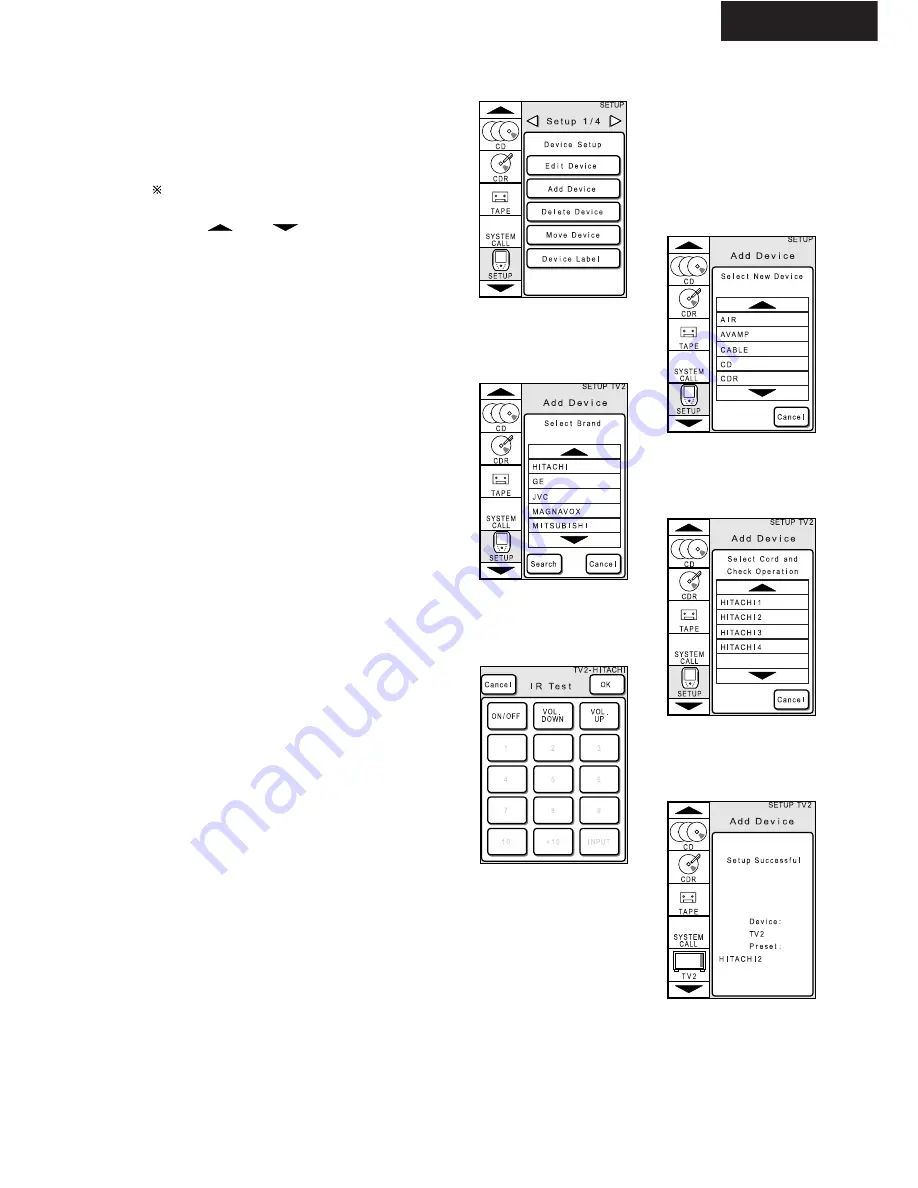
Screen (a)
Screen (b)
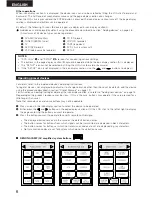
Screen (c)
Screen (d)
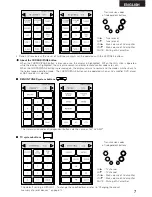
Screen (e)
Screen (f)
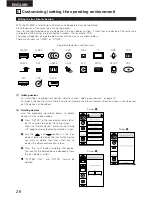
[2] Adding new devices
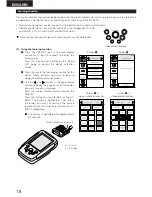
a. Press the “SETUP” icon in the icon display
section for at least 3 seconds to display the
setup screen (a).
Press the “Add Device” button on the “Setup
1/4” page to display the device selection screen
(b).
Twenty device names are displayed in
alphabetical order.
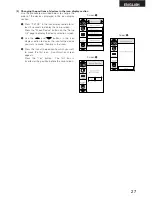
b. Use the
and
buttons on the device
list to display the desired device type, then
press the “Type” button to display the brand
selection screen (c).
c. After displaying the desired brand name, press
the “Brand name” button to display the code
selection screen (d).
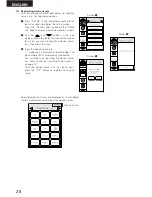
d. Select and press the code number from the
code list. The transmission test screen (e)
appears.
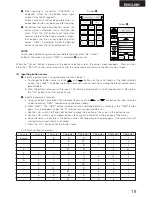
e. Press the “ON/OFF” button on the transmission
test screen to check the operation of the device.
(If the code is right, the power of the device you
are attempting to operate should turn on and
off.)
If the device has operated, press the “OK”
button to select that preset memory.
If the device has not operated, press the
“Cancel” button and try a different code.
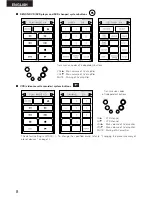
If the desired preset code is not listed, press the
“CANCEL” button on the code selection screen
(d) then select “NONE” at the very bottom of
the brand selection screen (c).
In this case the preset memory is not set.
f.
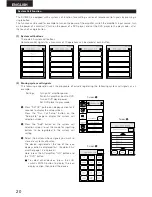
Once “Setup Successful” (f) appears, the
preset memory is set and the device selection
screen reappears.
When the “Cancel” button is pressed at the device
selection screen, the setup screen reappears.
Press any icon other than “SETUP” on the setup
screen to cancel the setup mode and return to the
transmission screen.

