34
ENGLISH
NOTES:
• The remote control signals of the buttons pressed while registering the system call signals are emitted, so
be careful not to operate the components accidentally (cover the remote sensors, for example).
• If you exceed the number of signals that can be registered, There will be a changeover to the System Call
registration screen.
1
Press the button at which the system call signals have been stored.
• The stored signals are transmitted successively.
(3) Using the system call function
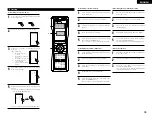
Punch Through
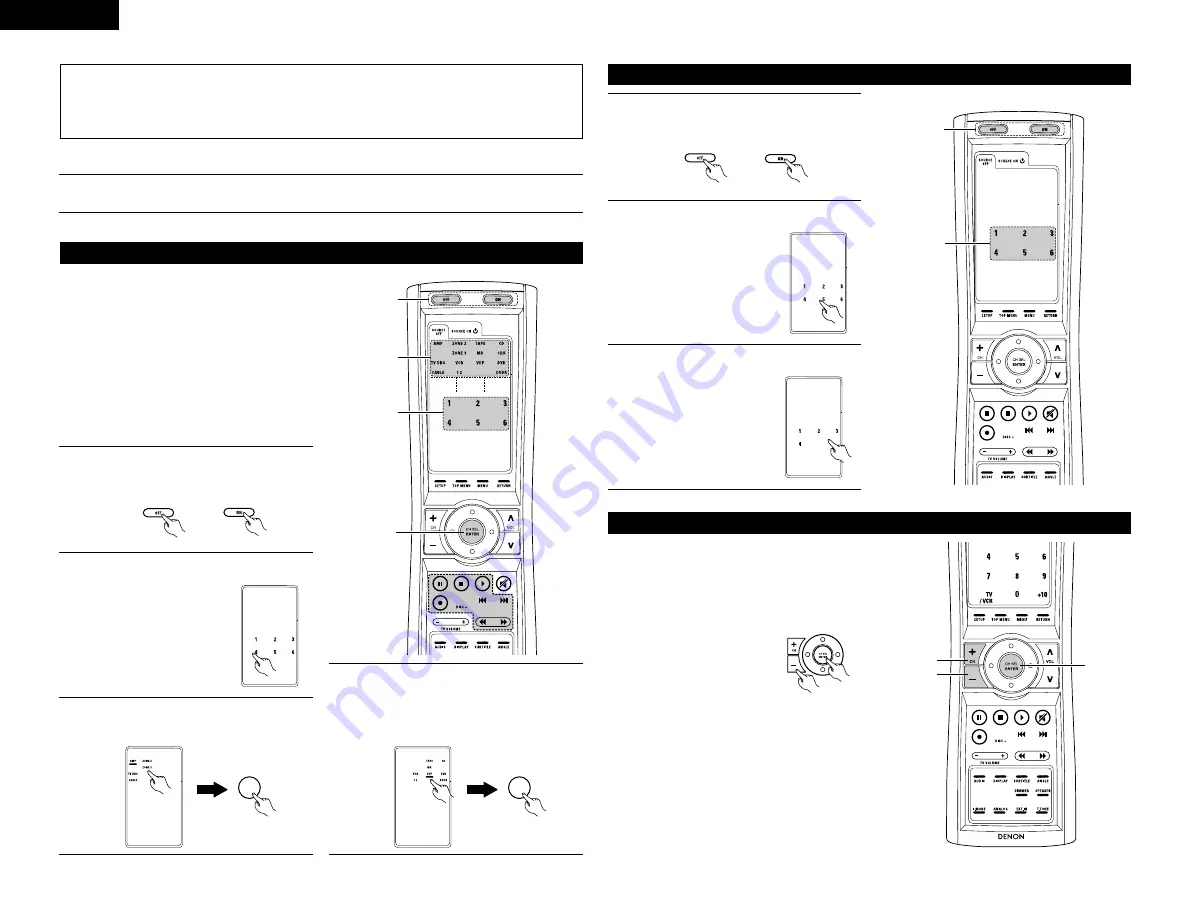
(1) Punch through button
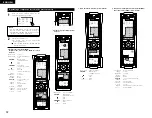
Buttons used in the CD, CDR, MD, TAPE, DVD,
DVDR,VDP, VCR1 and VCR2 modes can be
assigned to the buttons shown on the diagram at
the right which are not normally used in the AMP,
ZONE2, ZONE3, TV, DBS and CABLE modes.
For example, when the CD mode is set to the
punch through mode in the AMP mode, the CD
mode’s PLAY, STOP, MANUAL SEARCH, AUTO
SEARCH, PAUSE and DISC SKIP buttons’ signals
are sent in the AMP mode.
1
3, 4
2
3, 4
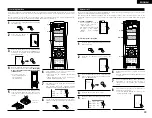
(2) Making the punch through setting
1
Press the power ON button and the OFF button
at the same time.
2
Press the “4” button to select punch through
setting.
3
Press the mode button for the component you
want to make the punch through setting, then
press the ENTER button.
CH SEL
ENTER
4
Press the mode button for the component you
want to punch through, then press the ENTER
button.
• The punch through is set and the set returns
to the normal operating mode.
CH SEL
ENTER
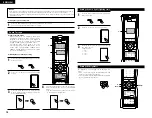
Setting the back light’s lighting time
1
Press the power ON button and the OFF button
at the same time.
2
Press the “5” button to select Light setup.
1
2, 3
3
Press the button you want to adjust the lighting
time (5sec~20sec).
• Lighting time
1 : 5sec
2 : 10sec
3 : 15sec
4 : 20sec
The brightness of the display can be adjusted in 4
levels.
• For 1 step brighten Hold the ENTER button and
press the CH+ (channel up) button.
• For 1 step dimmer Hold the ENTER button and press
the CH– (channel down) button.
Setting the brightness
Up
Down
Enter
RC-970


