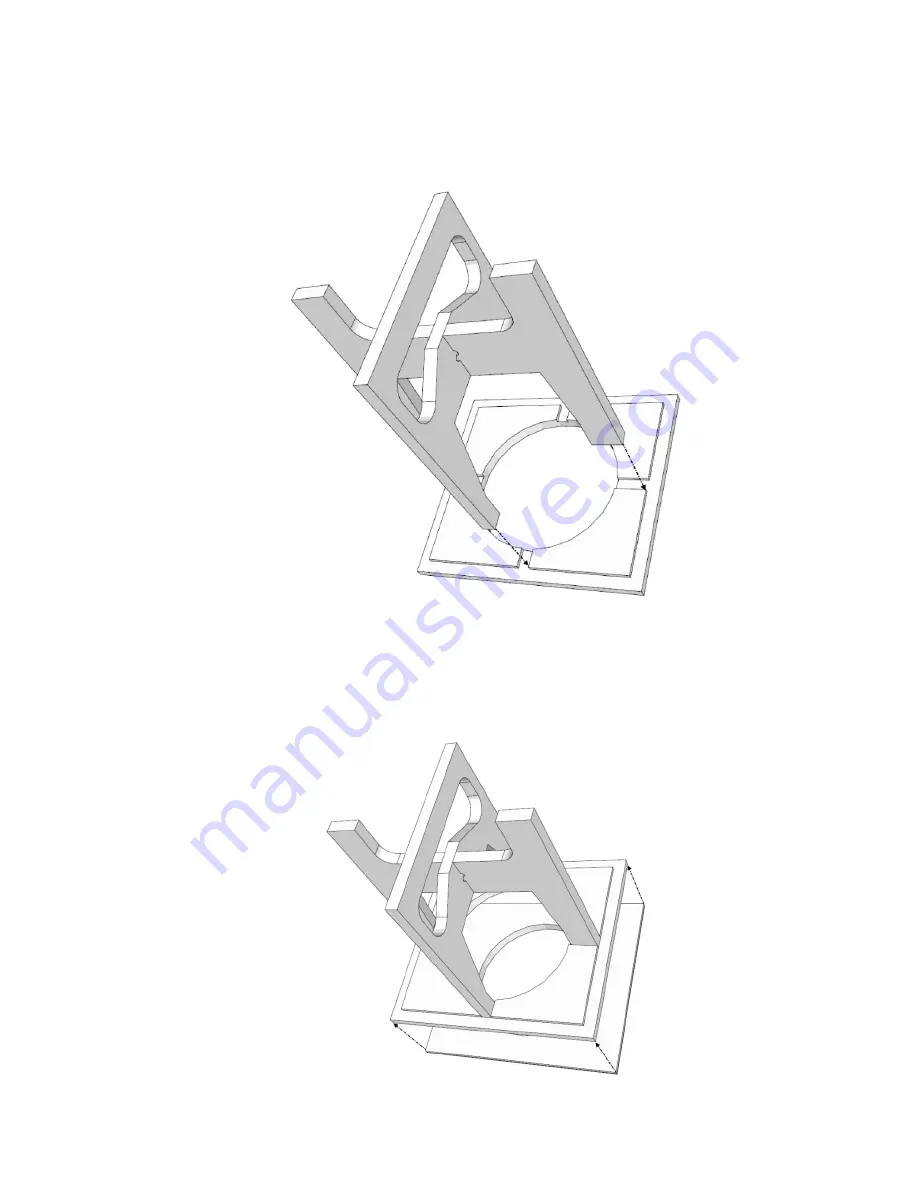
3)
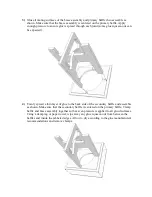
Glue all mating surfaces of the brace assembly and primary baffle then assemble as
shown. Make sure that the brace assembly is centered on the primary baffle. Apply
enough pressure to ensure glue is spread through each joint (some glue squeeze-out can
be expected).
4)
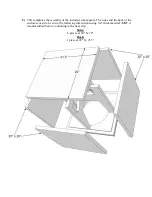
Evenly spread a thin layer of glue to the back side of the secondary baffle and assemble
as shown. Make sure that the secondary baffle is centered on the primary baffle. Clamp
baffle and brace assembly together so that even pressure is applied to all glued surfaces.
Using a damp rag or paper towel, wipe away any glue squeeze-out from between the
baffles and inside the rabbeted edges. Allow to dry according to the glue manufacturer's
recommendations and remove clamps.

