14
15
13. WARRANTY
Dension devices carry a one-year limited warranty that protects you
from defects in material and workmanship of products sold by Dension
or its authorized distributors and retailers. Dension does not warrant
any installation work or assume liability for any damage caused by
negligence, improper installation or operation. For warranty claims,
proof of purchase is required.
14. UPDATE AND SUPPORT
If you need further assistance in using your Dension product, please
contact your local supplier or visit our website www.dension.com
For technical support please contact us through the listed possibilities
on www.dension.com/automotive/support
Please also check the download section for the latest firmware version
and product documentation, as these may provide additional features
or easier product usage.
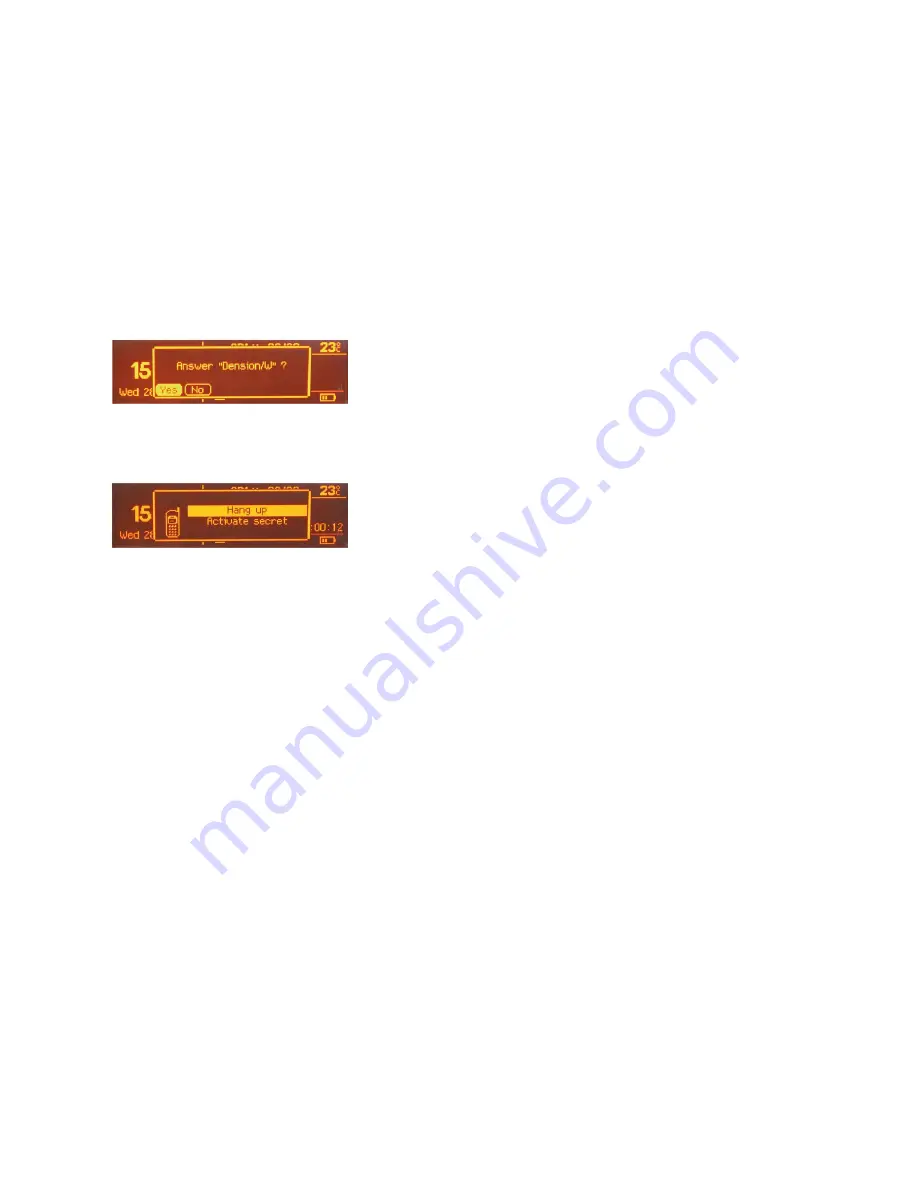
You can reject an incoming call by selecting ’No’ and then press the ‘OK’
button.
To initiate a call, please select the phone number or contact from the
Phonebook or call logs in the Phone menu and press the ‘OK’ button.
You can hang up an ongoing call if you press the ‘OK’ button and select
the ‘Hang up’ and press ‘OK’.
12. DISCLAIMER
All photos / illustrations are for representative purposes only and may
differ visually from the equipment in your vehicle. If your Dension product
begins to behave in an unpredictable way, please immediately disconnect
it physically and have it checked by a qualified electronics technician.
Dension and its authorized distributors, as well as retailers are not liable
for any incidental, consequential or indirect damages or loss and do not
assume liability for any diagnostic fees. Using handheld devices while
driving may be subject to government legislations. Please make sure that
using a Dension device is in line with the applicable traffic laws.
Dension does not assume liability for events resulting from any illegal
or irresponsible usage of these handheld devices.
Dension reserves the right to modify its products or specifications
without prior notice.


