Instructions
Part I
1. Remove the negative (-) battery cable from the post and tape with electrical tape. No picture here -- If you are
unsure how to do this, please
STOP
now and have your system professionally installed.
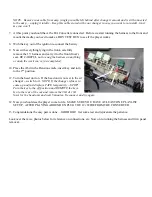
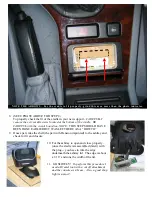
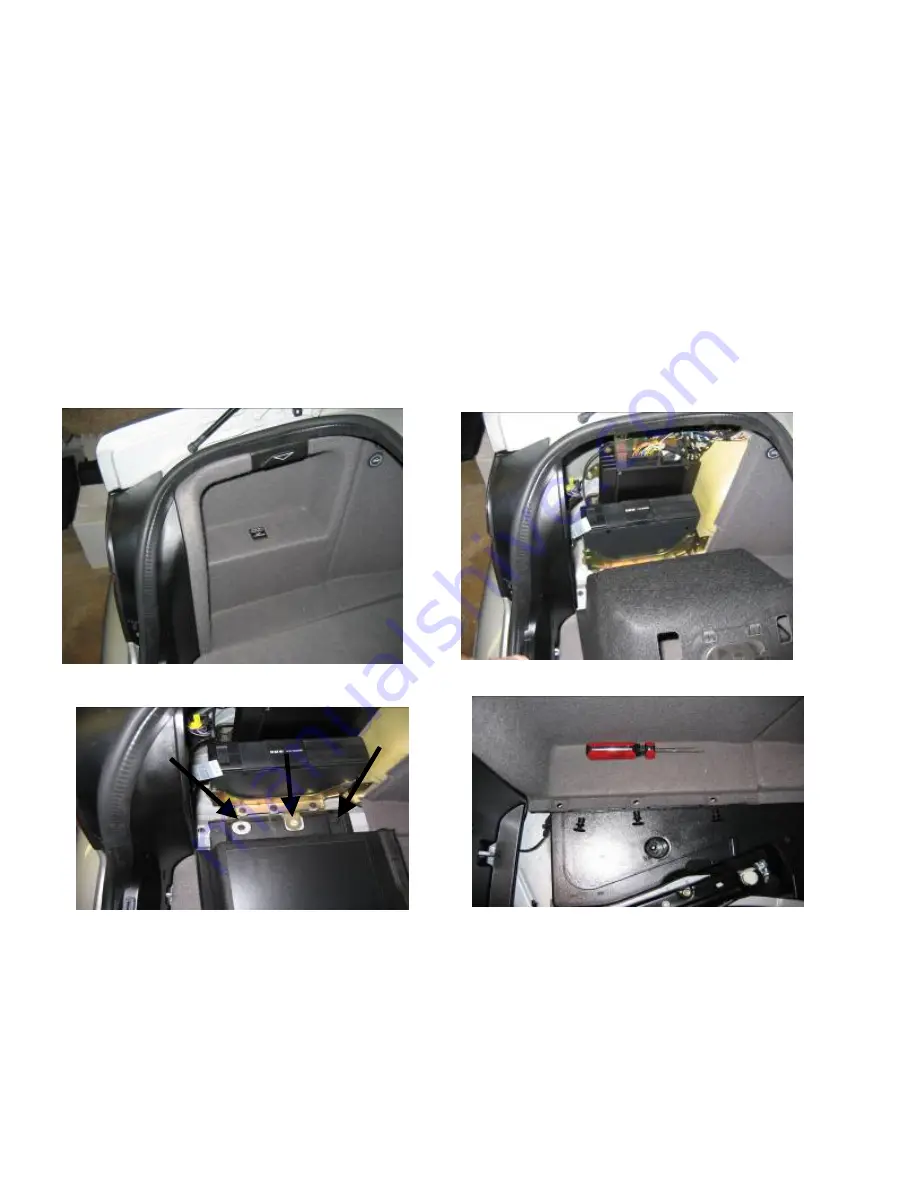
2. Remove the trunk liner and side door (driver’s side) compartment that covers the cd changer. (See Photos).
Take a flat head screw driver and carefully pry up on the lip of the fasteners to remove.
NOTE: Find a clean storage area in your garage, etc. to place the interior trim pieces, rear seat, etc. to protect
them from damage and dirt.
3. Unplug the wiring harness from the cd changer and remove the mounting screws (8mm) from bottom bracket
plate.
Carefully lift the unit out ensuring no wires are still attached. Pay attention to the plugs and wires you
have removed, they will be used to connect the iceLink DA unit and wiring harness.
4. The DA Converter requires a 12v source. I tapped power off of the amp wiring harness. (see photo below)
Summary of Contents for ice-Link: Plus
Page 6: ...MISC PHOTOS...
Page 15: ...Miscellaneous Photos...

