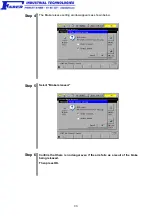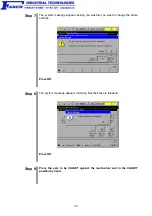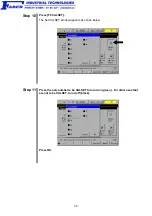
32
2.4.3
Performing CALSET
[ 1 ] CALSET of a Single Axis
CALSETing a specified single axis only is called single-axis CALSET.
Perform single-axis CALSET if the motor of an axis is replaced so that the axis must be
CALSET, or if some axes cannot be moved to the CALSET positions (mechanical stop
positions) at any given time because of interference between the robot unit and its
surrounding facilities.
In the procedure below, releasing the brake is required only for the 3rd and 4th axes.
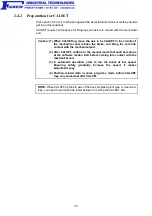
Caution for performing single-axis CALSET in HS-G series
The CALSET position of the 3rd axis is related with that of the 4th axis.
(1) Before performing the 3rd axis (4th axis) CALSET, move the 4th axis (3rd axis) to the
CALSET position.
(2) When performing the 3rd axis (4th axis) CALSET, perform the 4th axis (3rd axis) CALSET at
the same time.
(3) When moving the robot by hand, hold by a part other than the plastic cover.
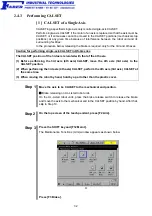
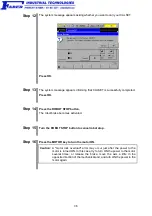
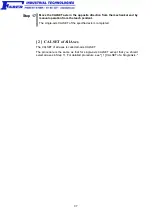
Step 1
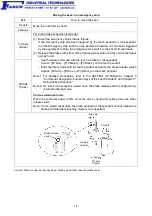
Move the axis to be CALSET to the mechanical end position.
Brake releasing on UL-Listed robot units
On the UL-Listed robot units, press the brake release switch to release the brake
and move the axis to the mechanical end in the CALSET position by hand. After that,
skip to Step 10.
Step 2
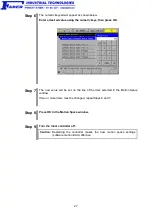
On the top screen of the teach pendant, press [F2 Arm].
Step 3
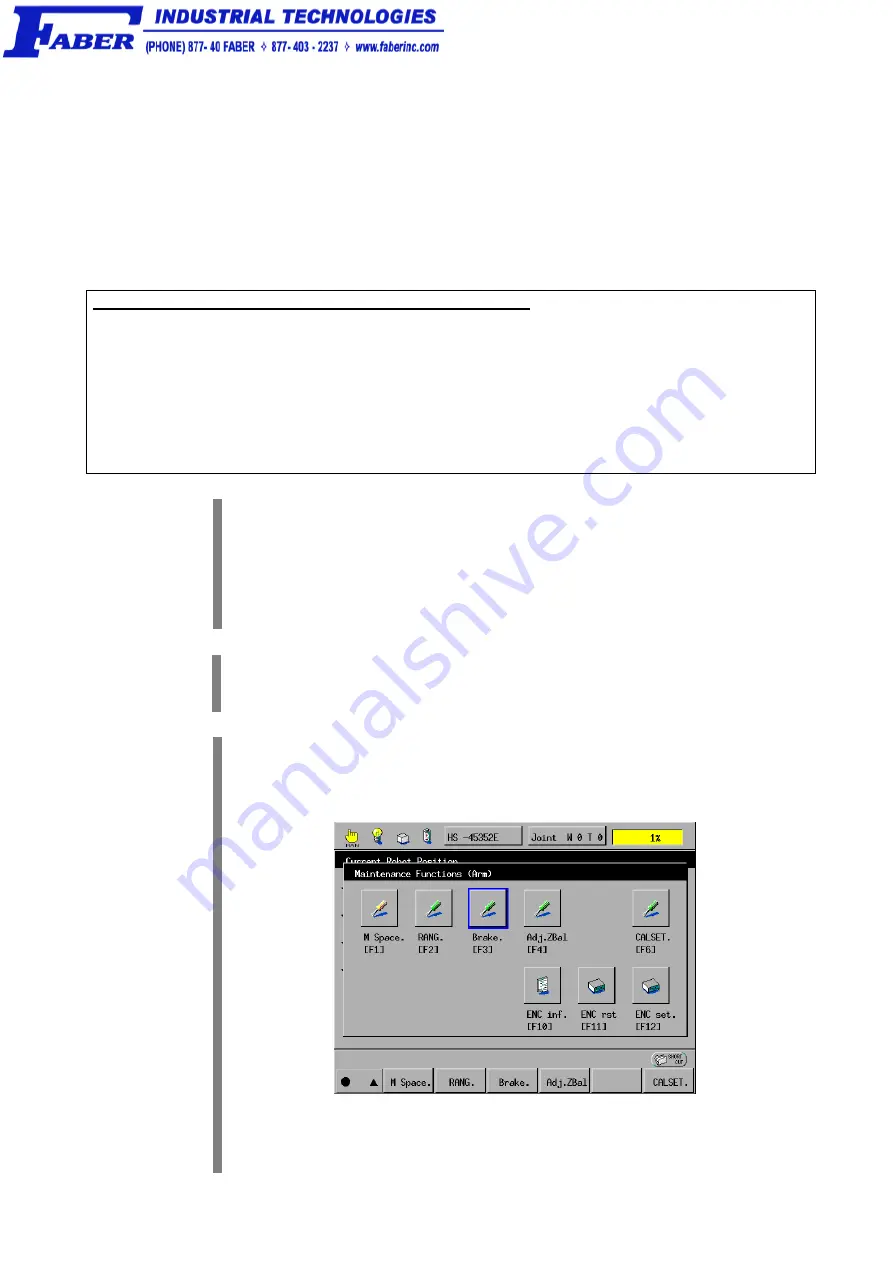
Press the SHIFT key and [F12 Maint.].
The Maintenance Functions (Arm) window appears as shown below.
F3
Press [F3 Brake.].

