30
2.4.2
Preparation for CALSET
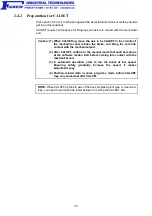
Press each of the 1st- to 4th-axes against the associated mechanical ends by hand to
get the actual positions.
CALSET requires some space for bringing each axis into contact with the mechanical
end.
Caution: (1) When CALSETing, move the axis to be CALSET in the vicinity of
the mechanical end, release the brake, and bring the axis into
contact with the mechanical end.
(2) After CALSET, confirm in the manual mode that each axis stops
at the software motion limit before coming into contact with the
mechanical end.
(3) In automatic operation, start to run the robot at low speed.
Ensuring safety, gradually increase the speed. It makes
adjustment easy.
(4) Position-related data in some programs made before CALSET
may vary somewhat after CALSET.
NOTE:
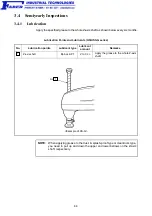
When CALSETing the 4th axis of the dust- & splash-proof type or cleanroom
type, you need to pull down the lower bellows for setting the CALSET bolt.

