68
2.4.6 CALSET
Procedure
2.4.6.1 CALSETing
a
Single
Axis
CALSETing a specified single axis only is called single-axis CALSET.
Perform single-axis CALSET if the motor of an axis is replaced so that the axis must be
CALSET, or if some axes cannot be moved to the CALSET positions (mechanical stop
positions) at any given time because of interference between the robot unit and its
surrounding facilities.
NOTE:
Step 1 is required for CALSETing the 4th and 6th axes and Step 2 is for
CALSETing the 6th axis. When CALSETing any other axes, skip to Step 3.
STEP 1
(Required for CALSETing
the 4th and 6th axes)
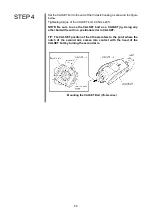
Mount the CALSET jig according to Section 2.4.2.1 "Mounting the CALSET
Jig."
STEP 2
(Required for CALSETing
the 6th axis)
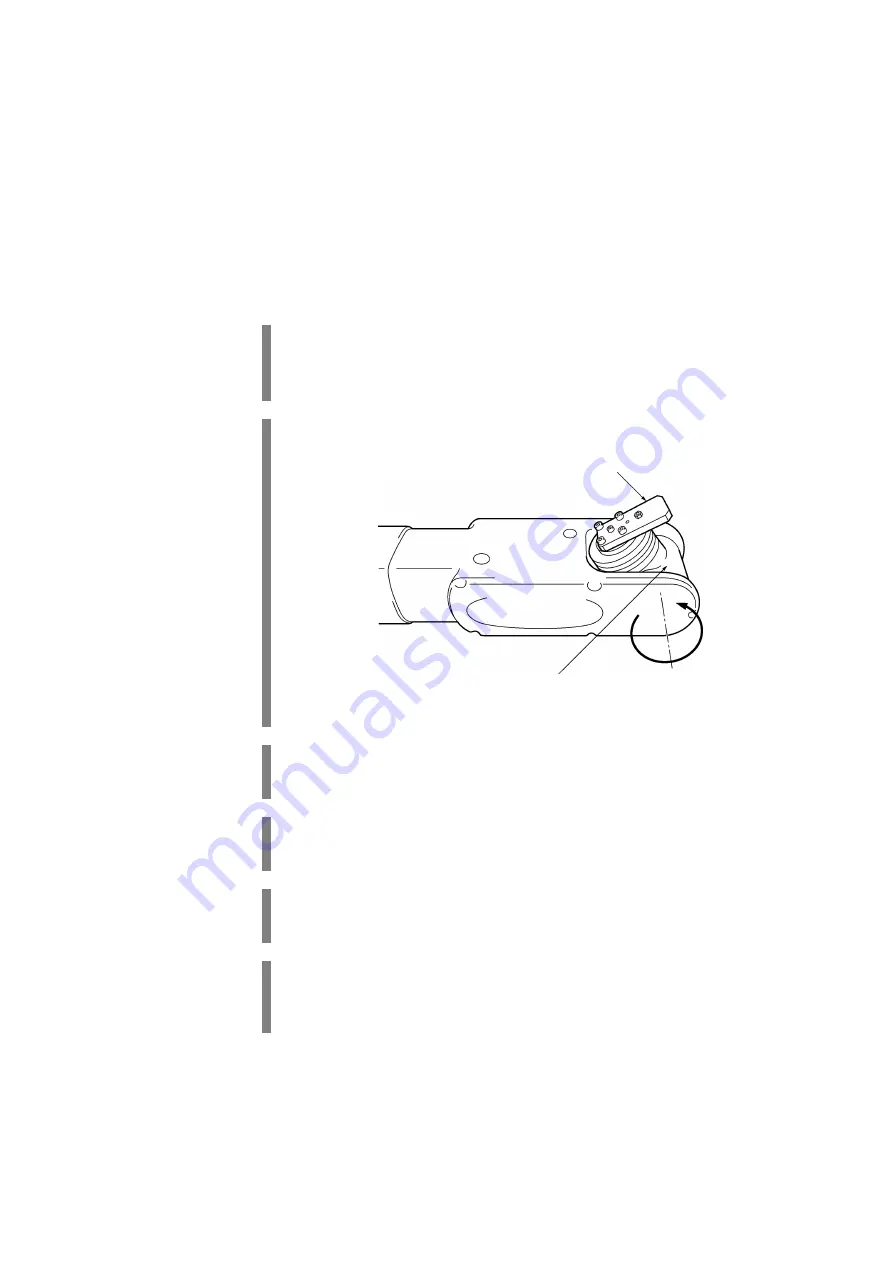
Fully turn the 5th axis to its turning end in the positive direction.
STEP 3
Turn the power switch of the robot controller to ON.
STEP 4
Set the mode selector switch of the teach pendant to MANUAL.
STEP 5
Press MOTOR to turn ON the power to the motor.
STEP 6
Move the axis to be CALSET in the vicinity of the mechanical stop via the
manual operation from the teach pendant.
CALSET jig
Turn the 5th axis to its turning end
Summary of Contents for VS-6556G
Page 1: ...ROBOT Vertical articulated VS G SERIES INSTALLATION MAINTENANCE GUIDE...
Page 6: ......
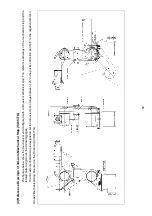
Page 67: ...49 Reference Drawing of Part A Material A2017 T4...
Page 68: ...50 Reference Drawing of Part B Material A2017 T4 Reference Drawing of Part C Material A2017 T4...
Page 71: ...53 Reference Drawing of Stay for 3rd axis Mechanical End VS6556G Material A2017 T4...
Page 118: ......
Page 120: ......


