4
5
6. Press PLAYLIST UP/DOWN button to cycle through the playlists on the connected
iPod/iPhone.
7. Press ALBUM UP/DOWN button to select your desired album for playback on the
connected iPod/iPhone.
8. Press /- button to select a corresponding chapter for playback.
9. Press and hold CLOCK VIEW/SHUFFLE button to enable or disable the shuffle function.
10. Press REPEAT/ST button repeatedly to cycle through the repeat options (repeat 1,
repeat album and repeat off).
FM RADIO
TUNING THE FM RADIO
1. Power on the unit, switch to TUNER(RADIO) mode by pressing SOURCE repeatedly.
2. Press TUN UP/DOWN button on the unit or TUN+/- button on the remote to fine tune
radio station. Press and hold TUN UP/DOWN button on the unit or TUN +/- button on the
remote to auto search radio station forward or backward respectively (When an available
station will be found, the unit will broadcast it immediately and the searching will be
stopped).
3. At radio mode, it is possible to access the frequency via numeric buttons on the remote
control. For example, press buttons 8, 9 and 8 to get to 89.8 MHz; If access a wrong
frequency, "ERROR" will display on the screen.
4. During radio playback, press REPEAT/ST button on the remote to switch between FM
STEREO and FM MONO modes.
STORING YOUR FAVORITE RADIO STATION
1. During playback, press and hold PLAY/PAUSE button on the unit or PLAY/PAUSE&TIME
SET/MEM button on the remote for storing the current station until memory cell number
"P01" flashes on the screen.
2. Use TUN UP/DOWN button on the unit or TUN+/- button on the remote to select the
corresponding memory cell among P01-P20 for storing the station.
3. Confirm your selection by pressing PLAY/PAUSE button on the unit or
PLAY/PAUSE&TIME SET/MEM button on the remote.
4. During radio playback, press PLAY/PAUSE button on the unit or PLAY/PAUSE&TIME
SET/MEM button on the remote repeatedly to recall the stored stations.
MUTE THE UNIT
During playback, press MUTE button to switch off the audio. Press the button again to
resume the audio.
VOLUME LEVEL/TREBLE/BASS ADJUSTMENT
Press /- button or /- button or BASS +/- button to adjust the volume
output level or treble effect or bass effect.
RESET BUTTON
When using the unit, you will come across some problems that the unit doesn't work or halt
accidentally; you can use a needle or a small, slender implement to poke the RESET button
in the rear of the player, the unit will turn off automatically and then please reboot the unit,
the unit will recover the normal mode.
DIMMER
During playback, press DIMMER button to adjust the light of the LCD screen.
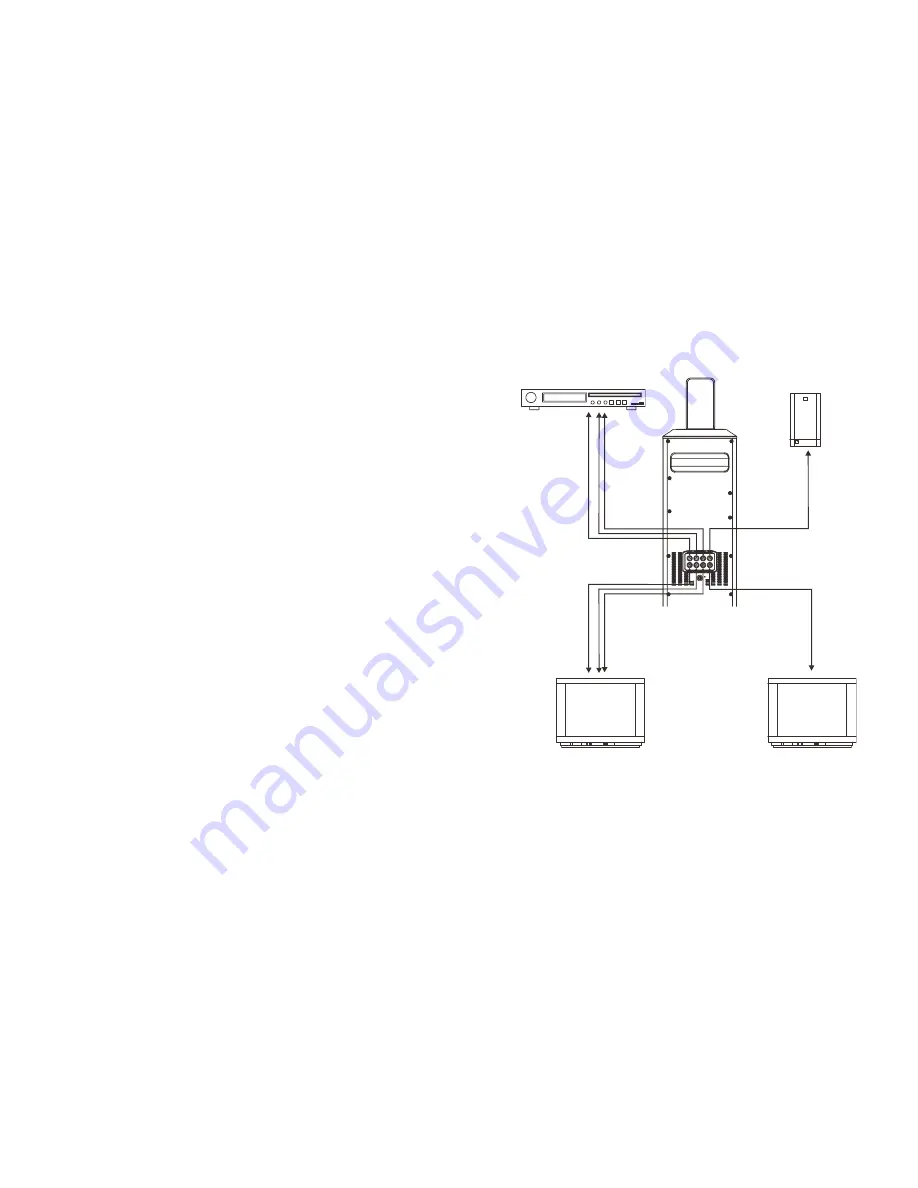
CONNECTING WITH OTHER APPLIANCES
LINE IN
Follow steps to connect the unit to another audio device:
1. Connect the device into the player LINE IN jack with the LINE OUT cables.
2. Press POWER button to turn the unit on.
3. Press SOURCE button repeatedly to switch the unit to Line In mode.
4. Power on the device and begin play.


