Shenzhen Dericam Technology Co.,LTD
Quick Installation Guide
www.dericam.net
Copyright @ Shenzhen Dericam Technology Co., Limited
tech@dericam.com
7
5. Remote Access Settings
④
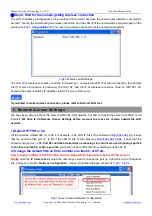
Step 4, Wait for the camera getting wireless connection
The LAN IP address will disappear on the window of IP Camera Tool when the camera gets restarted. Just wait for
around 1 minute, the camera will get wireless connection, and the LAN IP of the camera will be showed again on the
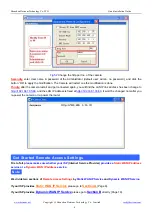
window as
Fig4.3
.
Congratulations!
You have done wireless connection of the camera successfully.
Fig4.3
Wireless LAN Settings
The LAN IP of wireless connection could be increased by 1, compared to LAN IP of wired connection, for example
the IP of wired connection is previously 192.168.1.34, and the IP of wireless connection could be 198.168.1.35,
because the camera obtains IP address via DHCP server of the router.
If you failed to make wireless connection, please refer to Dericam FAQ List.
We have been able to access the camera within the LAN network, but how to access the camera via WAN or via
internet?
We have to do Remote Access Settings before we want to access the camera outside the LAN
network.
1) Default HTTP No.: 80
All the cameras’ default http no. is 80. For example, if the LAN IP link of the camera is
http://192.168.1.35
, it says
that the camera’s http port no. is 80, if the LAN IP link of the camera is
http://192.168.1.35:88
, it says that the
camera’s http port no. is 88.
Port 80 could be blocked when accessing via internet,
we need to change port 80
to another one like 88, or 85 as you like
, which will not be conflict with other existing ports like 25, 21.
2) Change the default http no.80 to another one like 88, or 85 etc.
How to assign a different HTTP Port No. and fixed the LAN IP of the camera by the IP Camera Tool.
Firstly,
open the
IP Camera Tool
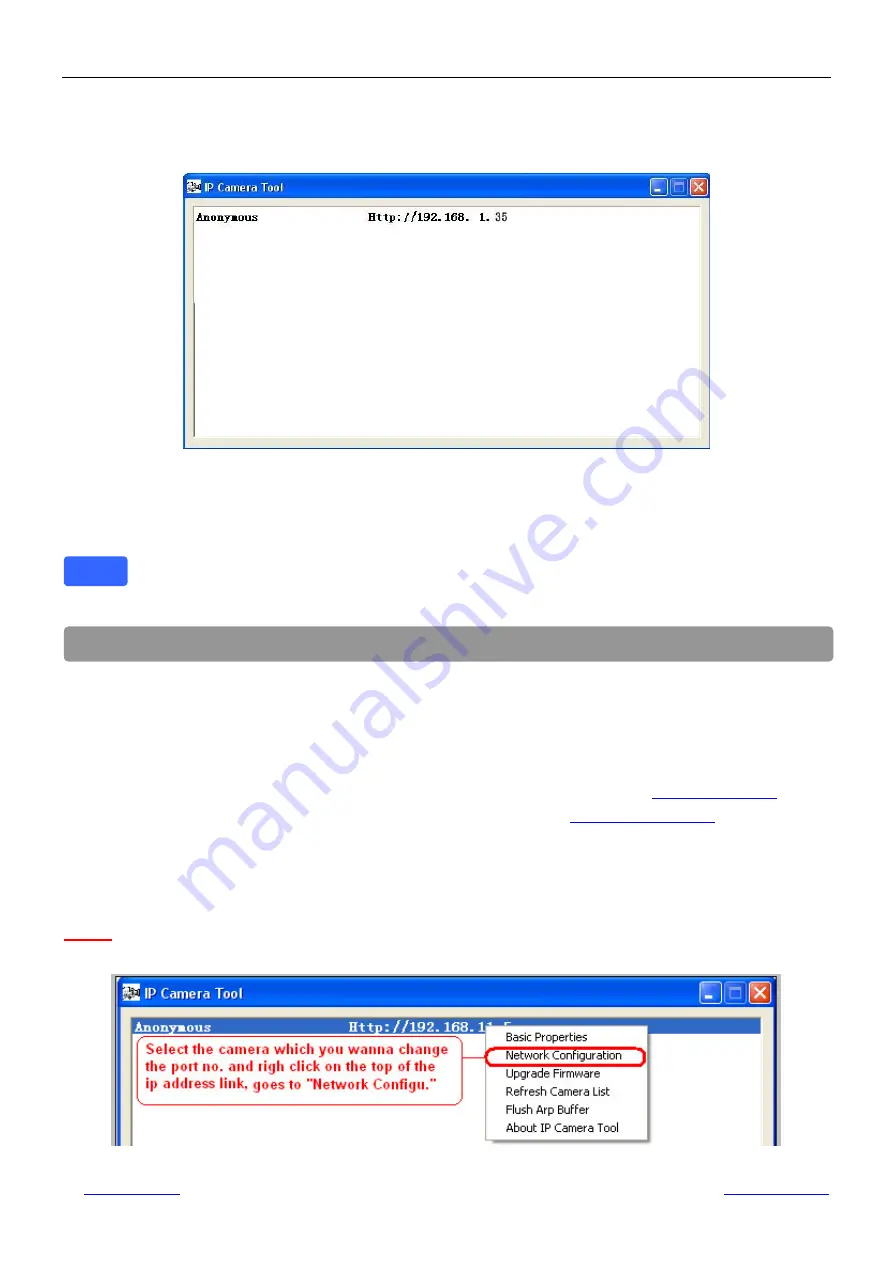
, select the camera you want to change the port no. right click on the IP address
link, and goes to Option ”
Network Configuration
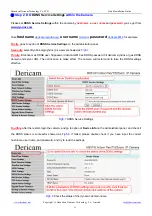
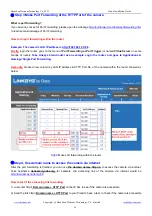
”, it pops up another dialogue showed as
Fig5.1, Fig5.2.
Fig5.1
Goes to Option Network Configuration
Note


