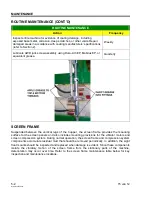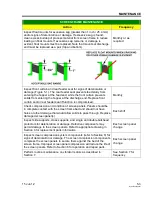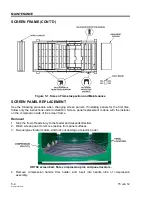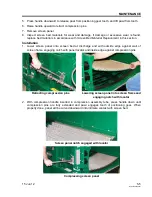
OPERATING INSTRUCTIONS
4-2
15 Jun 12
HyperPoolShaker
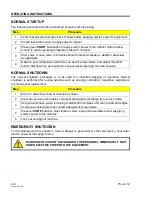
NORMAL STARTUP
The following procedure shall be performed at each machine startup:
Step
Procedure
1
Verify that all personnel are clear of shaker before applying electric power to equipment.
2
Closed fused disconnect to apply power to shaker.
2
Press green
START
pushbutton to apply electric power to the vibrator motors. Allow
motors to reach operating temperature (about 5 minutes).
3
Start pump or open valve to introduce flow of material to feeder or desilter / desander,
as applicable.
4
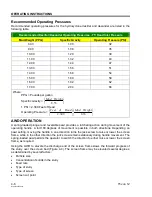
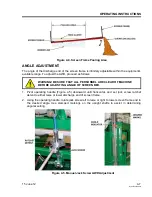
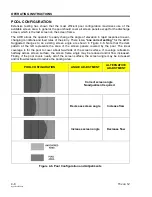
Observe pool configuration that forms on bed of screen frame, and adjust the AWD
and/or inlet flow rate, as required to achieve desired pooling on screen panels.
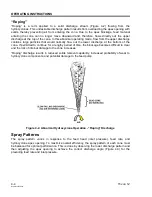
NORMAL SHUTDOWN
The normal shutdown procedure is to be used for controlled stopping of operation. Normal
shutdown is performed for routine activities such as cleaning, lubrication, inspection, adjustment,
or screen panel replacement.
Step
Procedure
1
Divert or discontinue flow of material to shaker.
2
Allow all oversize and undersize material and liquid to discharge from screen frame.
3
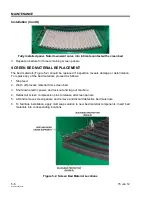
Using a water hose, wash remaining material from surfaces of screen panels and edges
of screen panels where they contact sidewalls of screen frame.
4
Press red
STOP
button to stop vibrator motors, and open fused disconnect supplying
electric power to the machine.
5
Lock out and tag out machine.
EMERGENCY SHUTDOWN
To immediately stop the shaker in case of danger to personnel or other emergency, shut down
electric power at the supply source.
WARNING! IN CASE OF ANY DANGER TO PERSONNEL, IMMEDIATELY SHUT
DOWN ELECTRIC POWER TO THE EQUIPMENT.
Summary of Contents for HYPERPOOL SHAKER
Page 2: ......
Page 8: ......
Page 16: ......
Page 20: ......
Page 34: ......
Page 44: ......
Page 56: ......
Page 84: ......
Page 86: ......
Page 87: ......
Page 88: ......
Page 90: ......
Page 91: ...DERRICK ...
Page 92: ......
Page 93: ......
Page 94: ......
Page 95: ......
Page 96: ......
Page 97: ......
Page 98: ......
Page 99: ......
Page 100: ......
Page 101: ......
Page 102: ......
Page 103: ......
Page 104: ......
Page 105: ......
Page 106: ......
Page 107: ......
Page 108: ......
Page 109: ......
Page 110: ......
Page 112: ......
Page 114: ...INSTALLATION MAINTENANCE LOG 9 2 15 Jun 12 HyperPoolShaker ...
Page 115: ...INSTALLATION AND MAINTENANCE LOG 15 Jun 12 9 3 HyperPoolShaker ...
Page 116: ...INSTALLATION MAINTENANCE LOG 9 4 15 Jun 12 HyperPoolShaker ...
Page 117: ...INSTALLATION AND MAINTENANCE LOG 15 Jun 12 9 5 HyperPoolShaker ...
Page 118: ...INSTALLATION MAINTENANCE LOG 9 6 15 Jun 12 HyperPoolShaker ...

