English
3 / 8
TECHNICAL MANUAL
www.desouttertools.com
1/2"
Ø3 4H11
8
113
15.5
50
10
6
Ø28
Ø12 m6
8
Ø51
Ø43
366
45
35
53
R9
±0,15
35
20°
±0,15
35
M8 6H
M8 6H
Ø49
+0
- 0,10
±0,15
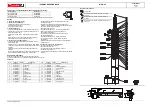
Disassembly
1- disconnect the cables from the tool
2- disassembling the output shaft
• lay the machine horizontally on a table
• remove the retainer pin from the output shaft
• be careful of the spring reaction
3- disassembling the motor
• place a special wrench of 48mm across flats in a vice
• the machine should
imperatively
be placed in the special
wrench on the flats which are closest to the motor
• untighten the motor with a special 40mm wrench - left-hand
thread
• heat the casing with a torch if necessary
• remove the coupling sleeve and the drive pinion
4- disassembling the reduction gear stages
• place a special wrench of 48mm across flats in a vice
• the machine should imperatively be placed on the flats of the
gear ring of the first 2 stages
• using a torch, heat the connecting casing of the motor
• using a special wrench of 40mm across flats, untighten the
motor - left-hand thread - and its connecting casing
• place the special wrench of 40mm across flats in the vice
• using the special wrench of 48mm across flats, untighten the
connecting casing of the motor after heating it with a torch
• remove washers
• extract the planet cages of the 1st and 2nd stages
• the machine should imperatively be placed on the flats of the
strain gauge
• using a 48mm wrench, untighten the gear ring of the first
2stages
• extract the 3rd stage planet cage
• using a 48mm wrench, untighten the 3rd stage gear ring
• extract pins, planet wheels and needle bearings from the
planet cages
5- disassembling the cap from the flange
• remove the circlip from the flange
• press the cap out of the flange
• remove the circlip from the cap bearing
• remove the cap bearing
• to remove the spring guide, extract the cap circlip
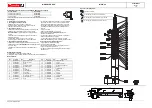
Tools required for complete disassembly / Reassembly
Special wrench
Item
Part number
Special wrench of 40
6159606900
Special wrench of 48
6159605380
Pin wrench
6158020110
The other tools are standard tools used in mechanical workshops
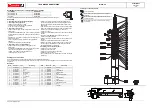
Complete reassembly
Reassembly does not pose any problem in particular.
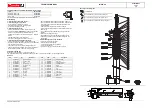
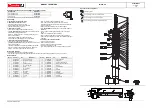
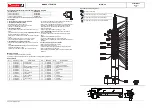
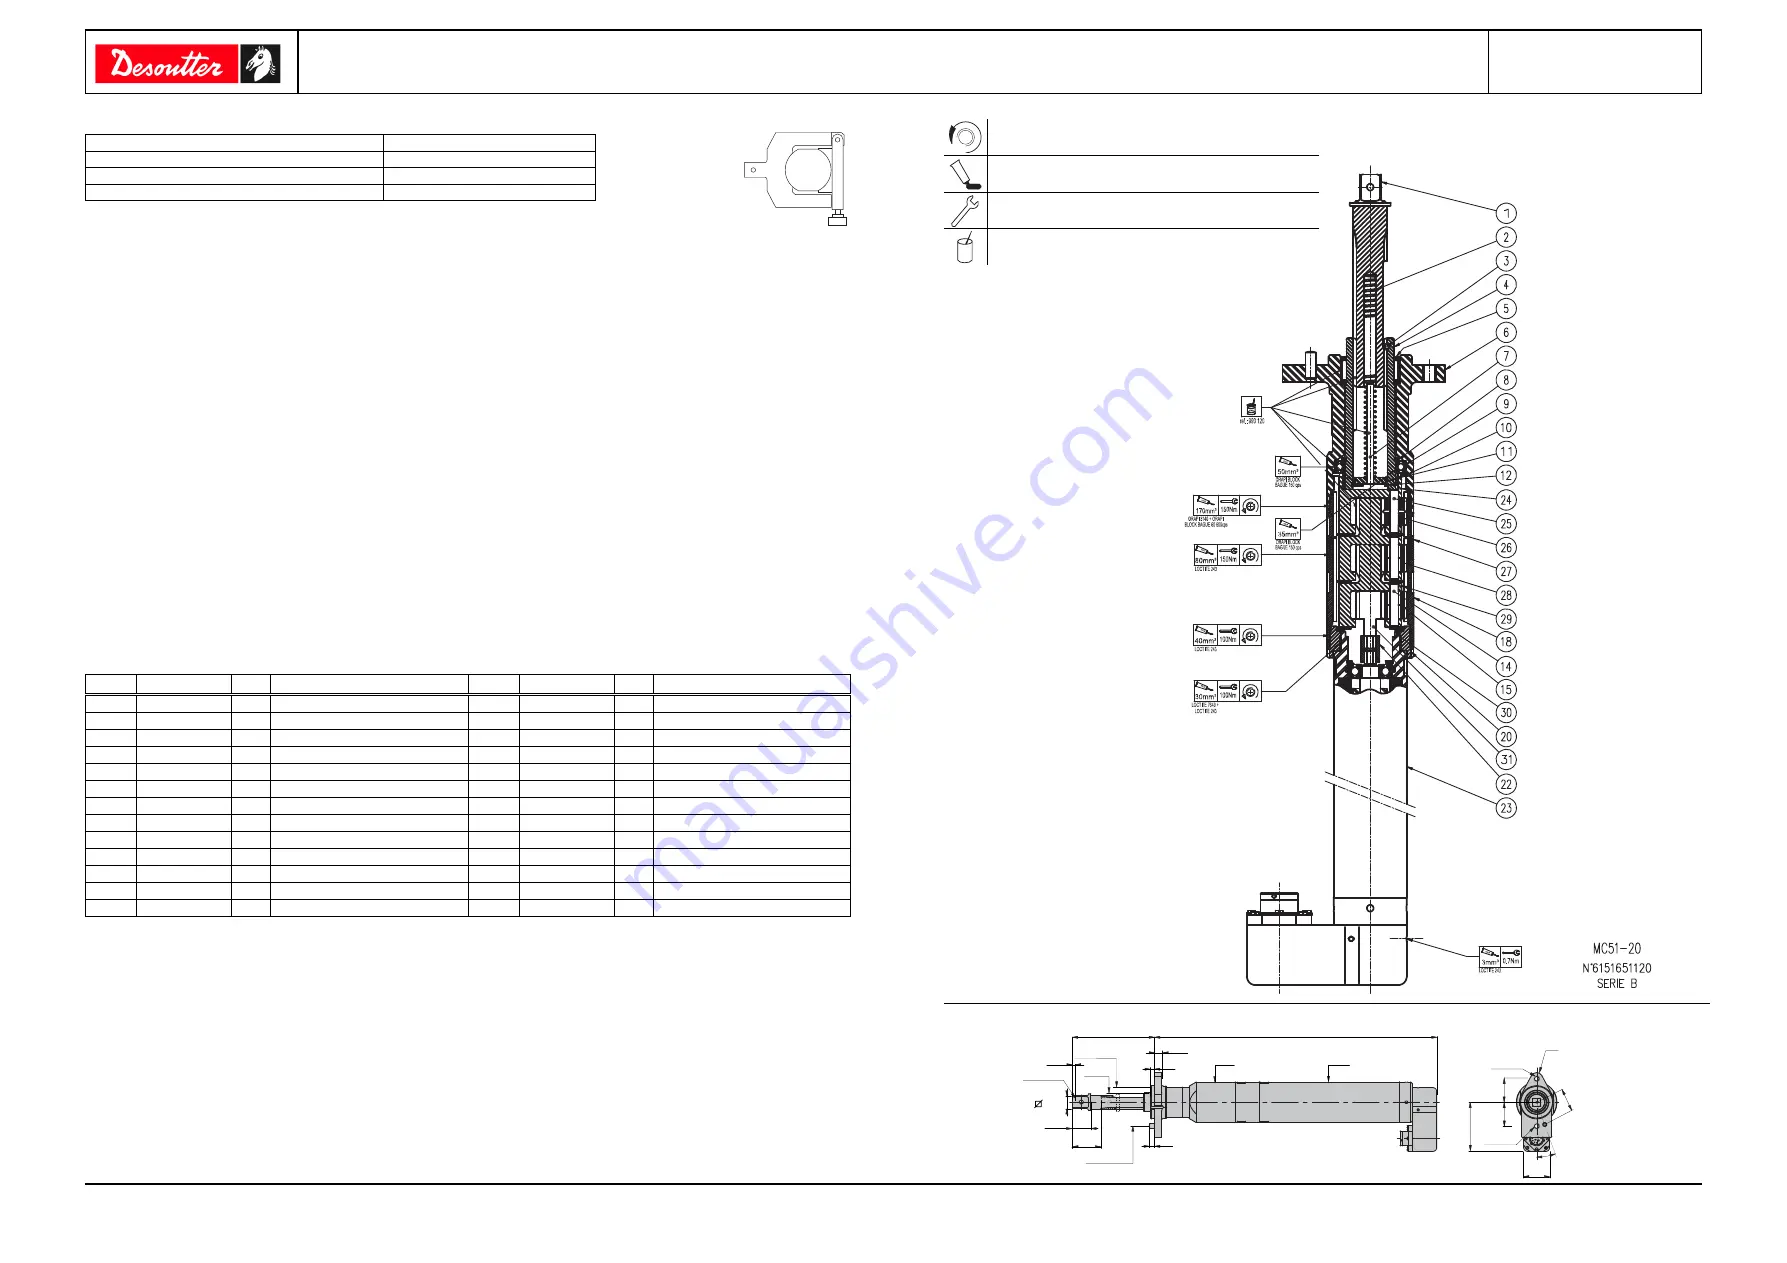
It is important to follow all the indications which are provided, in the form of pictograms, on the drawing opposite.
Part list:
Item
PT N°
Qty
Description
Item
PT N°
Qty
Description
1
6155210720
1
Output shaft 1/2''
2
6156811000
1
Spindle spring
3
6157901390
1
Pin
4
6152250490
1
Bit holding cap
5
6157850670
1
Needle socket
6
6155704360
1
Flange
7
6155952330
1
Spring guide
8
6156890350
1
Circlip
9
6157580570
1
Bearing
10
687.52
1
Circlip
11
6156581630
1
O-ring
12
6156870350
1
Circlip
14
6157900520
6
Pin
15
6157880160
12
Needle bearing
18
6154760620
1
Gear ring
20
6155664830
1
Connecting casing
22
6155751020
1
Coupling sleeve
23
6153941640
1
Motor
24
6154751360
1
Planet cage
25
6157901200
3
Pin
26
6154701010
3
Planet wheel
27
6154760640
1
Gear ring
28
6154700940
6
Planet wheel
29
6154751140
2
Planet cage
30
6156420650
3
Washer
31
6155800920
1
Drive pinion
Meaning of the pictograms
Left-hand thread
When reassembling, apply the recommended glue
When reassembling, tighten to the required torque
When reassembling, lubricate with the required grease


