Modular Multi-service Integrated Optical Transmission Multiplexer
User Manual
20
§7.2 Equipment Installation
A. Desktop Installation
Procedures:
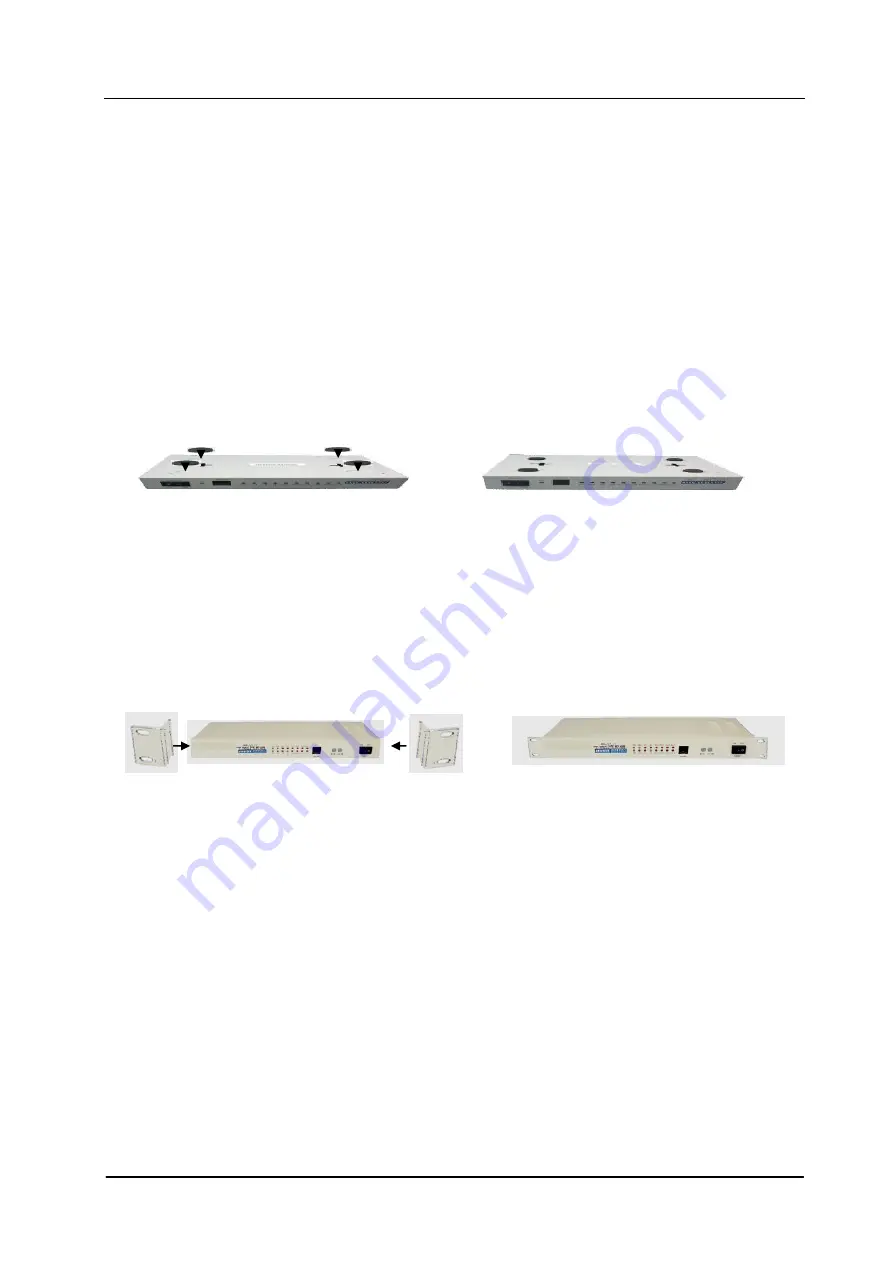
1. Turn down the equipment and make the soleplate facing upside
(shown as the below left figure). It is noticeable of four round concave
slots. Tear off the adhesive pasters on the four sponge pads found in
the attachment and attach them onto the slots (shown as the below
right figure).
2. Then turn it back and put on a secure and suitable position.
B. Rack-mounted Installation
Procedures:
1. Fixed the procured angle irons onto the two sides of the equipment
with screws (shown as the below figures).
2. Next, mount it to the rack, and connect as per the figure given in
§7.6.
§7.3 Whole-set Installation
1) Position or fix the equipment as described above;
2)
Access to the power supply: Confirm the polarity in advance, “+” refers
to working ground (GND)
,
to be connected with the positive pole of the
power;
“
-
” refers to -48V, to be connected with the negative pole of the
power (prior to the equipment application, it shall set the working
ground and protective ground shall provide independently and confirm
them being well grounded);


