

User Manual DEV 1953
Copyright DEV Systemtechnik GmbH 2015-2017
77
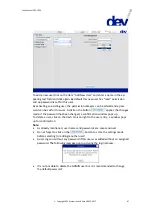
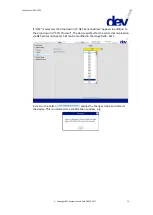
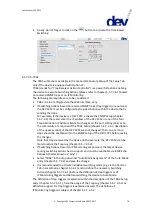
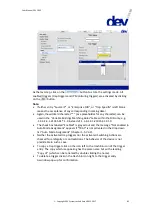
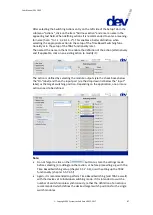
For setting up Time Based Switching within the Web Interface, activate Local Mode
(in order to suppress unwanted switching actions during the setup).
As the first step select "Time Based Switching" in the drop down list
"Auto Mode Assignment" of the Auto Mode entry (chapter 5.5.7.3.2) and save
the change.
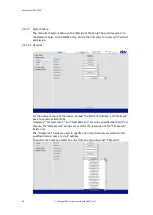
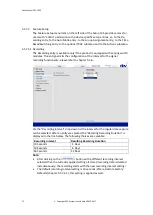
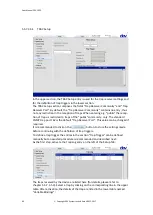
Next, within the Switching Actions entry (chapter 5.5.7.3.6.1) at least one
switching action needs to be defined.
After that, at least one trigger of the Time Based Switching entry (see below)
needs to be defined and to be enabled.
For arming the device for Time Based Switching, activate the Auto Mode.
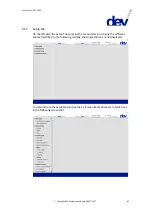
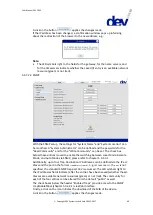
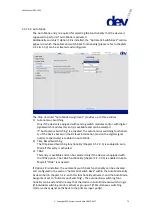
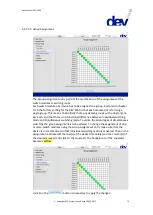
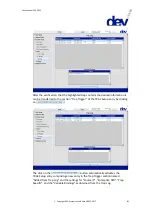
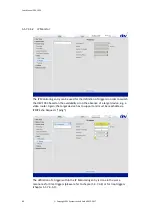
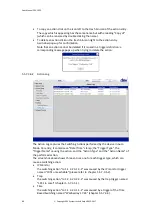
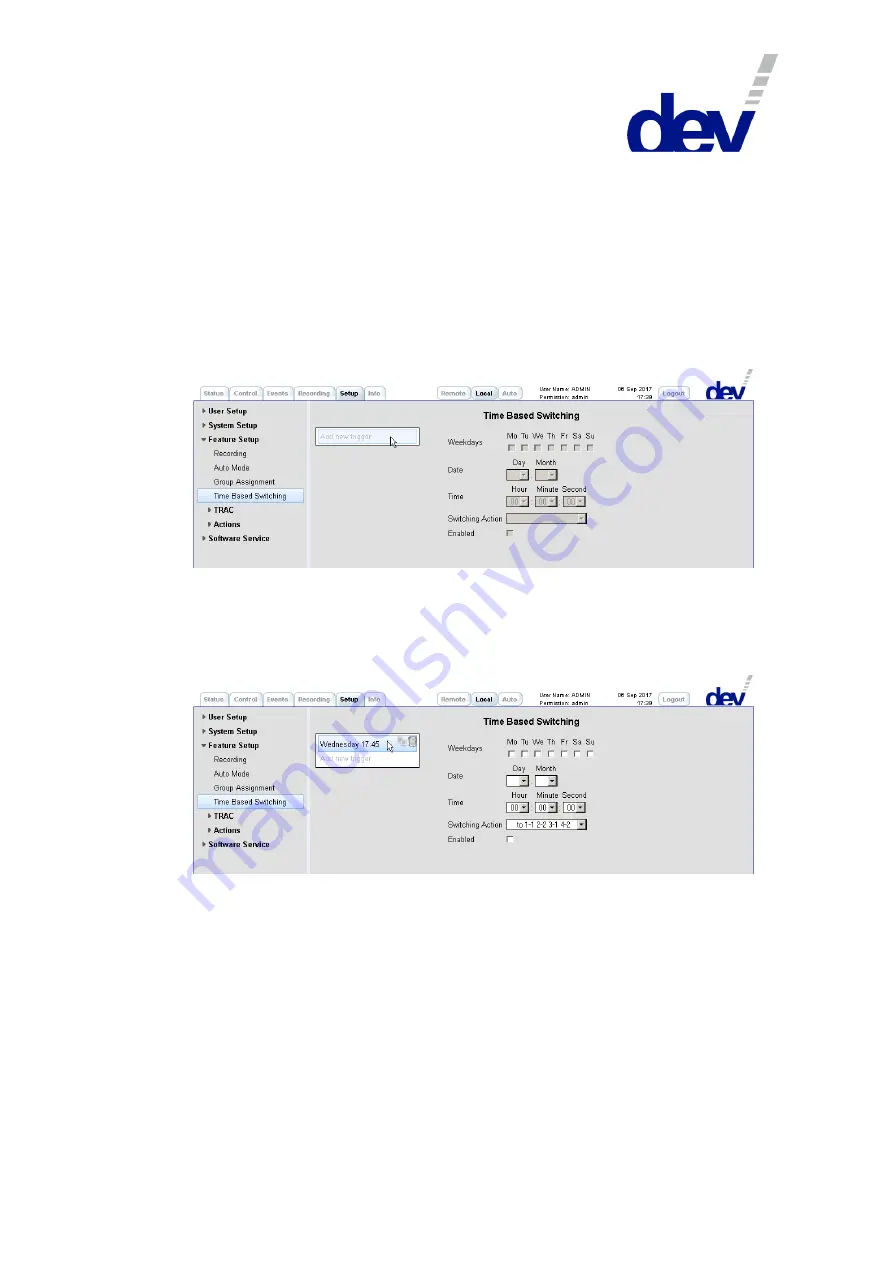
After selecting the entry Time Based Switching on the left side of the Setup Tab
click on the item "Add new trigger" and enter a name in the appearing text field
(here: "Wednesday 17:45").
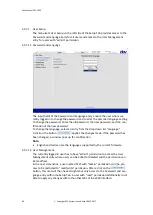
Next, select the name in the list to enable the definition of the trigger (alternatively
and if applicable, click on an existing trigger to modify it):
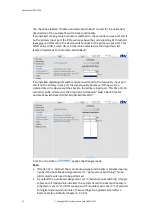
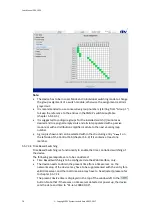
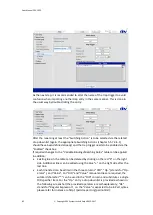
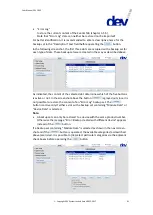
Either a time trigger is defined:
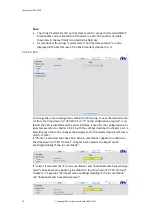
repetitive for one or more weekdays by checking the corresponding box(es)
(here, We(dnesday) was chosen), or it is defined as a
single occurrence using the drop down lists below "Day" and "Month" for
defining the date.
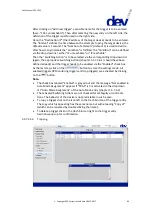
Note that when checking one or more weekdays, the drop down lists for "Day" and
for "Month" become grayed out and vice versa, when selecting a "Day" and/or a
"Month", the weekday check boxes become grayed out. In this case -i.e. to re-
enable the weekday check boxes-, choose the first entry (blank entry above entry
"01") in both drop down lists for "Day" and "Month".
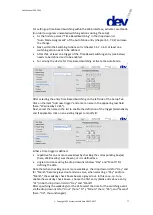
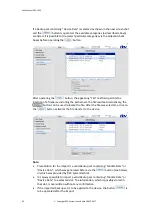
After specifying the weekday(s) or the date select the time for the switching event
via the drop down lists for "Hour" (here: "17"), "Minute" (here: "45"), and "Second"
(here: "00", thus unchanged).