ElectroVap RTH-V2
57
Pictures and values are not contractual - The devices may be subject to changes without notice
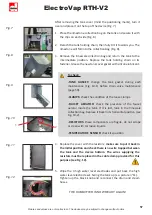
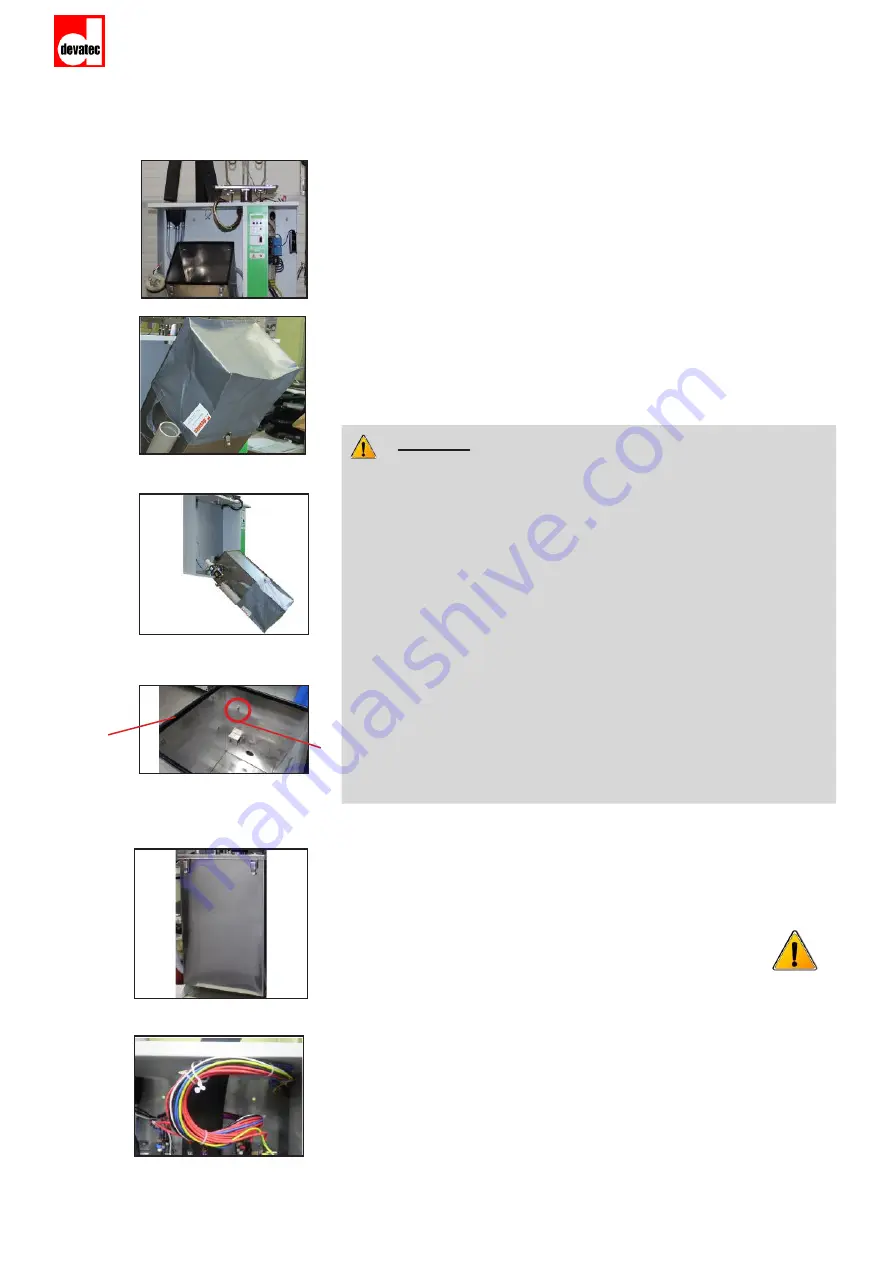
Fig. 7
Fig. 8
Fig. 10
Fig. 11
Fig. 12
2
1
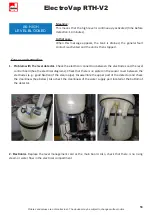
After removing the tank cover (mind the positioning marks), turn it
over and place it on the top of the device (Fig. 7)
1.
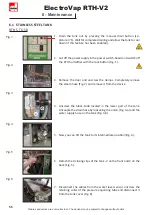
Place the limestone collection bag on the tank and secure it with
the clips on each side (Fig. 8).
2.
Detach the tank holding chain, then fully tilt it towards you. The
limestone will fall into the collection bag (Fig. 9).
3.
Remove the limescale collection bag and return the tank to the
intermediate position. Replace the tank holding chain on its
fastener. Grease the new tank cover gasket with silicone lubricant.
4.
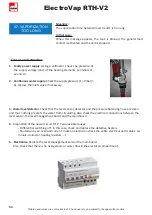
Replace the cover with the resistors:
make sure to put it back in
the initial position and check there is no wire trapped between
the tank and the device bottom. The wires supplying the
resistors must be replaced in the cable clamp provided for this
purpose (see Fig. 12).
5.
Wipe the 4 high water level electrodes and put back the high
water level electrode set. Swing the tank up (s.a. picture n°11).
Tighten up the black knob and reconnect the drain and steam
hoses.
THE HUMIDIFIER IS NOW READY AGAIN!
To check:
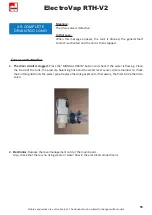
-TANK GASKET:
change the tank gasket during each
maintenance (Fig. 10-1) before drain valve maintenance
(page 59).
-CLAMPS:
check the condition of the loose clamps.
-FAUCET AERATOR:
check the presence of the faucet
aerator inside the tank. If it is lost, look in the limescale
collection bag. Replace it back in its horizontal position (see
Fig. 10-2).
-RESISTORS:
these components are fragile, do not scrape
or clean with corrosive liquids.
-TEMPERATURE SENSOR:
check its position
Fig. 9
Summary of Contents for ElectroVap
Page 1: ...RESISTIVE STEAM HUMIDIFIER RTH 5 to 50 kg h TECHNICAL MANUAL ...
Page 2: ......
Page 30: ......

