


ineo+ 650/550/451
4-43
Box Operations
4
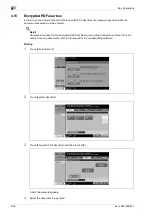
4.12
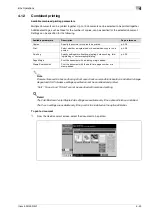
Combined printing
Available combined printing parameters
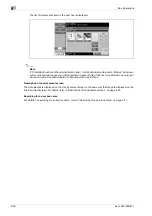
Multiple documents can be printed together. Up to 10 documents can be selected to be printed together.
Additional settings, such as those for the number of copies, can be specified for the selected document.
Settings can be specified for the following.
2
Note
Documents saved in a box and having a front cover, back cover and blank insertion in addition to Image
Repeat and OHP Interleave settings specified cannot be combined and printed.
"Sort", "Group" and "Tri-fold" cannot be specified with combined printing.
!
Detail
The Fold/Bind and Center Staple/Fold settings are available only if the optional finisher is installed.
The Punch settings are available only if the punch kit is installed on the optional finisher.
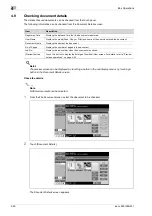
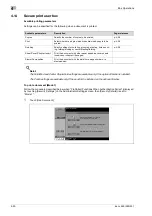
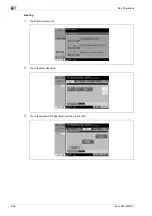
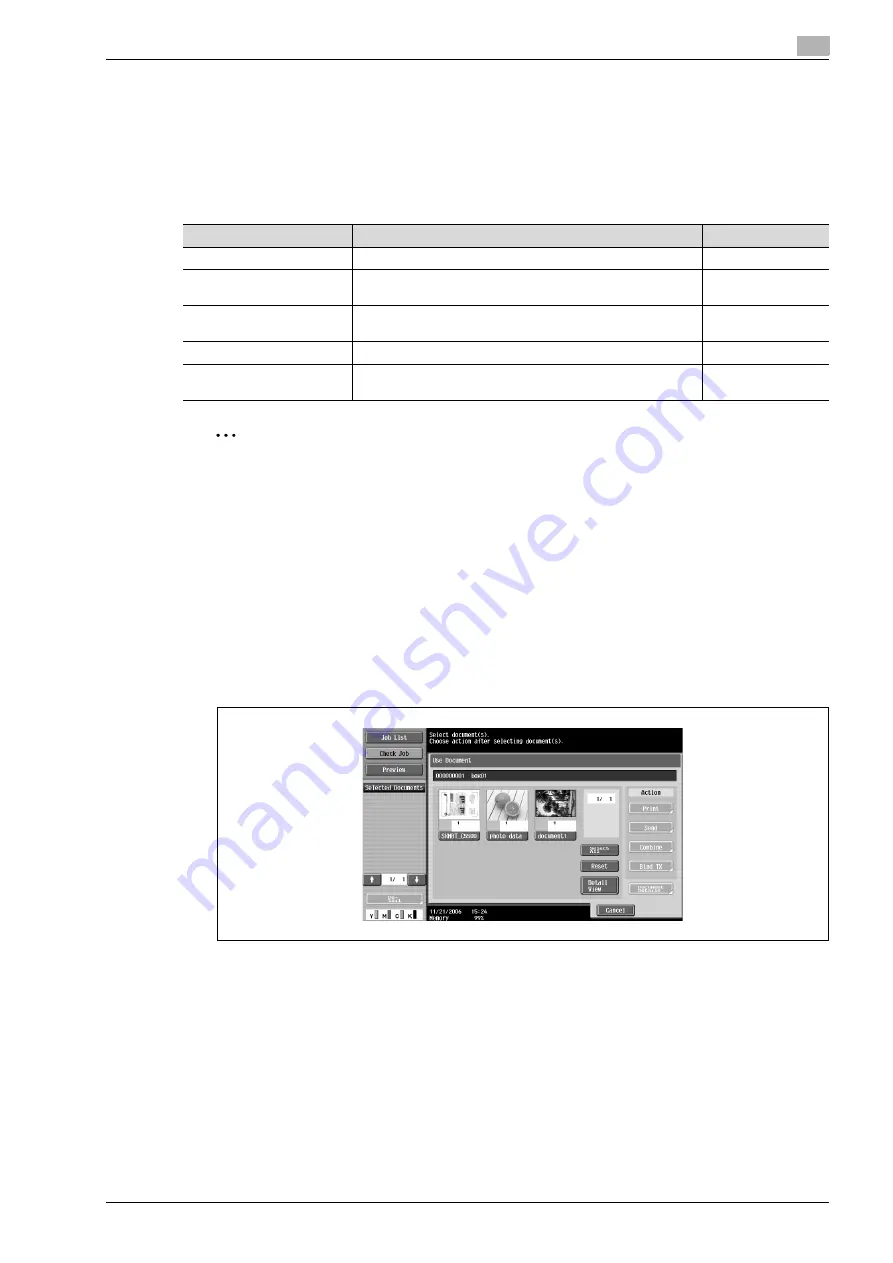
To print a document
1
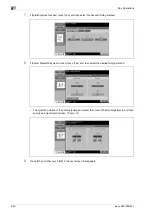
From the Use Document screen, select the document to be printed.
Available parameters
Description
Page reference
Copies
Specify the number of copies to be printed.
Select whether a single-sided or double-sided copy is to be
printed.
Finishing
Specify settings for offsetting, stapling, hole punching, fold-
ing/binding or center stapling/folding.
Page Margin
Print the document with a binding margin added.
Stamp/Composition
Print the document with the date/time, page number or a
stamp added.
Summary of Contents for ineo+ 451
Page 1: ...ineo 650 550 451 Dynamic balance www develop de User Manual ...
Page 2: ......
Page 12: ...Contents 10 ineo 650 550 451 ...
Page 13: ...1 Introduction ...
Page 14: ......
Page 38: ...1 Introduction 1 26 ineo 650 550 451 ...
Page 39: ...2 Copy Operations ...
Page 40: ......
Page 181: ...3 Print Operations ...
Page 182: ......
Page 271: ...4 Box Operations ...
Page 272: ......
Page 330: ...4 Box Operations 4 60 ineo 650 550 451 ...
Page 331: ...5 Network Scanner Operations ...
Page 332: ......
Page 387: ...ineo 650 550 451 5 57 Network Scanner Operations 5 Text Date Time Other ...
Page 409: ...6 Web Connection Operations ...
Page 410: ......
Page 459: ...7 Fax Operations Option ...
Page 460: ......
Page 488: ...7 Fax Operations Option 7 30 ineo 650 550 451 ...
Page 489: ...8 Network Fax Operations Option ...
Page 490: ......
Page 515: ...9 Appendix ...
Page 516: ......
Page 520: ...9 Appendix 9 6 ineo 650 550 451 ...
Page 521: ...10 Index ...
Page 522: ......
Page 526: ...10 Index 10 6 ineo 650 550 451 ...


