background image

2


C O N T E N T S  


1.  Contents 
2.  Introduction 
3.  Parts Description 
4.  Personal Safety 
5.  Assembly 
6.  Folding 


7.  Adjustments for 

Comfort 

8.  Brake Operation 
9.  Care & 

Maintenance 

10. Specification 
11. Warranty 


I N T R O D U C T I O N  

The  Drive  lightweight  4-wheeled  rollator  is 
designed  to  aid  the  user  to  walk  and,  as  an 
option, carry items such as shopping.  

The R8HA is suitable for both indoor and outdoor 
use. It is intended to be lightweight and portable 
whilst offering stability and security to the user.  

It  features  an  aluminium  frame,  a  height 
adjustable  padded  seat  and  height  adjustable 
handles  with  arthritic friendly  brake  levers. The 
rollator  has  19c

m  (7.5”)  diameter  wheels  with 

solid tyres. 


Summary of Contents for DRIVE R8BLHA

Page 1: ...Height Adjustable Rollator Instruction Manual Please read these instructions before assembling or using this product...

Page 2: ...4 wheeled rollator is designed to aid the user to walk and as an option carry items such as shopping The R8HA is suitable for both indoor and outdoor use It is intended to be lightweight and portable...

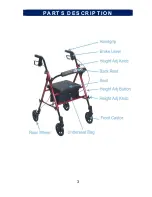
Page 3: ...3 P A R T S D E S C R I P T I O N...

Page 4: ...s fully folded out before using Ensure that all the wheels are stable and are on the ground before using Ensure that the brakes are adequate and test before using Ensure that the user sits in the cent...

Page 5: ...back legs with brakes using the same process The left and right legs are labelled as 3 4 respectively 4 Ensure that all the legs are set at the same height and secure by screwing in a Height Adjustme...

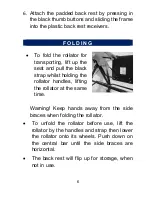
Page 6: ...pull the black strap whilst holding the rollator handles lifting the rollator at the same time Warning Keep hands away from the side braces when folding the rollator To unfold the rollator before use...

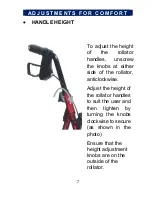
Page 7: ...ator handles unscrew the knobs at either side of the rollator anticlockwise Adjust the height of the rollator handles to suit the user and then tighten by turning the knobs clockwise to secure as show...

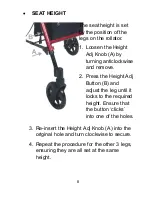
Page 8: ...wise and remove 2 Press the Height Adj Button B and adjust the leg until it locks to the required height Ensure that the button clicks into one of the holes 3 Re insert the Height Adj Knob A into the...

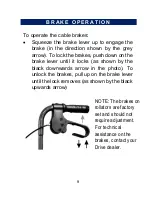
Page 9: ...e brakes push down on the brake lever until it locks as shown by the black downwards arrow in the photo To unlock the brakes pull up on the brake lever until the lock removes as shown by the black upw...

Page 10: ...ll the fasteners screws nuts and bolts are to be checked regularly to ensure they are securely tightened It is recommended that the rollator is serviced on an annual basis if the rollator is used by a...

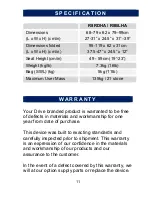
Page 11: ...35kg 21 stone W AR R A N T Y Your Drive branded product is warranted to be free of defects in materials and workmanship for one year from date of purchase This device was built to exacting standards a...

Page 12: ...Ltd is an ISO 9001 certi ed company For more details about our products please see your local dealer This warranty does not cover device failure due to owner misuse or negligence or normal wear and te...

Reviews: