Manual_Revised_V1.0
Page 14
APPLICATION
WARNING:
To reduce the risk of
explosion, before any work check the utility
lines electricity , gas or water supply line
are hidden in the work area.
WARNING:
When working at low
temperatures:
The hammering mechanism begins to operate
only when the tool has reached a minimum
operating temperature.
Press the tip of the hammer bit briefly against
the work surface while the tool is running.
Repeat this procedure if necessary until the
hammering reaches the minimum operating
temperature.
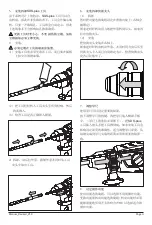
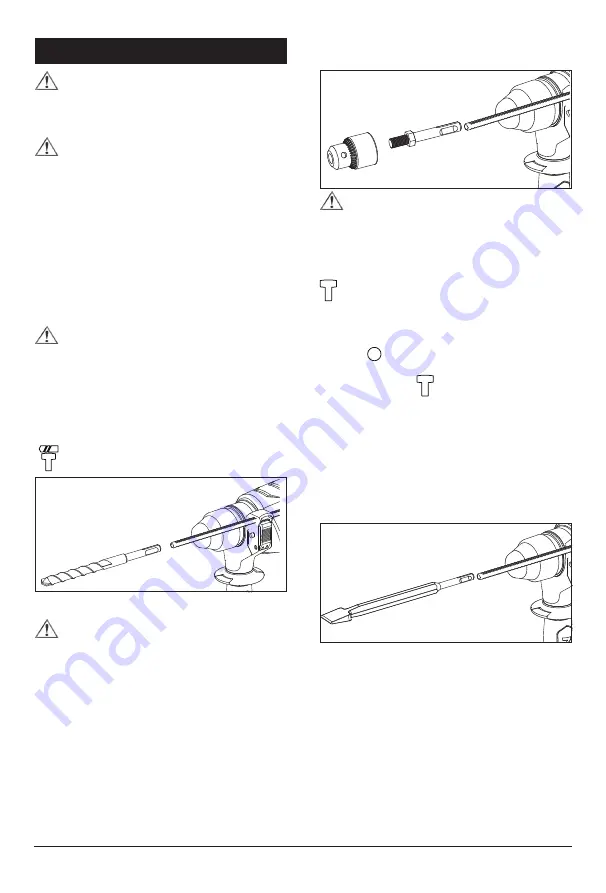
1. Hammer drilling
WARNING:
Do not use tools without SDS-
plus for hammer drilling!
Tools without SDS-plus and their holder and
drill chuck would be damaged by hammer
drilling.
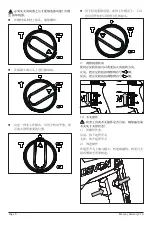
When working with tool without SDS-plus, set
the operating mode selector knob to position
“
”.
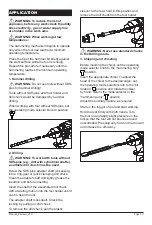
2. Drilling
WARNING:
To work with tools without
SDS-plus (e.g., drill with cylindrical shafts),
a suitable drill chuck must be used.
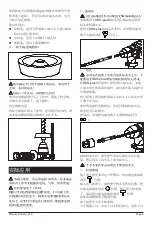
Screw the SDS-plus adapter shaft (accessory)
into a ring-gear or quick clamping drill chuck.
Clean the adapter shaft and lightly grease the
insertion end before inserting.
Insert the shaft of the assembled drill chuck
with a twisting motion into the tool holder until it
can be heard to lock.
The adapter shaft locks itself. Check the
locking by pulling on drill chuck.
To remove the drill chuck, pull the plastic
sleever to the rear, hold in this position and
remove the drill chuck from the tool holder.
WARNING:
Never use standard chucks
in the Drilling mode.
3. Chipping and chiseling
Before inserting the chisel, set the operating
mode selector knob to the “hammering only”
position.
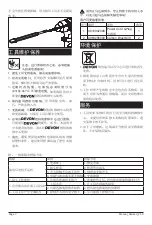
Insert the appropriate chisel. To adjust the
head of the chisel to the desired angle, set
the operating mode selector knob to the “bit
rotation” position and rotate the chisel
by hand. Return the mode selector to the
“hammering only”
position.
Adjust the auxiliary handle as required.
Start on the trigger of tool and start working.
Hold the tool firmly with both hands, Turn
the tool on and apply slight pressure on the
tool so that the tool will not bounce around,
uncontrolled. Pressing very hard on the tool will
not increase the efficiency.
Summary of Contents for 1107-26DE
Page 1: ...PROFESSIONAL TOOLS GB Rotary Hammer 1107 26E 1107 26RE 1107 26DE 1107 26DRE...
Page 3: ...Manual_Revised_V1 0 Page 2 1 1 2 3 2 1 2 3 4 5 6 RCD RCD 3 1 2 3 4 5 6 7 4 1 2 3 4 5 6 7 5...
Page 5: ...Manual_Revised_V1 0 Page 4 5 SDS plus SDS plus 1 1 2 3 2 6 1 2 7 SDS plus 8...
Page 6: ...Page 5 Manual_Revised_V1 0 9 10 1 2...
Page 7: ...Manual_Revised_V1 0 Page 6 11 2 3 1 SDS plus SDS plus SDS plus 2 SDS plus SDS plus 3...
Page 23: ...Manual_Revised_V1 0 Page 22...
Page 24: ...Page 23 Manual_Revised_V1 0...
Page 25: ...Manual_Revised_V1 0 Page 24...
Page 26: ...Page 25 Manual_Revised_V1 0...
Page 27: ......


