11
English
Place the forward/reverse button (B) in the locked
J
K
FIG. 7
off (center) position or remove battery pack before
changing accessories.
To install a socket on the hog ring anvil,
firmly
push socket onto the anvil (J). The hog ring
(K) compresses to allow the socket to slide on.
After the socket is installed, the hog ring applies
pressure to help provide socket retention.
To remove a socket,
grasp the socket and firmly
pull it off.
Usage
Your impact tool generates the following output torque:
Cat #
Ft.-Lbs.
In.-Lbs.
Nm
DCF813
96
1150
130
DCF815
79
950
107
CAUTION:
Ensure fastener and/or system will withstand the level of
torque generated by the tool. Excessive torque may cause breakage
and possible personal injury.
1. Place the socket on the fastener head. Keep the tool pointed
straight at the fastener.
2. Press switch to start operation. Always check torque with a
torque wrench, as the fastening torque is affected by many factors
including the following:
•
Voltage:
Low voltage, due to a nearly discharged battery, will
reduce fastening torque.
•
Socket size:
Failure to use the correct socket size will cause a
reduction in fastening torque.
NOTE:
The worklights are for lighting the immediate work surface and
are not intended to be used as a flashlight.
FIG. 5
C
D
FIG. 6
C
D
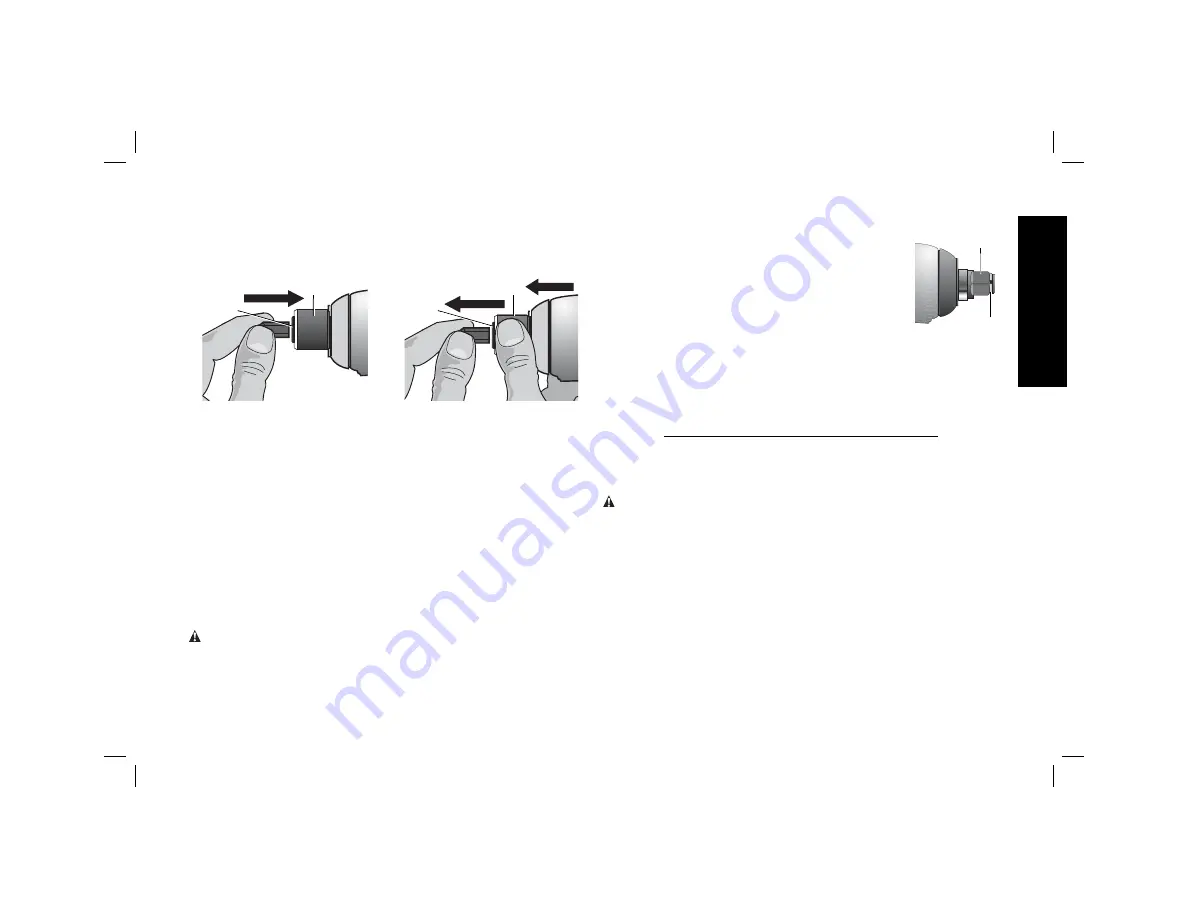
Quick-Release Chuck (DCF815)
(Fig. 2, 5, 6)
NOTE:
The chuck accepts 1/4" (6.35 mm) hex accessories and 1"
(25.4 mm) bit tips only.
Place the forward/reverse button (B) in the locked off (center) position
or remove battery pack before changing accessories.
To install an accessory, fully insert the accessory. The accessory is
locked into place (Fig. 5).
To remove an accessory, pull the chuck collar (C) away from the front of
the tool. Remove the accessory and release the collar (Fig. 6).
Anvil with Hog Ring (DCF813)
(Fig. 2, 7)
CAUTION:
Use only impact sockets. Non-impact sockets may
break and cause a hazardous condition. Inspect sock et prior to use to
ensure that it con tains no cracks.


