11
English
Proper hand position requires one hand on the main
handle
1
and the other hand on the power cleaner's
2
body as shown.
Proper Hand Position (Fig. J)
WARNING:
To reduce the risk of serious personal injury,
ALWAYS
use proper hand position as shown.
WARNING:
To reduce the risk of serious personal
injury,
ALWAYS
hold securely in anticipation of a
sudden reaction.
OPERATION
WARNING: To reduce the risk of serious personal
injury, turn unit off and remove the battery pack
before making any adjustments or removing/
installing attachments or accessories.
An
accidental start‑up can cause injury.
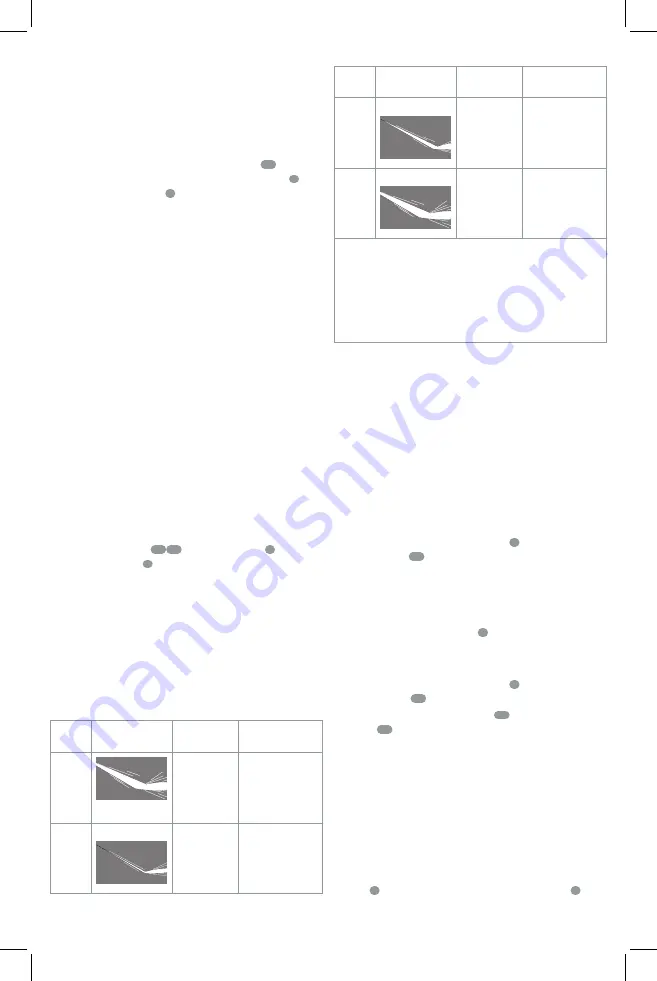
nozzle
Color
spray Pattern
Uses
surfaces**
Green
25˚
Intense cleaning
of larger areas
Metal, concrete or
wood
White
40˚
Cleaning of
painted or
delicate surfaces
Auto/RV, marine,
wood, painted brick
and stucco, vinyl,
painted siding
**NOTICE:
The high pressure spray from your power
cleaner is capable of causing damage to surfaces such
as wood, glass, automobile paint, auto striping and
trim, and delicate objects such as flowers and shrubs.
Before spraying, check the item to be cleaned to assure
yourself that it is strong enough to resist damage from
the force of the spray.
To Attach Nozzle to Spray Wand (Fig. H)
DANGER:
Risk of fluid injection. Do not direct
discharge stream toward persons, unprotected skin,
eyes or any pets or animals. Serious injury will occur.
WARNING:
Flying objects could cause risk of serious
injury. DO NOT attempt to change nozzles while power
cleaner is running. Turn power cleaner off before
changing nozzles.
To connect the nozzle
10 15
to the spray wand
8
, pull the
quick connect collar
9
toward the spray wand and insert the
appropriate nozzle. Release the quick connect collar to lock
the nozzle in place.
To ensure nozzle is locked into place, give the nozzle a firm
tug after the quick connect collar has locked into place.
How To Use Spray Wand
Refer to the following chart to choose the correct nozzle for the
job to be performed.
CAUTION:
Do not attempt to move the nozzle to
adjust pressure. The turbo nozzle is
NOT
adjustable.
nozzle
Color
spray Pattern
Uses
surfaces**
Turbo
Spray
Nozzle
Delivers
the optimal
cleaning effect
for the toughest
cleaning tasks.
Cleaning brick,
concrete, and vinyl
surfaces. DO NOT use
on fabric.
Yellow
15˚
Intense cleaning
of unpainted
hard surfaces
Grills, driveways,
concrete or brick
walkways, unpainted
brick or stucco
To Attach the Suction Hose (Fig. G)
Use the suction hose to pull water from a bucket or other
fresh water source.
NOTICE:
Do not use to suction soap, chemicals, dirty
or corrosive liquids, such as window cleaner, plant food,
fertilizers or bleach. Do not use salt water.
1. To connect the quick connect hose adapter
13
on the
end of the suction hose to the quick connect filter
7
on the power cleaner
2
, push the quick connect hose
adapter firmly onto the quick connect filter.
nOTE:
Before use, gently tug on the suction hose to
ensure the connection is secured. Make sure the quick
connect hose adapter on the end of the suction hose
is flush with the quick connect filter as shown in the
Figure F inset.
2. Place other end of suction hose with filter on it into
container of fresh water or a fresh water source. Adjust
the float on the suction hose so the filter stays covered
in the liquid.
3. Select the correct nozzle to be used.
4. After the job being performed is complete, place the
suction hose into container of clean water and draw the
clean water through the system to rinse.
Installing and Removing the Battery Pack
(Fig. I)
nOTE:
For best results, make sure your battery pack is
fully charged.
To Install the Battery Packs
1. Lift and hold the battery port cover 5 up to expose the
battery port 24 .
2. Align the battery pack with the rails inside the tool’s
handle and slide it into the handle until the battery
pack is firmly seated in the tool and ensure that it does
not disengage.
3. Close the battery port cover 5 . Ensure the cover is fully
latched into position before starting tool.
To Remove the Battery Pack
1. Lift and hold the battery port cover 5 up to expose the
battery pack 22 .
2. Press the battery release button 23 on the battery
pack 22 and firmly pull the battery pack out of tool.
3. Insert the battery into the charger as described in the
charger section of this manual.
Summary of Contents for DCPW550
Page 5: ...3 Fig H Fig G Fig I Fig J Fig K Fig L 23 22 19 4 6 12 9 10 2 1 7 13 9 15 8 8 5 24 ...
Page 6: ...4 Fig N 3 7 21 Fig M 12 20 ...
Page 37: ......
Page 38: ......
Page 39: ......


