4
your skin, rinse thoroughly with water. If any liquid gets in your eyes,
rinse thoroughly with water and call a physician immediately.
Chuck
Open chuck jaws by turning collar with fingers and insert shank of
bit about 3/4" into chuck. Tighten chuck collar by hand. Place chuck
key in each of the three holes, and tighten in clockwise direction. It’s
important to tighten chuck with all three holes. To release bit, turn
chuck counter clockwise in just one hole, then loosen the chuck by
hand.
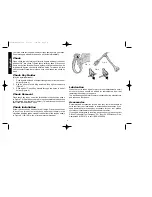
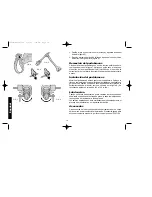
Chuck Key Holder
(May be installed already.)
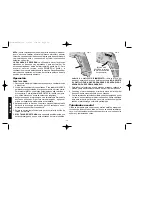
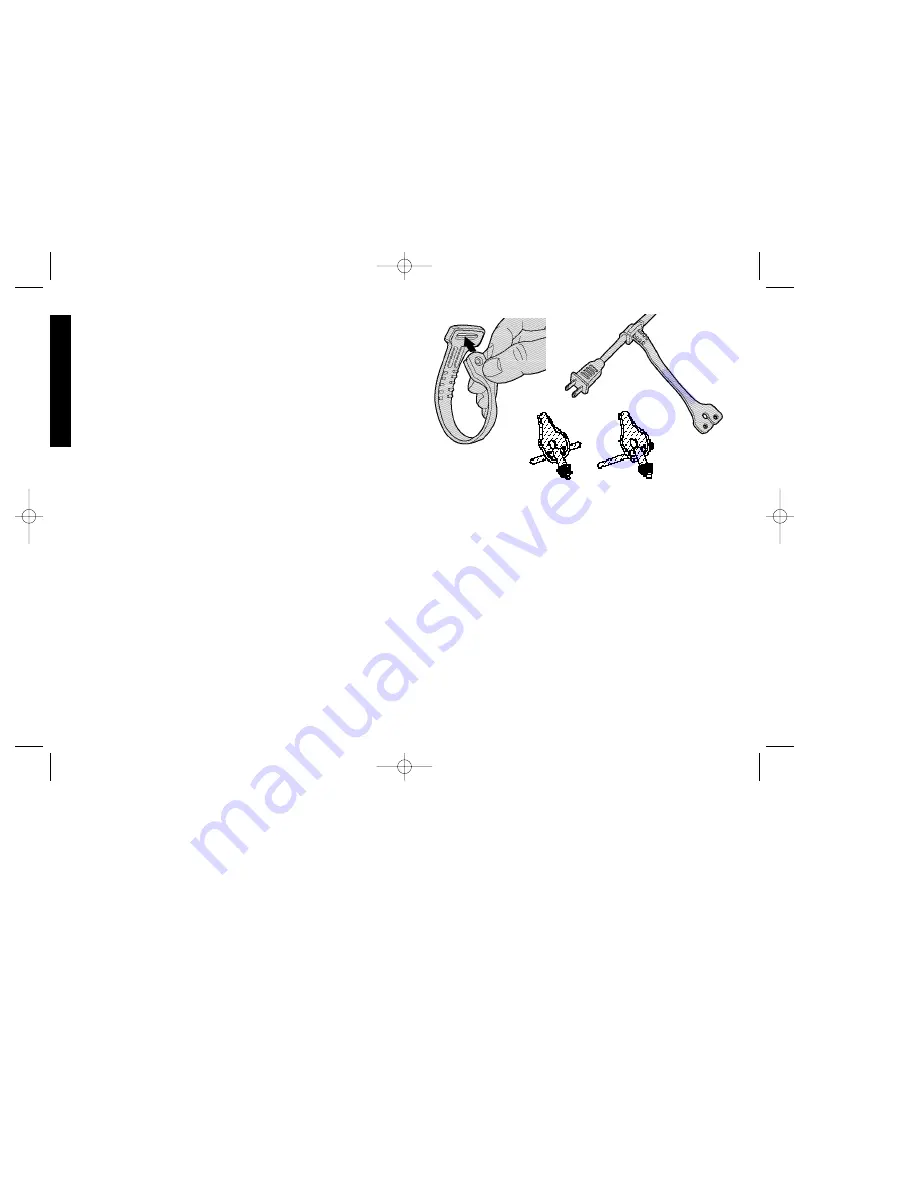
1.
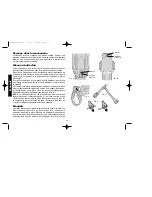
Push double-hole end of holder through the slot in other end of
holder (Figure 4.)
2.
Slip loop over electric plug and draw loop tight around cord
(Figure 5.)
3.
Push ends of Chuck Key Handle through two holes in end of
holder (Figure 6.)
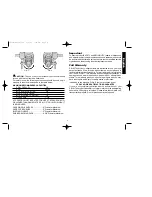
Chuck Removal
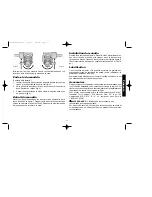
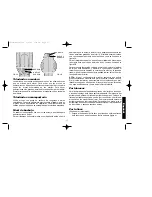
Place chuck key in any one of the three holes in the chuck, as shown
in Figure 7. Strike the key sharply in the counterclockwise direction
(when viewed from the front of the tool). This will loosen the chuck so
that it can be removed by hand.
Chuck Installation
Screw the chuck on by hand as far as it will go. Place the chuck key
in any of the three holes in the chuck and strike it sharply in the
clockwise direction (when viewed from the front of the tool) as shown
in Figure 8. (145-160 in. lbs. of torque is recommended.)
Lubrication
When the tool is taken apart for motor brush replacement a small
amount of grease should be added (or redistributed from that
remaining in housing) to the gears.
The ball bearings used in this tool are lubricated during manufacture
and require no lubrication.
Accessories
Recommended accessories for use with your tool are available at
extra cost from your local dealer or authorized service center. If you
need assistance in locating any accessory for your tool, please
contact your local dealer or authorized service center.
If you need assistance in locating any accessory, please contact
D
E
WALT Industrial Tool Company, P.O. Box 158, 626 Hanover Pike,
Hampstead, MD 21074 or call 1-800-433-9258.
English
FIG. 5
FIG. 4
FIG. 6
383945/DW100-220 5/3/02 1:15 PM Page 4


