background image

6

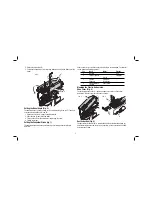
     1.  Place the dust extraction shroud (N) between the finger guard (F) until it clicks in 

place. 

     2.  Fit the dust extraction adaptor (M) to the tool as shown. 
     3.  Connect the hose of a suitable dust extraction system to the adaptor. 

WARNING: 

When appropriate, connect a dust extraction system designed in 

compliance with the applicable directives regarding dust emission.

WARNING: 

Do not use a dust extraction system without proper spark protection 

when sawing metal.

OPERATION

WARNING:


To reduce the risk of injury, turn unit off and disconnect tool from 

power source before installing and removing accessories, before adjusting or 

changing set-ups or when making repairs.

 Be sure the switch is in the off position. 

An accidental start-up can cause injury.

WARNING: 


•  Make sure your workpiece is well secured. Remove nails, screws and 

other fasteners that may damage the blade.


•  Check that there is sufficient space for the blade underneath the 

workpiece. Do not cut materials that exceed the maximum cutting depth 

of the blade. 


•  Use sharp saw blades only. Damaged or bent saw blades must be 

removed immediately. 


•  Do not use the tool for sawing pipes or tubes. 


•  Never run your tool without a saw blade. 


•  For optimal results, move the tool smoothly and constantly over the 

workpiece. Do not exert lateral pressure on the saw blade. 

Keep the shoe flat on the workpiece and lead the cord away in line with 

the tool. When sawing curves, circles or other round shapes, push the 

tool gently forward. 


•  Wait until the tool has come to a standstill before removing the saw 

blade from the workpiece. After sawing the blade may be very hot. Do 

not touch. 

Proper Hand Position (Fig. 1, 8)

WARNING: 

To reduce the risk of serious personal injury, 

ALWAYS

 use proper hand 

position as shown. 

WARNING: 

To reduce the risk of serious personal injury, 

ALWAYS

 hold securely in 

anticipation of a sudden reaction. 
Proper hand position requires one hand on the front handle (S), with the other hand 

on the main handle (R) or one hand on the main handle (R). 

 Switching On and Off (Fig. 1) 

 To run the tool, press the on/off switch (A). 
 For continuous operation, press and hold down the switch (A), press the lock-on 

button (B) and release the switch. 
 To stop the tool, release the switch. 
 To stop the tool in continuous operation, press the switch briefly and release it. 

Always switch off the tool when work is finished and before unplugging. 

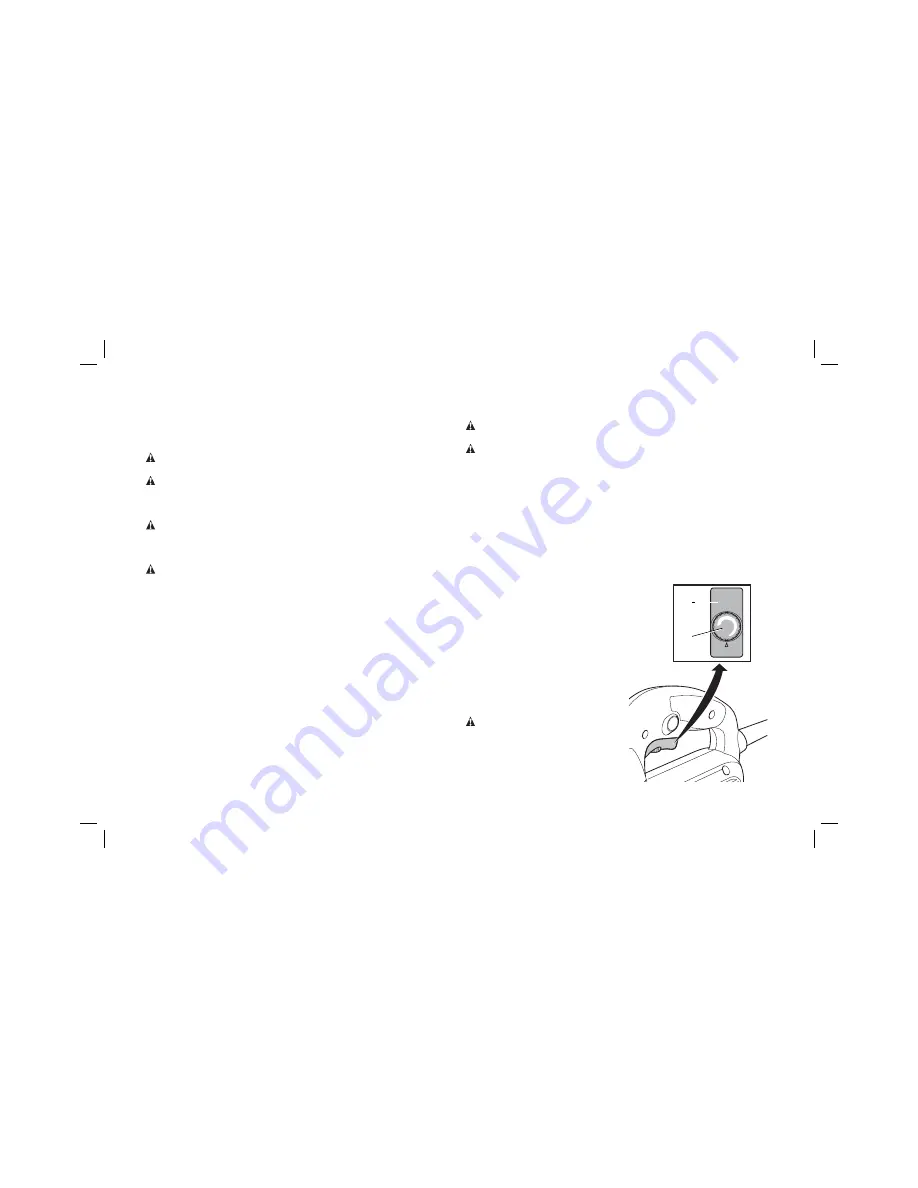
   Setting  the  Electronic   

FIG. 6

A

C

Sawing Speed (Fig. 6) 

 The sawing speed varies with the pressure 

exerted on the on/off switch (A). 
 To preset the sawing speed, turn the 

control dial (C) to the desired level. The 

higher the rate, the higher the sawing 

speed. The required setting depends on 

the thickness and kind of material. 
 Use high speeds for sawing soft materials 

such as wood. Use low speeds for sawing 

metal. 

     WARNING: 

After using the tool for an 

extended period on low speed settings, run 

it for approx. three minutes on maximum 

no-load speed.

Summary of Contents for DW341-XE

Page 1: ...DW341 XE HEAVY DUTY JIG SAW INSTRUCTION MANUAL ...

Page 2: ......

Page 3: ...nvite accidents b Do not operate power tools in explosive atmospheres such as in the presence of flammable liquids gases or dust Power tools create sparks which may ignite the dust or fumes c Keep children and bystanders away while operating a power tool Distractions can cause you to lose control 2 ELECTRICAL SAFETY a Power tool plugs must match the outlet Never modify the plug in any way Do not u...

Page 4: ...ous in the hands of untrained users e Maintain power tools Check for misalignment or binding of moving parts breakage of parts and any other condition that may affect the power tools operation If damaged have the power tool repaired before use Many accidents are caused by poorly maintained power tools f Keep cutting tools sharp and clean Properly maintained cutting tools with sharp cutting edges a...

Page 5: ... protection AS NZS1337 Eye Protectors for Industrial Applications Hearing protection AS NZS1270 Acoustics Hearing Protection Respiratory protection AS NZS1716 Respiratory Protective Devices WARNING Some dust created by power sanding sawing grinding drilling and other construction activities contains chemicals known to cause cancer birth defects or other reproductive harm Some examples of these che...

Page 6: ...E USE COMPONENTS Fig 1 2 A On off switch G Blade holder B Lock on button H Guide roller C Speed control dial I Shoe D Saw dust blower J Pendulum stroke selector E Blade latch F Finger guard INTENDED USE Your jig saw has been designed for professional cutting of wood steel aluminium plastic and ceramic material DO NOT use under wet conditions or in presence of flammable liquids or gases These jig s...

Page 7: ...s a perfect cutting stroke for different materials Slide the selector j to the desired position referring to the table below The selector can be manipulated during operation Pos Wood Metal Plastics 2 Fast cuts PVC 2 Thick workpieces Fibreglass Acrylic 1 Plywood Aluminium Chipboard Non ferrous 0 Thin workpieces Sheet metal Fine cuts Mounting the Plastic Anti scratch Shoe Cover Fig 4 The anti scratc...

Page 8: ...ead the cord away in line with the tool When sawing curves circles or other round shapes push the tool gently forward Wait until the tool has come to a standstill before removing the saw blade from the workpiece After sawing the blade may be very hot Do not touch Proper Hand Position Fig 1 8 WARNING To reduce the risk of serious personal injury ALWAYS use proper hand position as shown WARNING To r...

Page 9: ...he trigger switch is in the OFF position An accidental start up can cause injury Lubrication Your power tool requires no additional lubrication Cleaning WARNING Blow dirt and dust out of all air vents with clean dry air at least once a week To minimize the risk of eye injury always wear AS NZS51337 approved eye protection when performing this WARNING Never use solvents or other harsh chemicals for...

Page 10: ... the warranty DEWALT tools are covered by our FREE ONE YEAR SERVICE CONTRACT DEWALT will also maintain the tool for free at any time during the first year of purchase This includes labour parts and lubrication required to restore the product to sound mechanical and or electrical condition Normal wear parts are not covered in this service Carbon brushes worn more then 50 will be replaced NOTE Three...

Page 11: ...9 ...

Page 12: ...ia DEC10 Part No N091377 DW341 XE Copyright 2010 DEWALT The following are trademarks for one or more DEWALT power tools the yellow and black color scheme the D shaped air intake grill the array of pyramids on the handgrip the kit box configuration and the array of lozenge shaped humps on the surface of the tool ...

Reviews: