4
TO ADJUST THE DEPTH ROD
1. Loosen clamp nut and insert bit into tool holder.
2. Push drill bit into a surface and adjust rod to desired depth of hole
(distance between bit tip and depth rod tip).
3. Tighten clamp nut.
NOTE:
This adjustment can be made with or without side handle in
place.
Inserting and Removing Spline Drive
Accessories
FIG. 3: (DW531, DW530, DW532, DW533)
TURN OFF TOOL AND DISCONNECT FROM POWER SUPPLY.
1. Unlock the tool holder by pushing the retaining pin button and holding it
in.
2. Insert the bit shank into the tool holder as far as it will go.
3. Release the retaining pin button.
4. Pull on the bit to check if it is properly locked.
5. To remove a bit unlock the tool holder as described above.
Inserting and Removing SDS-max™
Accessories
FIG. 4: (DW541, DW540 AND DW545)
TURN OFF TOOL AND DISCONNECT FROM POWER SUPPLY.
1. Pull back the tool holder locking sleeve and insert the bit shank.
2. Turn the bit slightly until the sleeve snaps back in position.
3. Pull on the bit to check if it is properly locked. The hammering
function requires the bit to be able to move axially several
centimeters when locked in the tool holder.
4. To remove bit, pull back the tool holder locking sleeve and pull the
bit out of the tool holder.
English
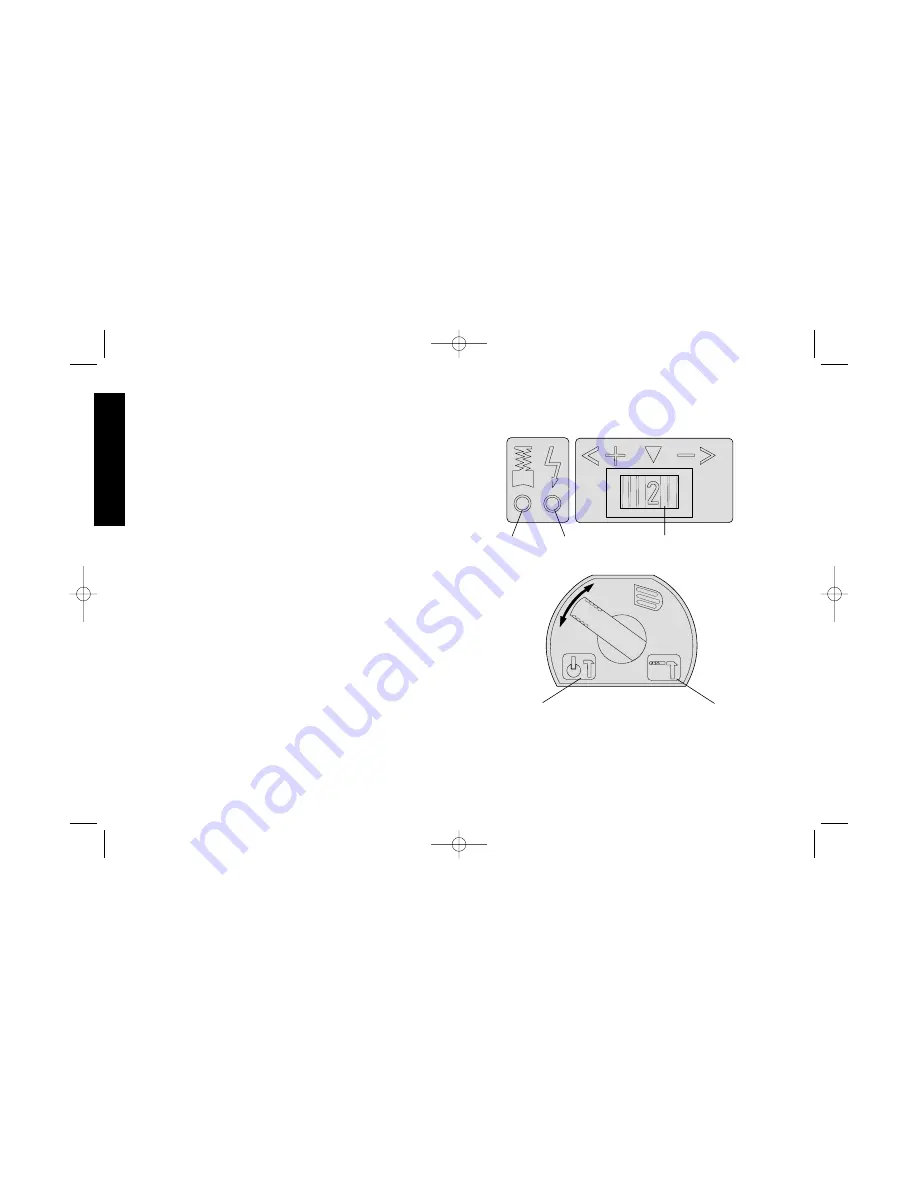
FIG. 5
FIG. 6
RED LED
GREEN LED
ELECTRONIC SPEED /
IMPACT CONTROL
DIAL
HAMMER ONLY
WITH SPINDLE
LOCK
HAMMER DRILL
154728-01 rev 9/10/02 2:23 PM Page 4


