background image

5

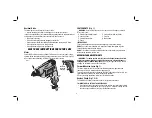
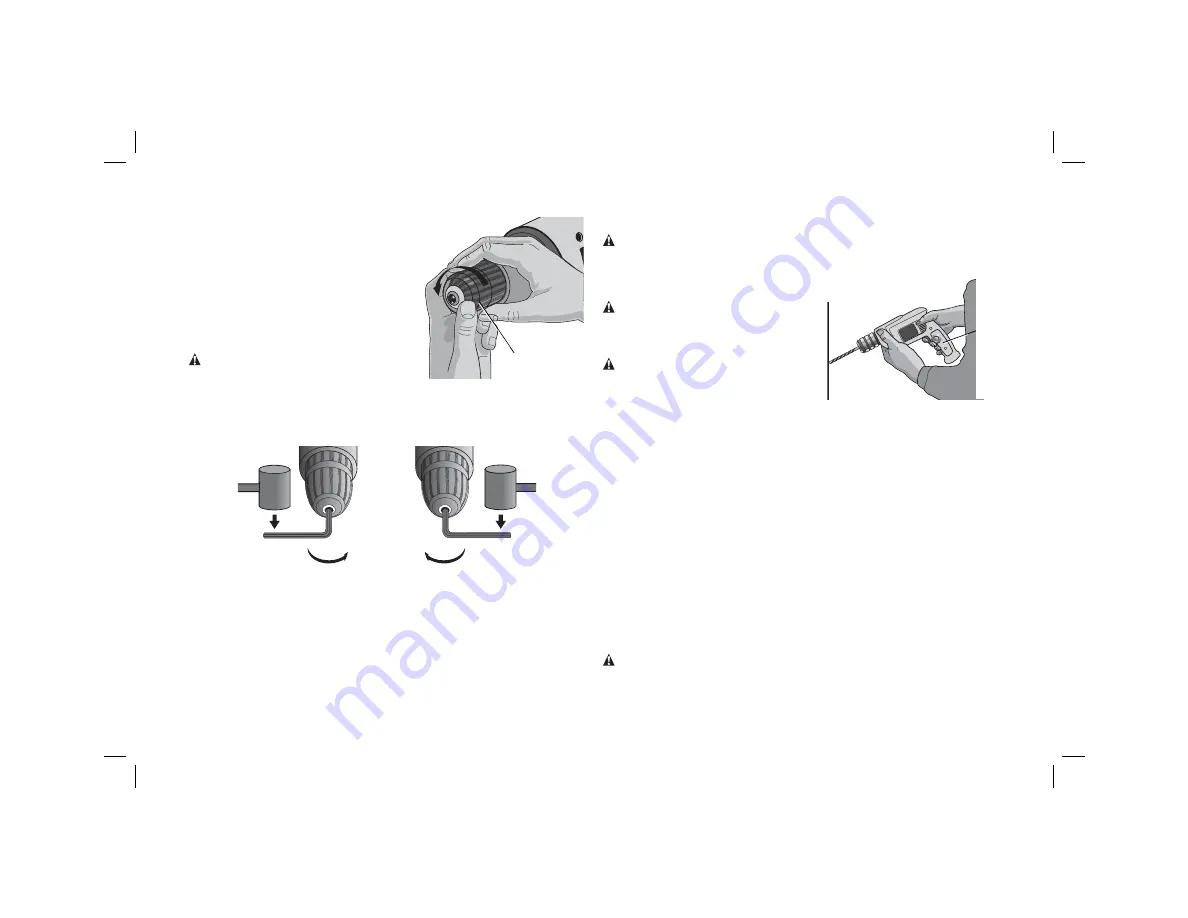
  2. Insert the bit or other accessory about       

D

FIG. 2


19 mm (3/4") into the chuck and tighten 

securely by holding the rear half of the 

chuck and rotating the front portion in the 

clockwise direction. When the chuck is 

nearly tightened, you will hear a clicking 

sound. After 4–6 clicks, the chuck is 

securely tightened around the accessory.

  3. To release the accessory, repeat step 1 

listed above.

WARNING: 

Do not attempt to tighten drill 

bits (or any other accessory) by gripping the 

front part of the chuck and turning the tool on. 

Damage to the chuck and personal injury may 

result.

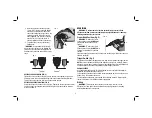
FIG. 3

FIG. 4

KEYLESS CHUCK REMOVAL (FIG. 3)

Tighten the chuck around the shorter end of a hex key (not supplied). Using a soft 

hammer or piece of wood, strike the longer end in the counterclockwise direction. 

This will loosen the chuck so that it can be unscrewed by hand.

KEYLESS CHUCK INSTALLATION (FIG. 4)

Screw the chuck on by hand as far as it will go. Tighten the chuck around the shorter 

end of a hex key (not supplied) and strike the longer end in the clockwise direction 

with a soft hammer.

OPERATION

WARNING: To reduce the risk of serious personal injury, turn tool off and 

disconnect tool from power source before making any adjustments or removing/

installing attachments or accessories.

Proper Hand Position (fig. 5) 

G

FIG. 5

WARNING: 

To reduce the risk of 

serious personal injury, 

ALWAYS

 use 

proper hand position as shown in 

figure 5. 

WARNING:

 To reduce the risk of 

serious personal injury, 

ALWAYS

 hold 

securely in anticipation of a sudden 

reaction. 
Proper hand position requires one hand under the the housing, with the other hand on 

the main handle (G). 

Trigger Switch (fig. 1)

To start the drill, depress the trigger switch; to stop the drill, release the trigger switch.

NOTE: 

Use lower speeds for starting holes without a center punch, drilling in metal or 

plastics, driving screws or drilling ceramics. Higher speeds are better for drilling wood 

and composition boards and using abrasive and polishing accessories.

VARIABLE SPEED

A variable speed trigger switch (A) permits speed control—the farther the trigger is 

depressed, the higher the speed of the drill.
For continuous operation, press and hold the variable speed switch, move the lock-on 

button (B) up, then release the switch.
To stop continuous operation, press the switch briefly and release it. Always switch 

the tool off when work is finished and before unplugging.

Drilling

WARNING:

  To reduce the risk of serious personal injury, turn tool off and 

disconnect tool from power source before making any adjustments or removing/

installing attachments or accessories.

Summary of Contents for DWDO14S-XE

Page 1: ...DWDO14S XE VARIABLE SPEED REVERSIBLE DRILL INSTRUCTION MANUAL ...

Page 2: ......

Page 3: ...Keep work area clean and well lit Cluttered or dark areas invite accidents b Do not operate power tools in explosive atmospheres such as in the presence of flammable liquids gases or dust Power tools create sparks which may ignite the dust or fumes c Keep children and bystanders away while operating a power tool Distractions can cause you to lose control 2 ELECTRICAL SAFETY a Power tool plugs must...

Page 4: ...r with the power tool or these instructions to operate the power tool Power tools are dangerous in the hands of untrained users e Maintain power tools Check for misalignment or binding of moving parts breakage of parts and any other condition that may affect the power tool s operation If damaged have the power tool repaired before use Many accidents are caused by poorly maintained power tools f Ke...

Page 5: ...r birth defects or other reproductive harm Some examples of these chemicals are lead from lead based paints crystalline silica from bricks and cement and other masonry products and arsenic and chromium from chemically treated lumber CCA Your risk from these exposures varies depending on how often you do this type of work To reduce your exposure to these chemicals work in a well ventilated area and...

Page 6: ...he right viewed when holding the drill in the operating position After any reversing operations return lever to forward position Keyless Chuck fig 1 2 4 The DWD014S XE feature a keyless chuck D for greater convenience TO INSERT A DRILL BIT OR OTHER ACCESSORY 1 Grasp the rear half of the chuck with one hand and use your other hand to rotate the front half counterclockwise as shown in Figure 2 Rotat...

Page 7: ...aking any adjustments or removing installing attachments or accessories Proper Hand Position fig 5 G FIG 5 WARNING To reduce the risk of serious personal injury ALWAYS use proper hand position as shown in figure 5 WARNING To reduce the risk of serious personal injury ALWAYS hold securely in anticipation of a sudden reaction Proper hand position requires one hand under the the housing with the othe...

Page 8: ... tool A smooth even flow of metal chips indicates the proper drilling rate Use a cutting lubricant when drilling metals The exceptions are cast iron and brass which should be drilled dry NOTE Large 8 mm 5 16 to 13 mm 1 2 holes in steel can be made easier if a pilot hole 4 mm 5 32 to 5 mm 3 16 is drilled first DRILLING IN WOOD Start drilling with slow speed and increase to full power while applying...

Page 9: ...se neglect wear and tear alteration or modification This warranty gives you specific legal rights and you may have other rights under the provisions of the Consumer Guarantee Act 1993 New Zealand only Trade Practices Act 1974 and State Legislation Australia only In addition to the warranty DEWALT tools are covered by our FREE ONE YEAR SERVICE CONTRACT DEWALT will also maintain the tool for free at...

Page 10: ...8 ...

Page 11: ...9 ...

Page 12: ...a AUG09 Part No N038906 DWD014S XE Copyright 2009 DEWALT The following are trademarks for one or more DEWALT power tools the yellow and black color scheme the D shaped air intake grill the array of pyramids on the handgrip the kit box configuration and the array of lozenge shaped humps on the surface of the tool ...

Reviews: