13
D. Changing hand grip or body position while cutting can result in blade twist.
E. Backing up the saw to clear blade can lead to twist if it is not done carefully.
4. MATERIALS THAT REQUIRE EXTRA ATTENTION
A.
Wet
lumber
B. Green lumber (material freshly cut or not kiln dried)
C. Pressure treated lumber (material treated with preservatives or anti-rot
chemicals)
5. USE OF DULL OR DIRTY BLADES
Dull blades cause increased loading of the saw. To compensate, an operator will
usually push harder which further loads the unit and promotes twisting of the
blade in the kerf. Worn blades may also have insufficient body clearance which
increases the chance of binding and increased loading.
6. LIFTING THE SAW WHEN MAKING BEVEL CUTS
Bevel cuts require special operator attention to proper cutting techniques –
especially guidance of the saw. Both blade angle to the foot plate and greater
blade surface in the material increase the chance for binding and misalignment
(twist) to occur.
7. RESTARTING A CUT WITH THE BLADE TEETH JAMMED AGAINST THE
MATERIAL
The saw should be brought up to full operating speed before starting a cut or
restarting a cut after the unit has been stopped with the blade in the kerf. Failure
to do so can cause stalling and kickback.
Any other conditions which could result in pinching, binding, twisting, or misalignment
of the blade could cause kickback. Refer to
Additional Safety Instructions
and
Operation
for procedures and techniques that will minimize the occurrence of
kickback.
MAINTENANCE
WARNING: To reduce the risk of serious personal injury, turn tool off and
disconnect tool from power source before making any adjustments or removing/
installing attachments or accessories.
An accidental start-up can cause injury.
Lubrication
Your power tool requires no additional lubrication.
Cleaning
WARNING:
Blow dirt and dust out of all air vents with clean, dry air at least once
a week. To minimize the risk of eye injury, always wear AS/NZS51337 approved eye
protection when performing this.
WARNING:
Never use solvents or other harsh chemicals for cleaning the
non-metallic parts of the tool. These chemicals may weaken the plastic materials
used in these parts. Use a cloth dampened only with water and mild soap. Never let
any liquid get inside the tool; never immerse any part of the tool into a liquid.
Repairs
To assure product SAFETY and RELIABILITY, repairs, maintenance and adjustment
(including brush inspection and replacement) should be performed by certified
service centers or other qualified service organizations, always using identical
replacement parts.
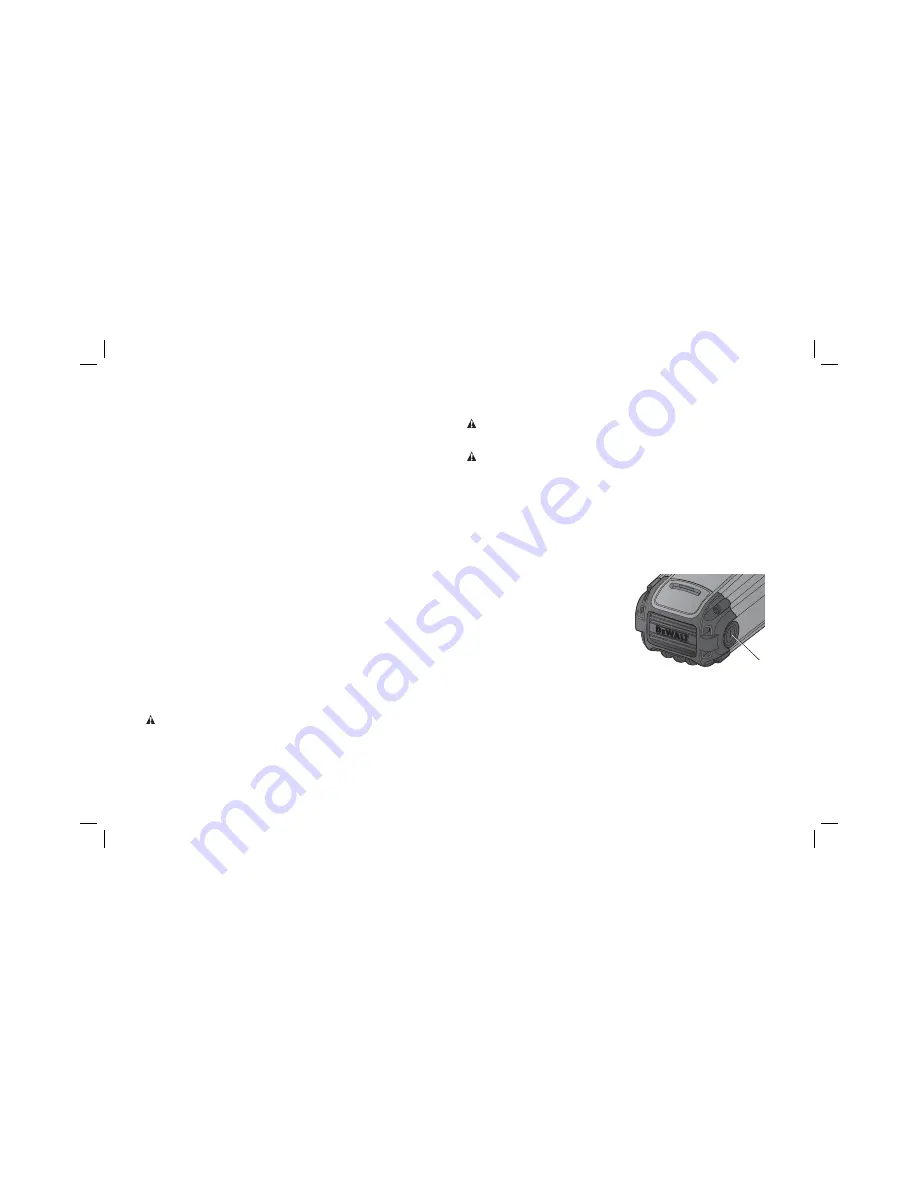
Motor Brushes (Fig. 22)
Be sure tool is unplugged before inspecting
FIG. 22
BB
brushes. Carbon brushes should be
regularly inspected for wear. To inspect
brushes, unscrew the plastic brush
inspection caps (BB), located in the sides
of the motor housing) so the spring and
brush assemblies may be withdrawn from
the tool. Keep brushes clean and sliding
freely in their guides. Carbon brushes have
varying symbols stamped into them, and if
the brushes are worn down to the line
closest to the spring, they must be replaced.
Foot Plate Adjustment (Fig. 23)
DWE565-XE
The DWE565-XE foot plate has been factory set to assure that the blade is
perpendicular to the foot plate. If after extended use you need to re-align the blade,
follow the directions below.
Summary of Contents for DWE560-XE
Page 1: ...DWE560 XE DWE565 XE 184 mm 7 1 4 CIRCULAR SAW INSTRUCTION MANUAL ...
Page 2: ......
Page 17: ......
Page 18: ......
Page 19: ......


