


10
English
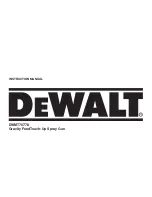
Defective Pattern
likely cause
Suggested remedy
1. Dirty or damaged
air cap
2. Dirty or damaged
fluid tip
1. Rotate air cap 180°. If the
pattern follows the air cap,
the problem is in the air cap.
Clean and inspect the air cap.
If the pattern is not corrected,
replacement is necessary.
2. If pattern doesn’t follow the air cap,
the problem is with the fluid tip.
Clean and inspect the tip for dried
paint, dirt or damage. If the pattern
is not corrected, replacement
is necessary.
Air pressure too high for
material viscosity being
sprayed.
1. Reduce air pressure.
2. Turn pattern control knob
clockwise to decrease fan width.
Turn fluid needle adjusting nut
counterclockwise to increase
fluid flow.
1. Dirty or distorted air
horn holes.
2. One of the air horn
holes completely
obstructed.
1. Rotate air cap 180°. If the
pattern follows the air cap,
the problem is in the air cap.
2. Clean and inspect the horn
holes. If the horn holes are
distorted, replacement is
necessary.
Air getting into paint
stream somewhere.
Example: Same
symptoms as a cup
running out paint.
1. Check and tighten fluid needle
packing nut.
2. Tighten fluid tip.
3. Check fluid tip seat for damage.
4. Check for poor gun to cup seating.
5. Check that cup is correctly
fastened on the gun.
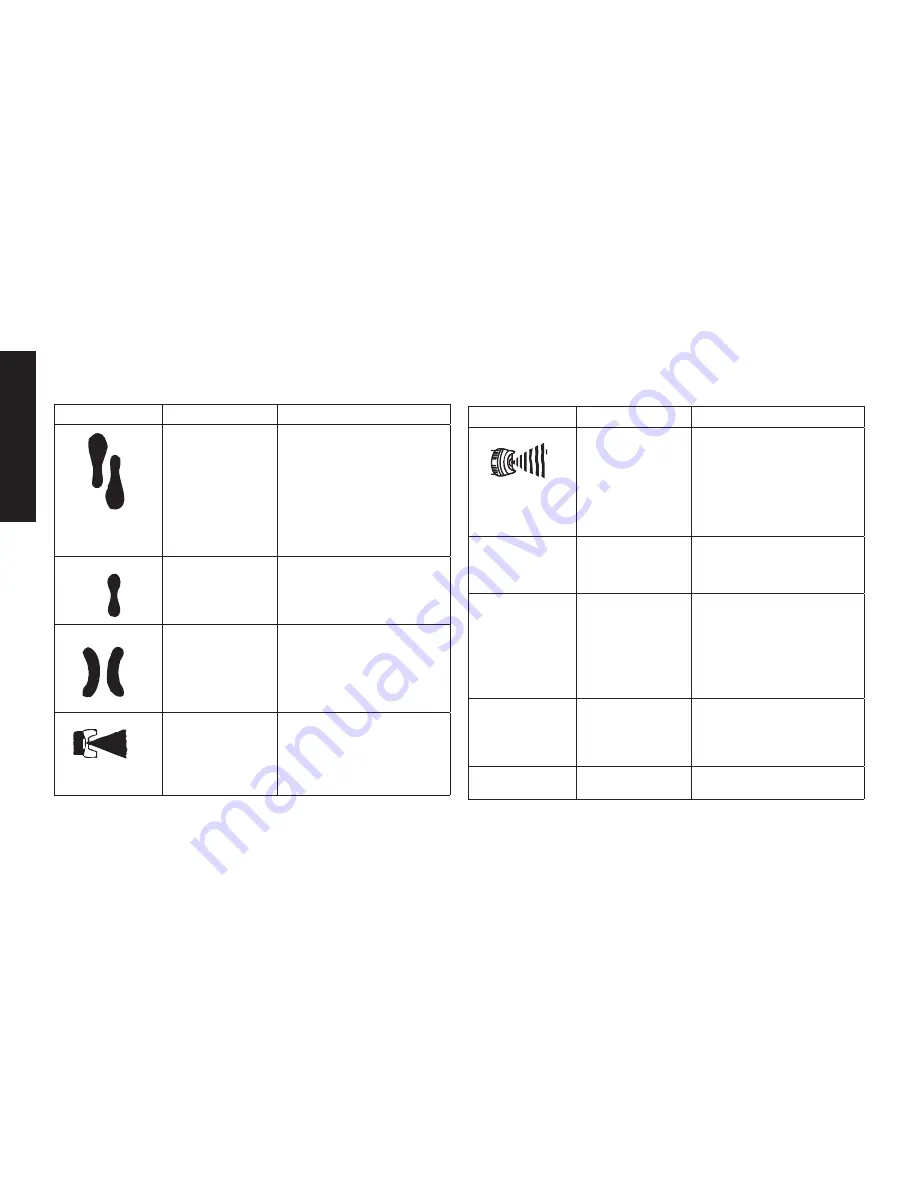
Defective Pattern likely cause
Suggested remedy
1. Fluid nozzle
cracked or worn
2. Leak at thread
of fluid nozzle
3. Leak at fluid needle
4. Needle packing
worn out
5. Insufficient fluid in cup
6. Vent hole in
container cover clogged
1. Tighten or replace
2. Tighten fluid nozzle
3. Tighten compression nut assembly
or replace needle packing
4. Replace packing
5. Fill cup with fluid
6. Clean out
Air back
pressuring
into cup.
Excessive air blowing
back into cup.
1. Tighten fluid tip.
2. Check fluid tip seat.
3. Check for damaged fluid seat
on tip or seat on gun head.
Unatomized
or spattered
spray
1. Material too heavy
2. Insufficient air
pressure
3. Fluid pressure
too high
4. Dried material on tip
of fluid nozzle or
air jets of air cap
1. Thin material or use larger orifice
fluid nozzle set
2. Increase pressure to within limit
3. Reduce pressure
4. Clean
Inadequate
air delivery
1. Air needle partially
closed
2. Dried material in air
jets or air cap
3. Obstruction in air line
1. Open control knob
2. Clean
3. Remove obstruction
Excessive fog
1. Air pressure too high
for viscosity of fluid
1. Reduce air pressure and/or
open fluid control knob
TROUBLESHOOTING GUIDE
This section provides a list of the more frequently encountered malfunctions, their cause and corrective actions. The operator or maintenance personnel can
perform some corrective actions, and others may require the assistance of a qualified
D
e
WalT technician or your dealer.
Spitting, irregular
or fluttering spray
Heavy top or
bottom pattern
Split
pattern
Gun splitting


