


3. Press [ +/C/F ] button (4) or [ -/RCC ] button (8) to change the
minute setting. Press [ ALM SET ] button (3) to confirm.
4. Press [ +/C/F ] button (4) or [ -/RCC ] button (8) to change the
year setting. Press [ ALM SET ] button (3) to confirm.
5. Press [ +/C/F ] button (4) or [ -/RCC ] button (8) to select
between the “month/date“ or “date/month“ setting. Press [ ALM
SET ] button (3) to confirm.
6. Press [ +/C/F ] button (4) or [ -/RCC ] button (8) to change the
month setting. Press [ ALM SET ] button (3) to confirm.
7. Press [ +/C/F ] button (4) or [ -/RCC ] button (8) to change the
date setting. Press [ ALM SET ] button (3) to confirm.
8. Press [ +/C/F ] button (4) or [ -/RCC ] button (8) to select
between “am/pm“ and “24-hour time“ clock setting. Press [ ALM
SET ] button (3) to confirm.
9. Press [ +/C/F ] button (4) or [ -/RCC ] button (8) to change the
language setting. EN for English; GE for German; IT for Italian;
FR for French; NE for Dutch; ES for Spanish; DA for Danish.
Press [ MODE ] button (3) to confirm.
10. The display will no longer flash.
To see alarm time
1. Press [ MODE ] button (6) once and alarm time 1 will be shown
as indicated by
A1
.
2. Press [ MODE ] button (6) again and alarm time 2 will be shown
as indicated by
A2
.
3. Press [ MODE ] button (6) again and the current time will be
shown.
To set alarm time
1. Press [ MODE ] button (6) once and alarm time 1 will be shown
as indicated by
A1
.
2. Press and hold [ ALM SET ] button (3) for approximately 3 sec-
onds until
A1
flashes.
3. Press [ -/RCC ] button (8) to change the hour setting.
4. Press [ ALM SET ] button (3) again.
5. Press [ +/C/F ] button (4) or [ -/RCC ] button (8) to change the
minute setting.
6. Press [ ALM SET ] button (3) again.
7. When alarm time 1 [
A1
] is shown, press [ ALM SET ] button (3)
to turn ON and OFF the alarm. The symbol
will be shown
when the alarm is on.
8. Press [ MODE ] button (6) again and alarm time 2 will be shown.
To set alarm time 2, follow the above instructions.
Press [ MODE ] button (6) again to see current time.
9. The symbol
will be shown when alarm [
A2
] is on.
10. The alarm will sound for 120 seconds when the preset alarm
time is reached. Press any button at the back of the clock to de-
activate the alarm. The clock will automatically enter snooze
mode if the alarm is not deactivated.
11. Press the [ SNOOZE / LIGHT ] button (1) when the alarm is on,
to enter 'snooze' mode. The symbol
will flash when the clock
is on 'snooze' mode. The alarm will sound again in 5 minutes.
Press any button at the back of the clock to de-activate the alarm.
12. Please note that alarm time setting ceases to function when the
clock is in RCC synchronisation mode. Wait until synchronisation
has ended before setting the alarm time.
Configuring the thermometer
The weather station is equipped to synchronise up to 3 remote tempera-
ture sensors. One remote temperature sensor is induded.
Additional remote temperature sensors are available for purchase sepa-
rately.
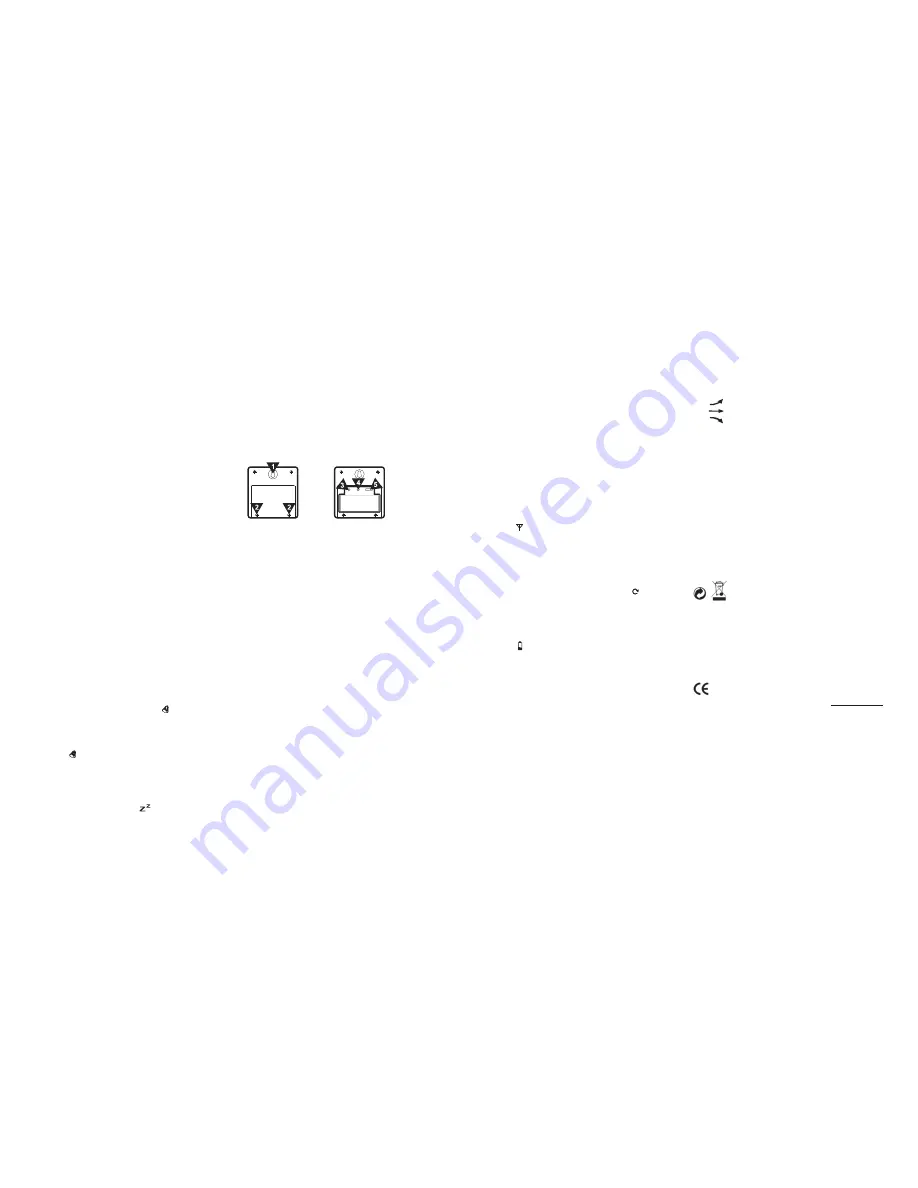
Remote temperature sensors
Back View
Back view - open
1. Hole to hang the sensor
2. Battery compartment screws
3. "TX"
button
4. "RESET"
button
5. "Channel 1 2 3" switch
Batteries installation
1. Open battery compartment at the back of the unit by removing the
two small screws (2) with a Philips head screwdriver.
2. Install / replace with 2x "AAA" size batteries in the compartment.
It is recommended that only alkaline batteries are used. Do not use
rechargeable batteries.
3. The weather station is capable of receiving up to 3 different chan-
nels. Select the channel number (1, 2, or 3) by sliding the "Channel
1 2 3" switch (5). If you only have 1 remote temperature sensor,
select 1.
4. Press the "RESET" button (4) once and the red light will flash once.
5. Replace the battery compartment cover at the back of the unit by
tightening the two screws (2).
Installation
1. Place the remote temperature sensor at a desired place by mount-
ing the unit on a screw (screw not included) using the hole for
hanging (1). Alternatively, the unit can be placed on a flat horizontal
surface.
2. The unit can be placed indoor or outdoor. The unit is weatherproof.
Do not submerge unit in water. Do not expose unit to water for pro-
longed periods. Avoid accumulation of water and or snow on unit.
Avoid exposing unit to direct sunlight. Remove unit from the exterior
location in extreme or harsh weather conditions, including but not
limited to hurricane, typhoon, and cyclones seasons. Do not place
the unit in area of high winds.
3. Do not place the remote temperature sensor more than 30 meters
(98 feet) from the receiving weather station unit. The remote tem-
perature sensor is more effective if there are no obstructions and
interference between the remote temperature sensor and the
weather station. The remote temperature sensor might have to be
closer than 30 meters if the weather station is not able to receive
signals. This may be due to obstructions and / or interference. The
user might need to experiment with various locations to get the best
reception.
4. If there is a change in power source in the main unit (i.e. from bat-
teries to AC-DC adapter or vice versa), press "TX" button (3) on the
remote temperature sensors to reconfigure remote temperature
sensors.
Configuring weather station unit to receive remote temperature sig-
nals
1. Follow the above instructions to set up remote temperature sensor.
2. Press [ CHANNEL ] button (7) on weather station for 3 seconds.
The symbol
will flash. This will reset all temperature memories.
3. The weather station will begin scanning for signals for channel 1.
As soon as signals are received from channel 1, the temperature
will be displayed. The weather station will automatically scan for
other channels. It will scan each channel for approximately 3 sec-
onds before skipping to the next channel.
4. Once all your channels are received by the unit, press [ CHANNEL ]
button (7) once to confirm the channel. The symbol
will no
longer be displayed.
5. The weather station will receive a new signal automatically every 30
seconds to update the remote temperature.
6. Press [ CHANNEL ] button (7) on weather station repeatedly to
select between channel 1, channel 2 and channel 3.
7. The symbol
will be displayed on the weather station unit if any of
the remote temperature sensor's batteries need replacing.
Temperature memory
Press [ MAX/MIN ] button (4) to display maximum recorded temperature,
minimum recorded temperature and current temparature. "max" indicates
maximum temperature. "min" indicates minimum temperature.
Temperature display
1. The "IN" temperature displays the indoor temperature. It is the tem-
perature of the current location of the weather station.
2. The "OUT" temperature displays the temperature of the remote
temperature sensors.
3. Press [ CHANNEL ] button (7) on weather station repeatedly to dis-
play the temperature of channel 1, channel 2, and channel 3.
Celsius / Fahrenheit
Press [ +/C/F ] button (4) to select between displaying the tempera-
ture in Celsius or Fahrenheit.
Temperature trend
1.
Indicates the temperature trend is increasing.
2.
Indicates there is a stable temperature trend.
3.
Indicates the temperature trend is decreasing.
Warnings
• Do not subject the unit to excessive force, shock, dust, tempera-
ture or humidity.
• Do not immerse the unit in water.
• Do not remove any screws.
• Do not dispose this unit in a fire. IT MAY EXPLODE.
• Keep unit away from small children. The unit or parts of the unit
might be a choking hazard.
Specification
1. Indoor temperature range: -10°C - 70°C
2. Outdoor temperature range: -40°C -70°C
3. Barometeric pressure range: 900mb -1050mb.
4. Calendar range: year 2000 to year 2099
Disposal
You can help protect the environment! Please remember
to respect the local regulations: Hand in the non-working
electrical equipments to an appropriate waste disposal
center.
Hotline
In the event of technical problems, you can contact our hotline ser-
vice, Tel.
0900 00 1675
within Switzerland (cost via Swisscom at time
of going to print: CHF 2.60/min).
Conformity
This equipment complies with the European EMV directive. To
view the complete Declaration of Conformity, please refer to the
free download available at our web site: www.dexford.com.
www.dexford.com
V 1.0 / 27.06.2011


