www.dfi.com
11
Chapter 3 Installing the Devices
Chapter 3
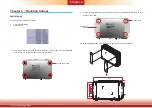
Installing a 2.5” SATA Drive
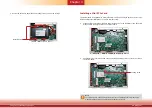
2. Locate the SATA drive bay on the system board. Remove 4 mounting screws that secure the
drive bay to the system board.
1. Remove the two screws securing the chassis cover and lift the cover to open the system.
Mounting screw
SATA drive bay
SATA drive bay
SATA power connector
SATA connector
Chassis screw
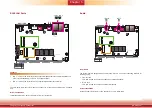
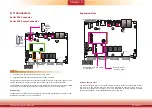
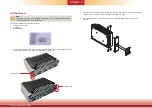
4. Place the SATA drive bay with the installed HDD back to the system and connect the SATA
cable to the SATA connectors on the system board.
Mounting screw
SATA cable
SATA data connector
SATA power connector
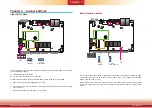
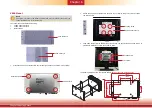
3. Align the mounting holes of a 2.5" SATA drive with the mounting holes on the drive bay and
connect the SATA cable (data and power) to the SATA drive. Then, use the provided HDD
mounting screws to affix the HDD to the drive bay.
Chapter 3 - Installing the Devices
Mounting screws
Mounting screw
2.5" SATA drive
SATA data and power cable
Note:
Please connect the SATA cable first before installing the HDDs on the drive bay. The drive bay
might block the access to the SATA connectors on the HDD.


