8 9
3
BIOS Setup
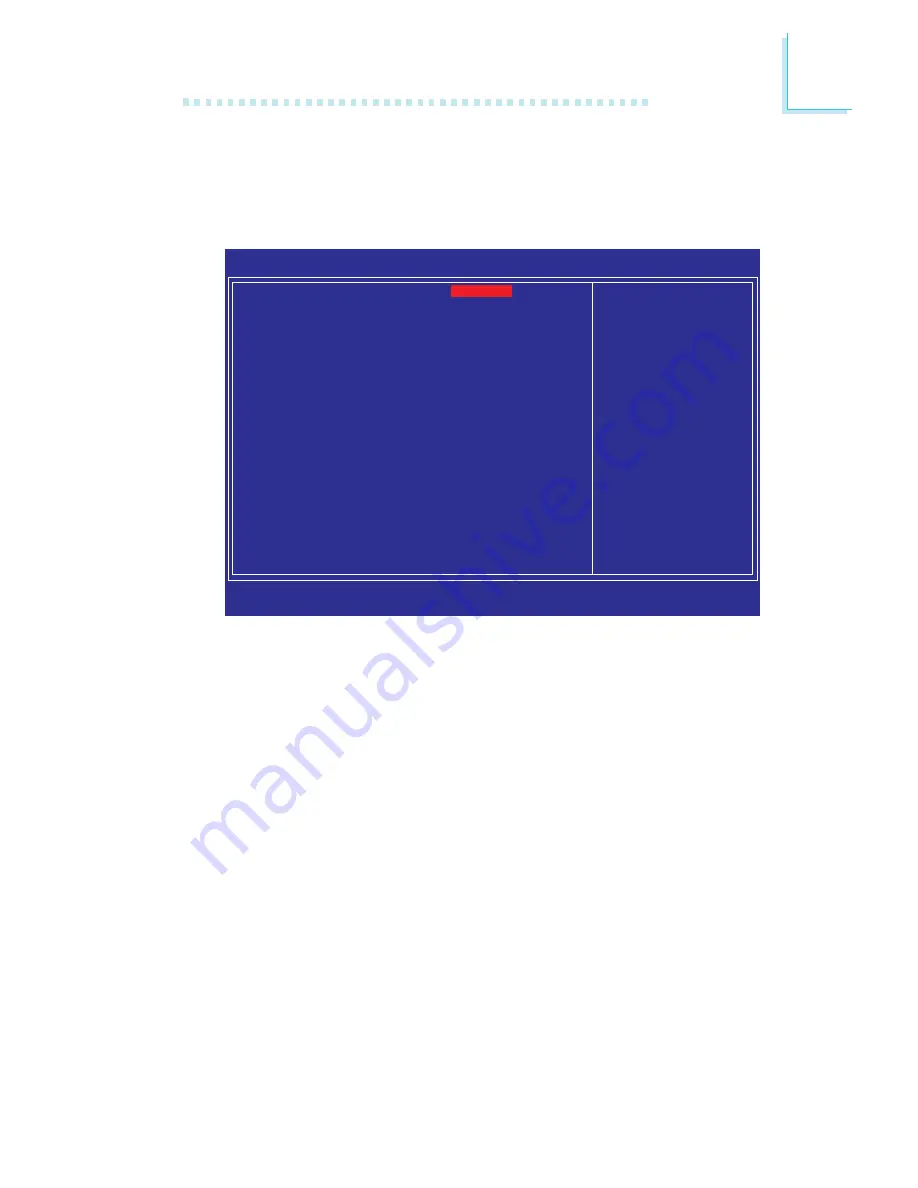
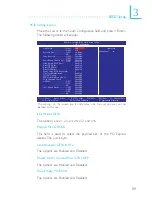
Phoenix - AwardBIOS CMOS Setup Utility
PCIE Configuration
Item Help
Menu Level
X
Link Width ............................GFX1
............................GFX1
Payload Size......................... GFX
..........................SB
Lane Reversal.......................GFX1
.......................GFX2
PowerDown Unused Port
GFX1
GPP
Hide Empty PCIE Port
Reset GFX Slot
Reset GFX2 Slot
Reset GPP Slots
Delay After PCIE Reset (mS)
GFX Card WorkAround
TXCLK Gating
P2P Write Between GFX1/2
PCIE Common Clock
ASPM L1.............................. GFX
.............................. GPP
.............................. SB
10% Extra Current................GFX1
................GFX2
................GPP
................SB
x16
x16
64 Bytes
64 Bytes
Disabled
Disabled
Enabled
Enabled
Enabled
Enabled
Enabled
Enabled
0
Enabled
Disabled
Disabled
Disabled
Disabled
Disabled
Disabled
Disabled
Disabled
Disabled
Disabled
↑↓→←
: Move
Enter: Select
F1: General Help
+/-/PU/PD: Value
F10: Save
ESC: Exit
F5: Previous Values
F6: Fail-Safe Defaults
F7: Optimized Defaults
The settings on the screen are for reference only. Your version may not be
identical to this one.
PCIE Configuration
Move the cursor to the South Configuration field and press <Enter>.
The following screen will appear.
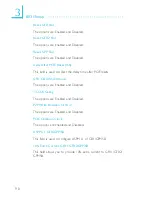
Link Width GFX1
The options are x1, x2, x4, x8, x12 and x16.
Payload Size GFX/SB
This field is used to select the payload size of the PCI Express
devices. The unit is byte.
Lane Reversal GFX1/GFX2
The options are Enabled and Disabled.
Power Down Unused Port GFX1/GPP
The options are Enabled and Disabled.
Hide Empty PCIE Port
The options are Enabled and Disabled.
Summary of Contents for LanParty UT CFX3200-DR
Page 1: ...System Board User s Manual 935 CF3291 000G 90800601 ...
Page 23: ...23 1 Introduction ...
Page 24: ...24 Introduction 1 ...
Page 25: ...25 2 Hardware Installation System Board Layout Chapter 2 Hardware Installation ...
Page 143: ...143 4 Supported Software 4 Click Finish 5 Reboot the system for the driver to take effect ...
Page 146: ...146 4 Supported Software 7 Click Finish 8 Reboot the system for the driver to take effect ...


